You will need to remove your credit card from Apple Pay when you no longer want to use it for seamless payments from your iPhone or Mac. Apple Pay is convenient for quick purchases and Express Transit. But it’s essential to keep your card details updated and remove any that you don’t want to use, Moreover, you can also delete your payment information remotely in case your iPhone gets lost or stolen. Let’s see how to do it.
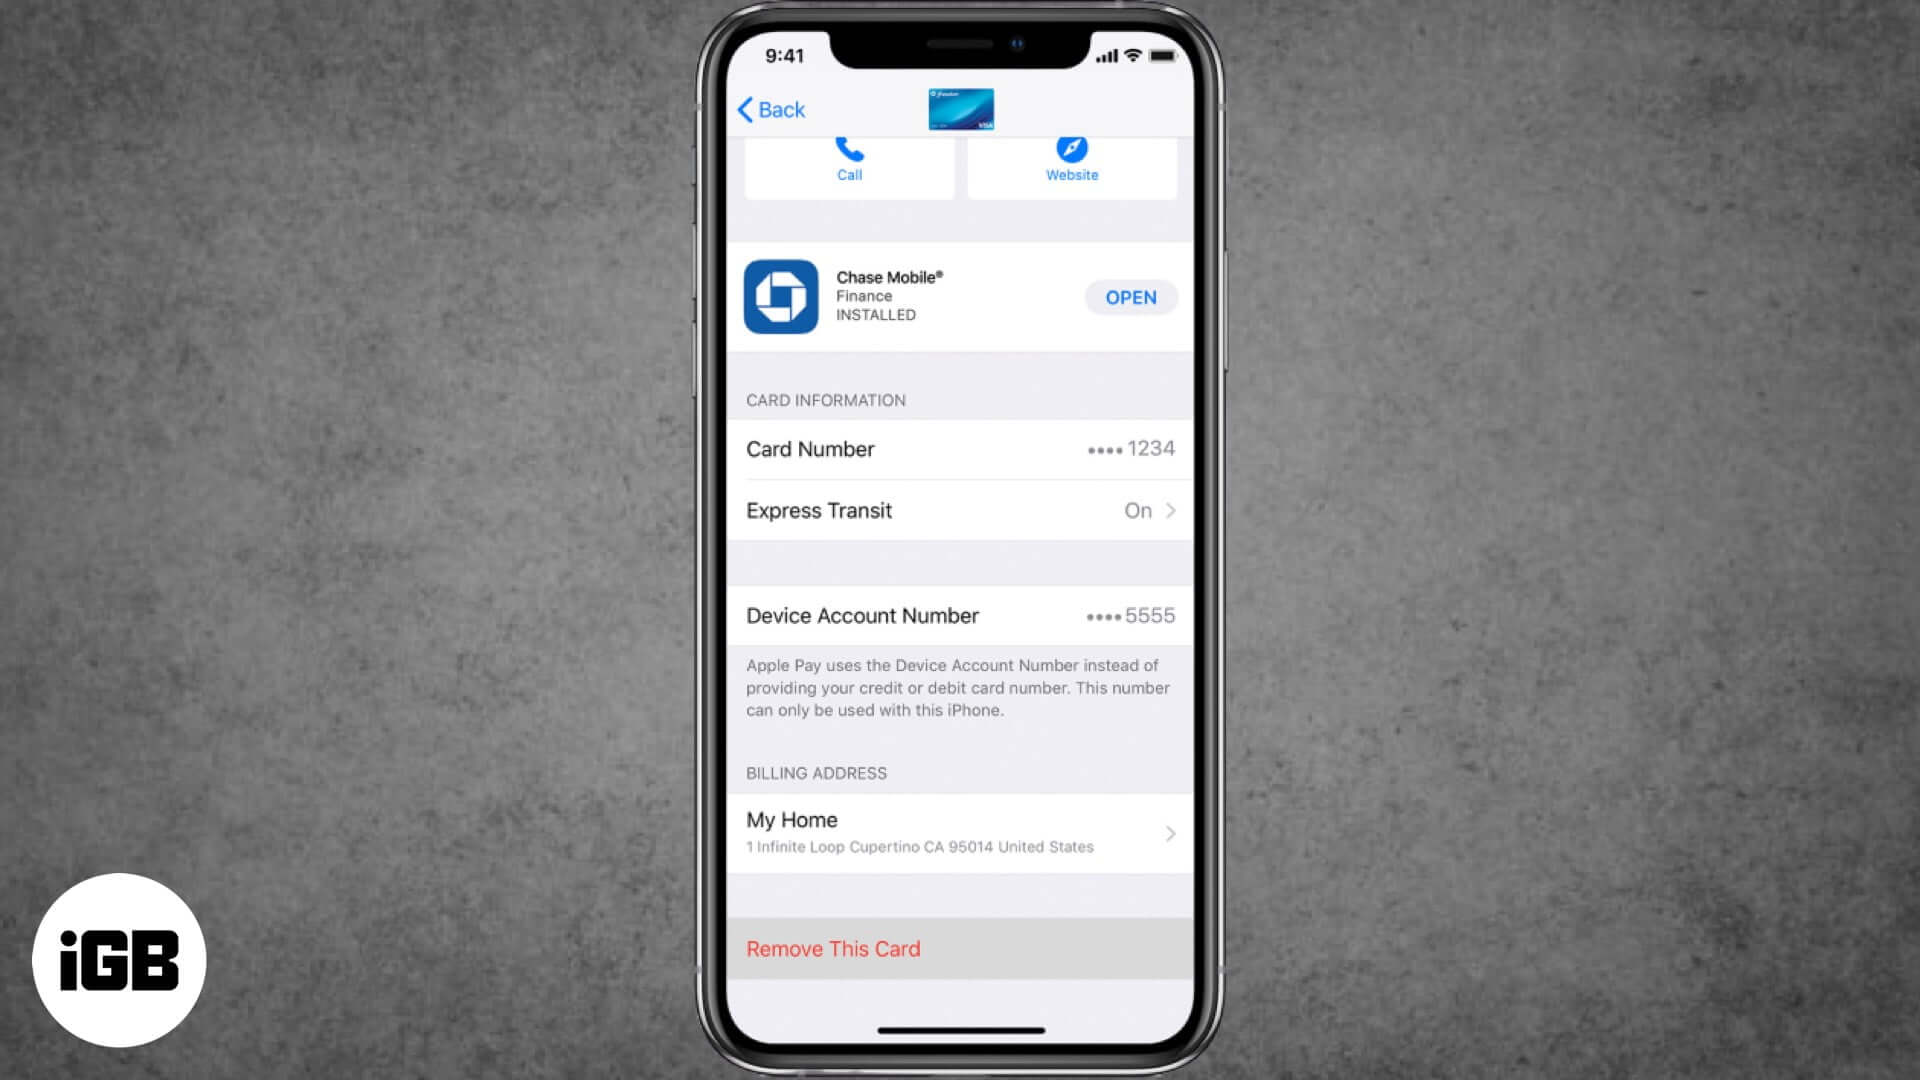
- How to Remove a Card from Apple Pay on iPhone and iPad
- How to Remove a Card from Apple Pay on Mac
- How to Remotely Remove All Cards from Apple Pay
How to Remove a Card from Apple Pay on iPhone and iPad
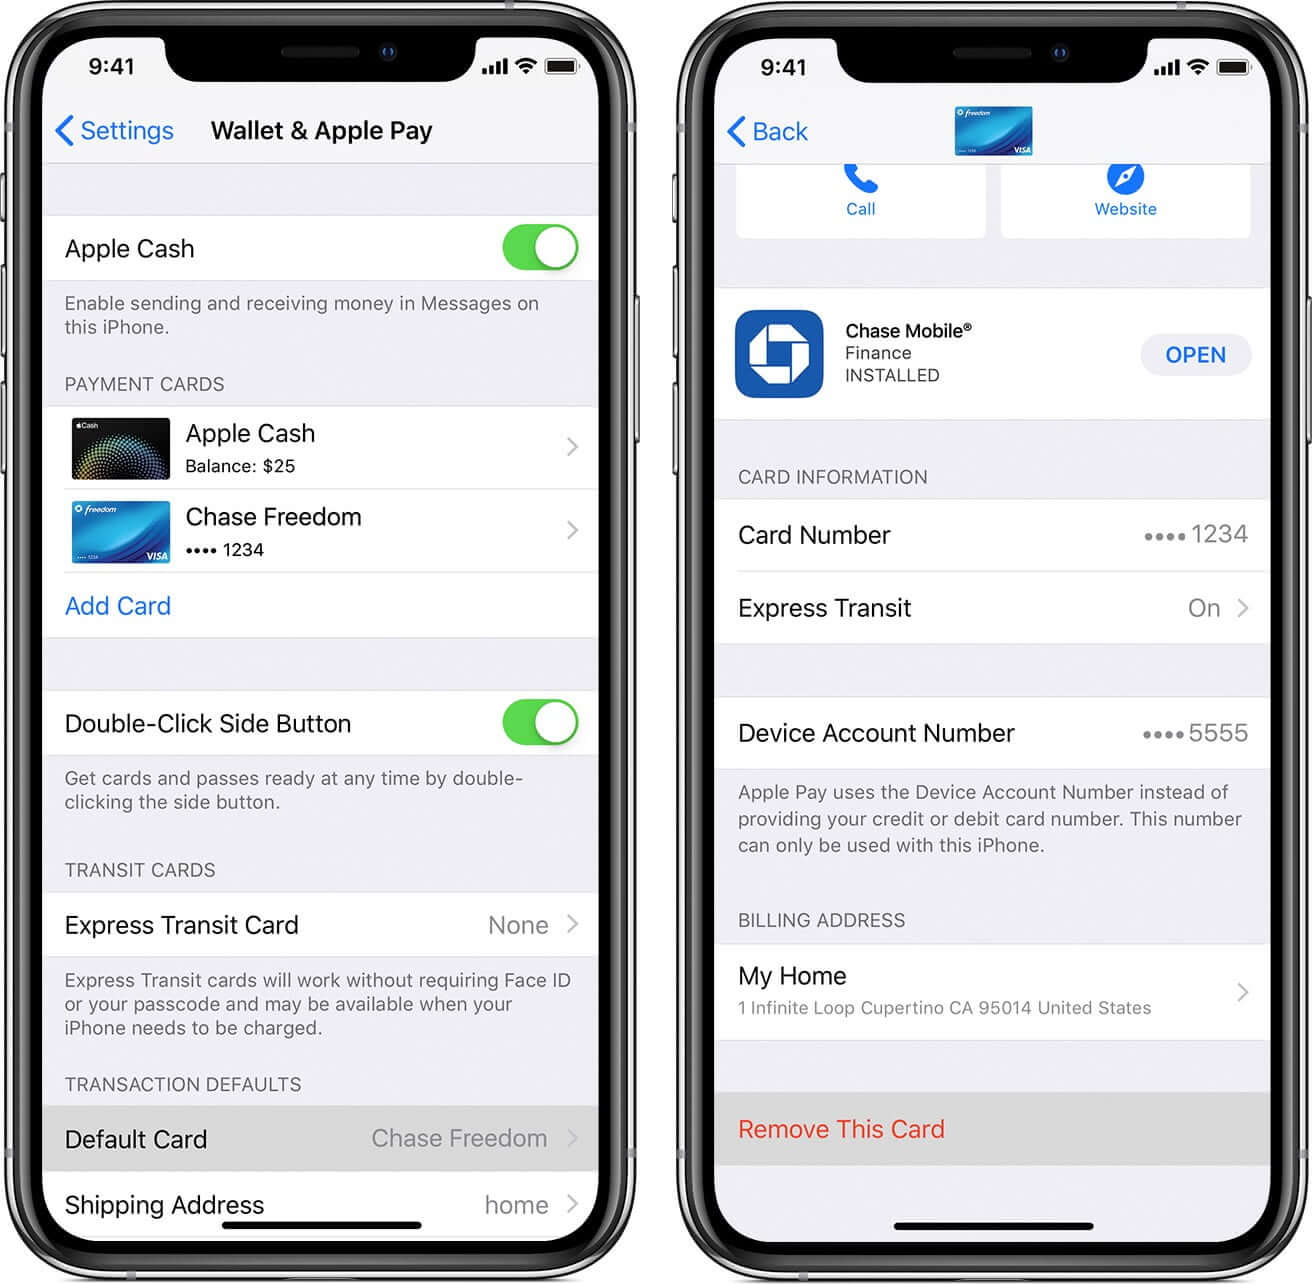
Delete Card from Settings
- Launch Settings on your iPhone
- Tap on Wallet & Apple Pay.
- Next, tap on the Credit Card you wish to remove
- Then scroll down a bit, and tap Remove This Card.
Delete Card from Wallet App
- Open the Wallet app on your iPhone
- Tap on Card which you wish to delete
- Tap on Three Dots (•••) in the top right corner
- Scroll down, tap on Remove This Card.
How to Remove a Card from Apple Pay on Mac
If you have a MacBook Pro or Air with Touch ID, you will be able to remove card details from Apple Pay.
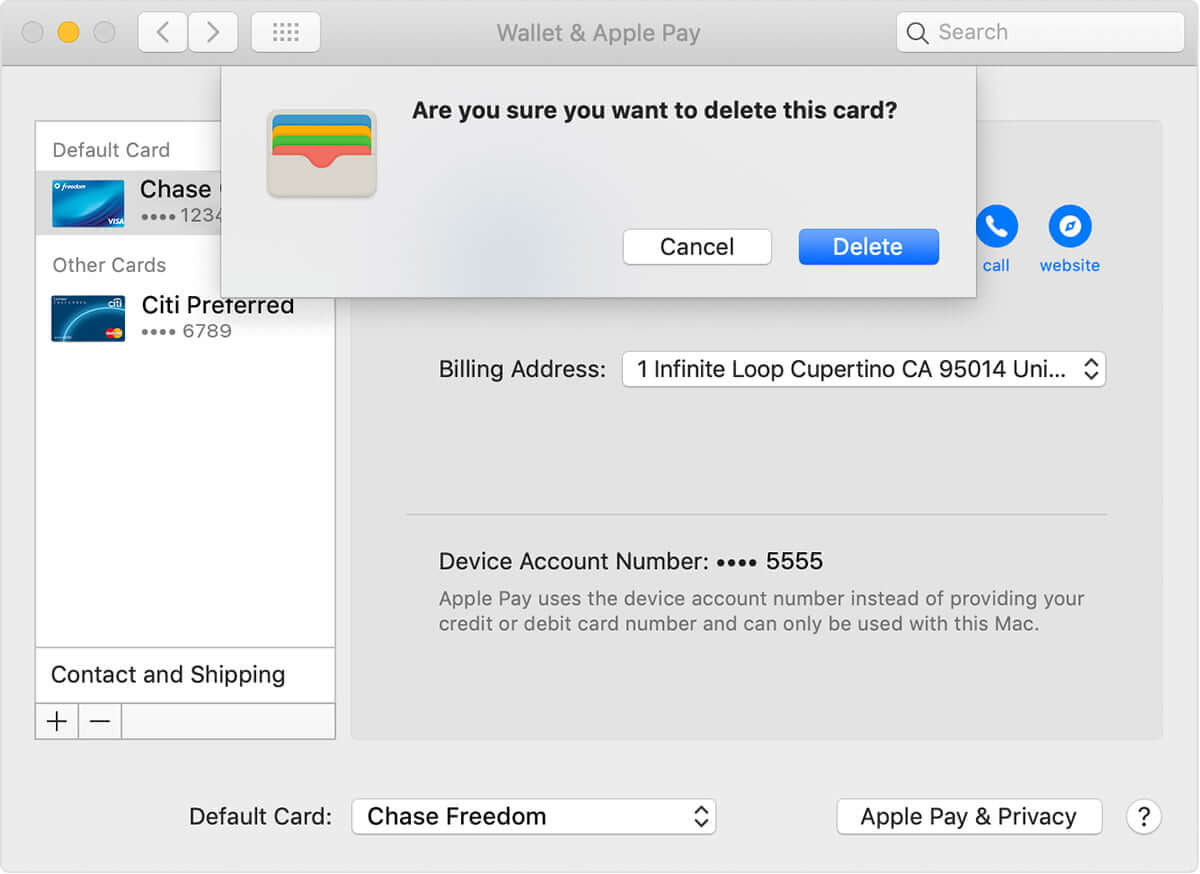
- Click on Apple menu → System Preferences, or click the System Preferences icon in the Dock
- Click on Wallet & Apple Pay icon.
- Select the card you wish to remove from the sidebar
- Click the minus (–) sign to remove the card.
How to Remotely Remove All Credit Cards from Apple Pay
- Open www.icloud.com from a web browser
- Log in with your Apple ID and password.
- Now click on Settings.
- Under My Devices section, click on the device which you wish to remove Apple Pay
- Finally, click Remove All…
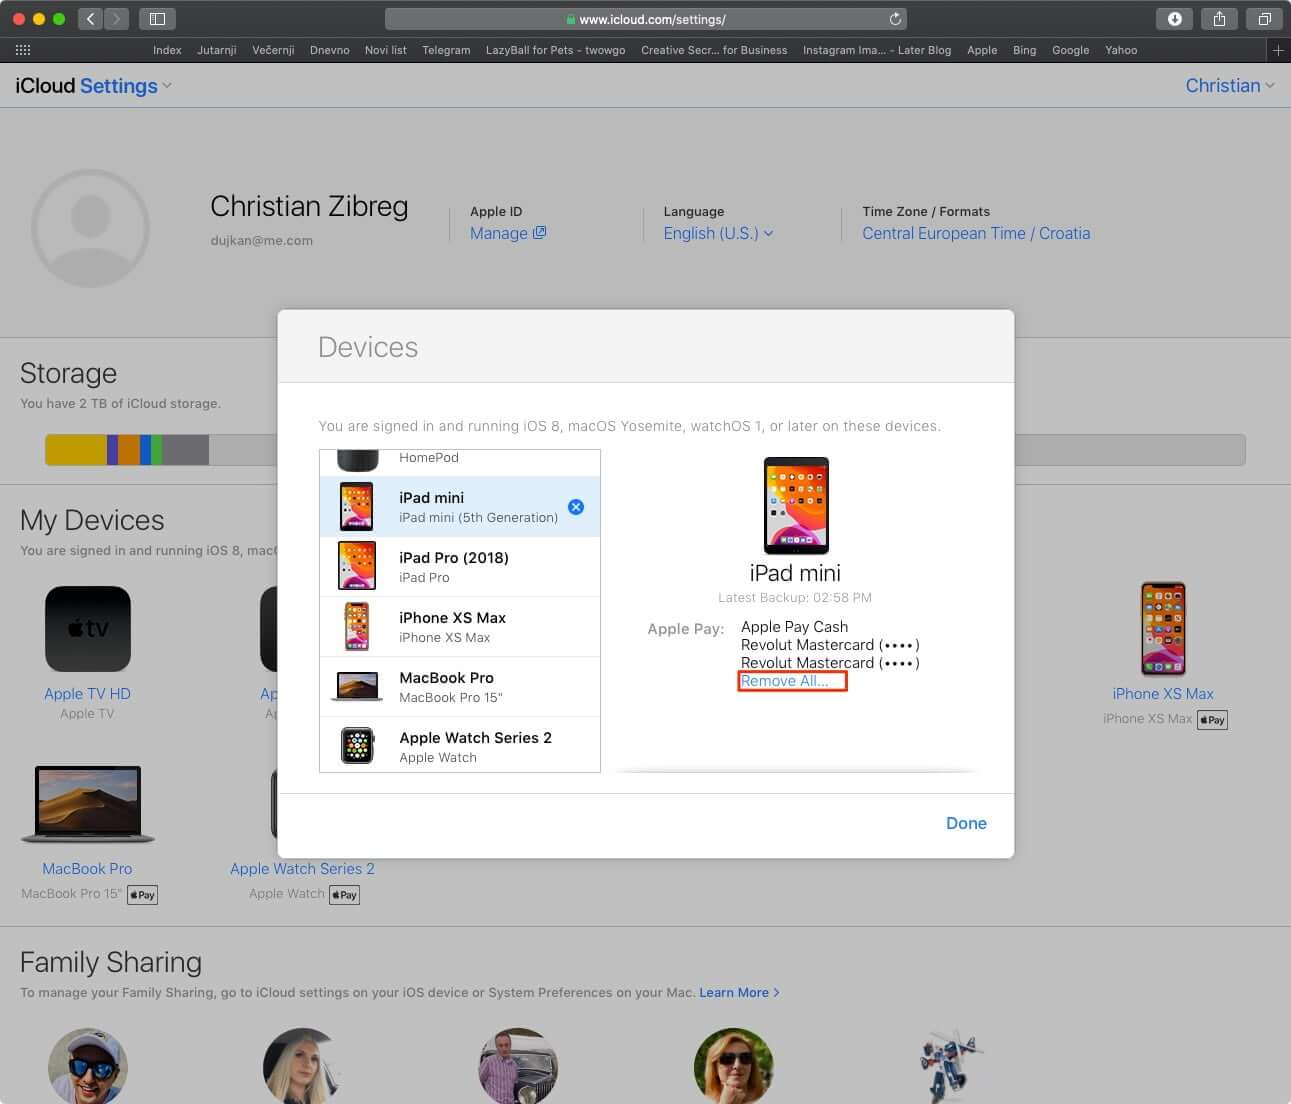
You have done it!
Apple will delete all your credit/debit cards from that device.
Summing up…
Apple’s robust ecosystem protects your money in any situation. No matter where you are on the earth, never bother about your finances.
How often do you use Apple Pay? Do you use Apple Card? Do share your experiences with us by leaving your feedback in the Comments section.


