With iOS 18, Apple has finally introduced call recording on FaceTime. You can record FaceTime audio calls and view their transcription for reference. If you want to record your FaceTime video calls with sound, do not worry; I have a workaround for that as well. In this guide, I’ll share how to record FaceTime audio and video calls on iPhone, iPad, and Mac.
How to record FaceTime audio call on iPhone or iPad in iOS 18
Call recording was a long-requested feature on the iPhone, so Apple has finally introduced it in iOS 18. It helps you to keep a record of important conversations or instructions. I find it convenient to quickly record my brainstorming calls with my team and later revisit the discussion. Interesting, right?
Before you record a Facetime audio call, ensure both parties have updated their device with the latest iOS version. Also, get prior consent from them as they can hear an announcement when the recording starts.
- Launch the FaceTime app and tap New FaceTime.
- Search and select the contact you want to call and tap the phone icon at the bottom left corner.
- It will start a FaceTime audio call. Once the contact picks up the call, tap the record icon at the top left corner.
- For the first time, a popup will appear explaining the feature. Tap Continue to proceed.
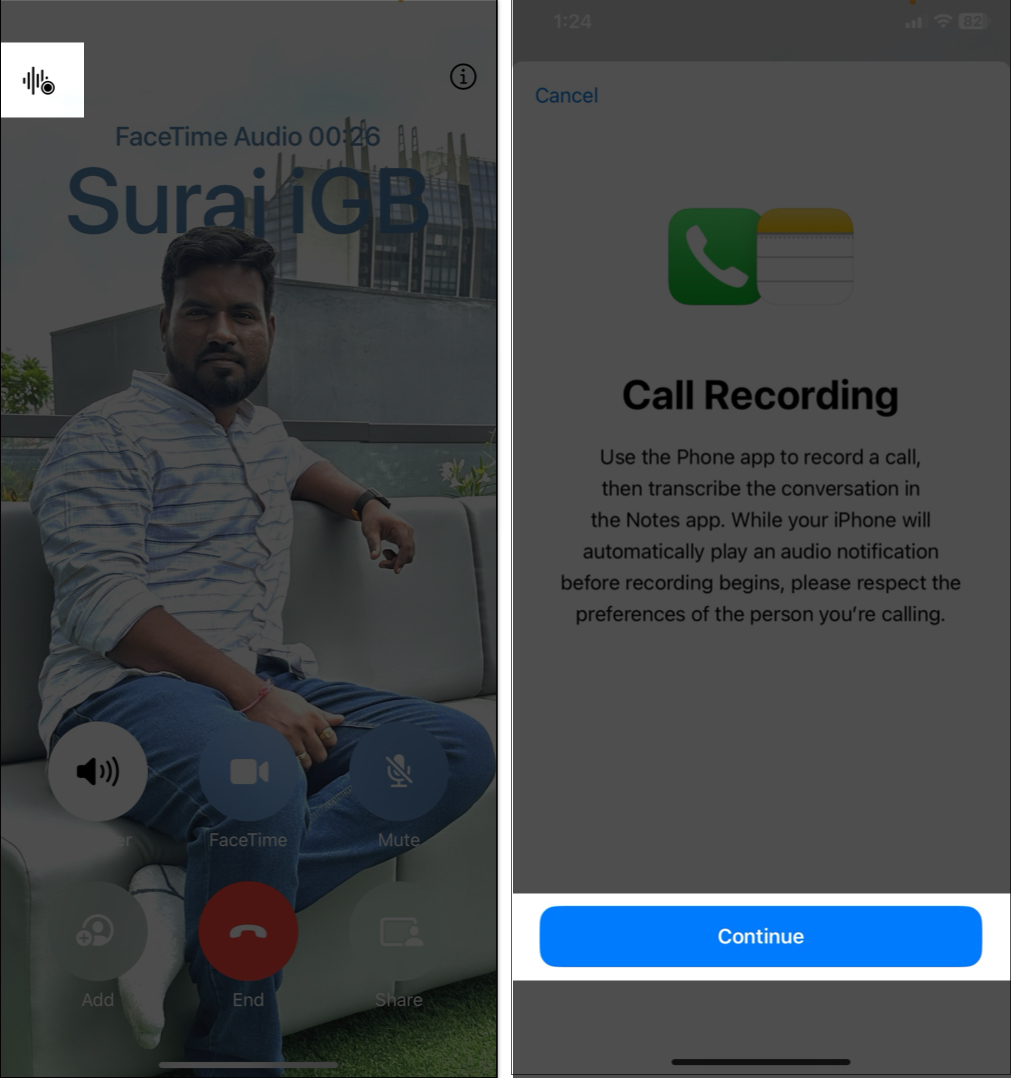
- Now, both of you will hear an alert that this call is being recorded.
- When you cut the call, the recording will be automatically saved in the Notes app.
Play FaceTime recordings with transcriptions
Once you’ve recorded a FaceTime audio call, you might want to replay it or view a transcription. All the recordings are stored in the Notes app. If you’re signed in with the same Apple ID on your iPhone and Mac, you can access recordings seamlessly across your devices.
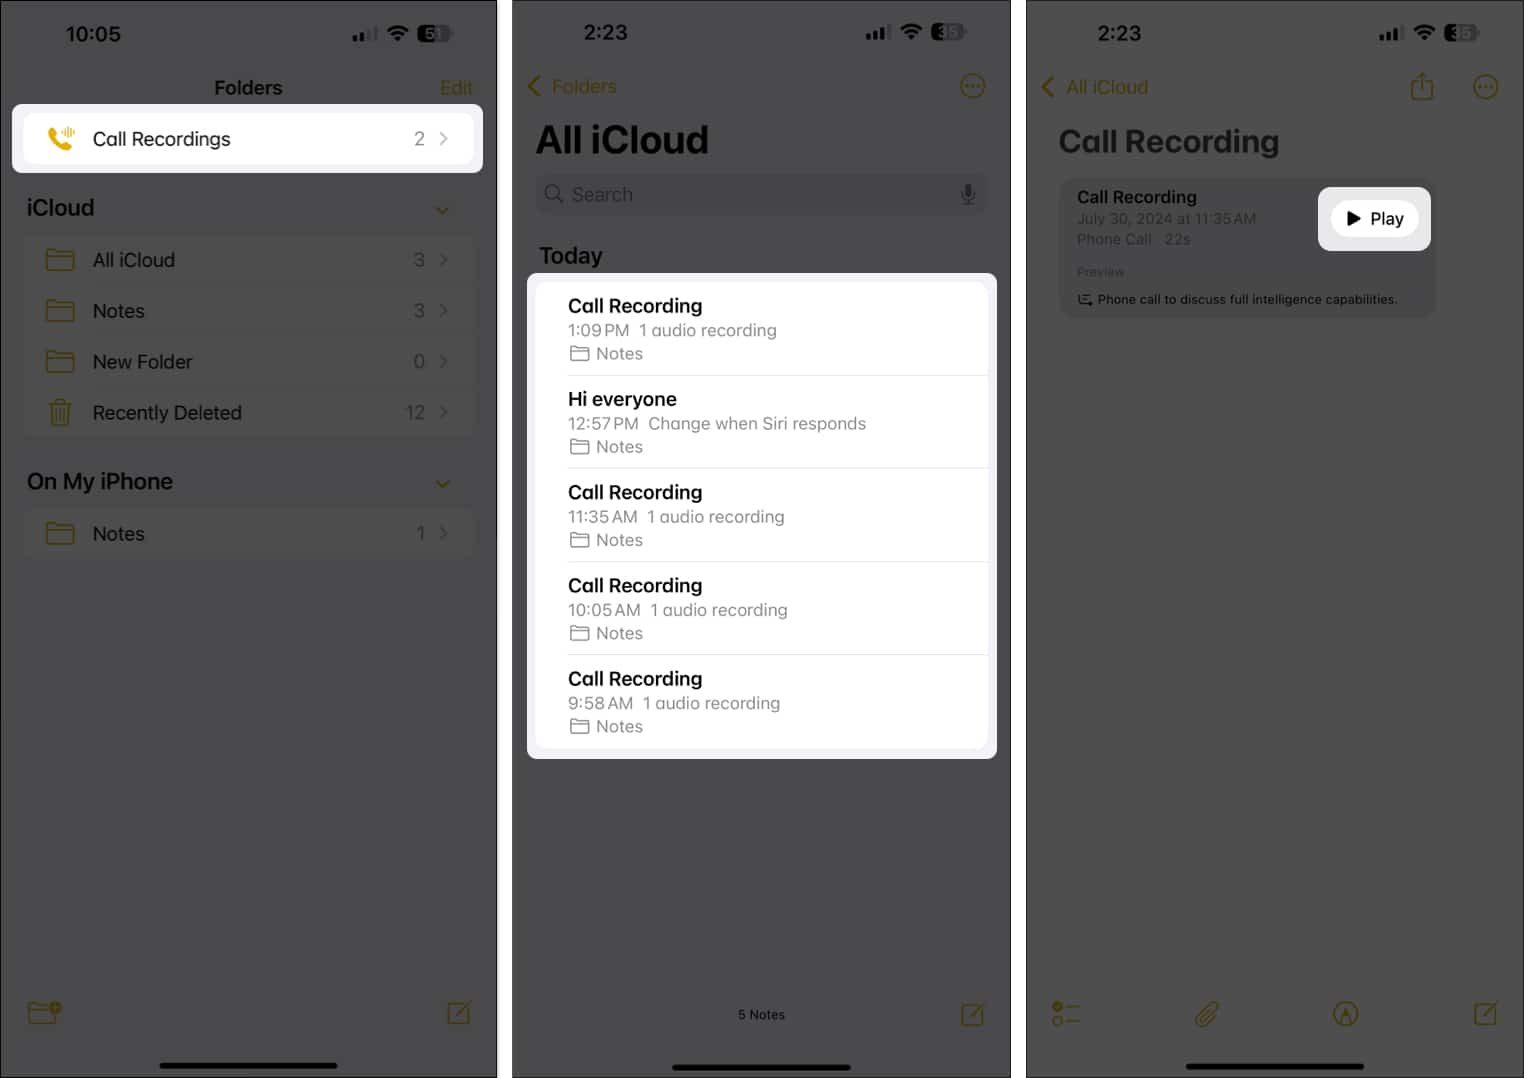
- Go to the Notes app and open the Call Recordings folder.
- Now, select the note with the call recording you want to listen to and tap the play button.
- To view the call transcription, tap the call recording.
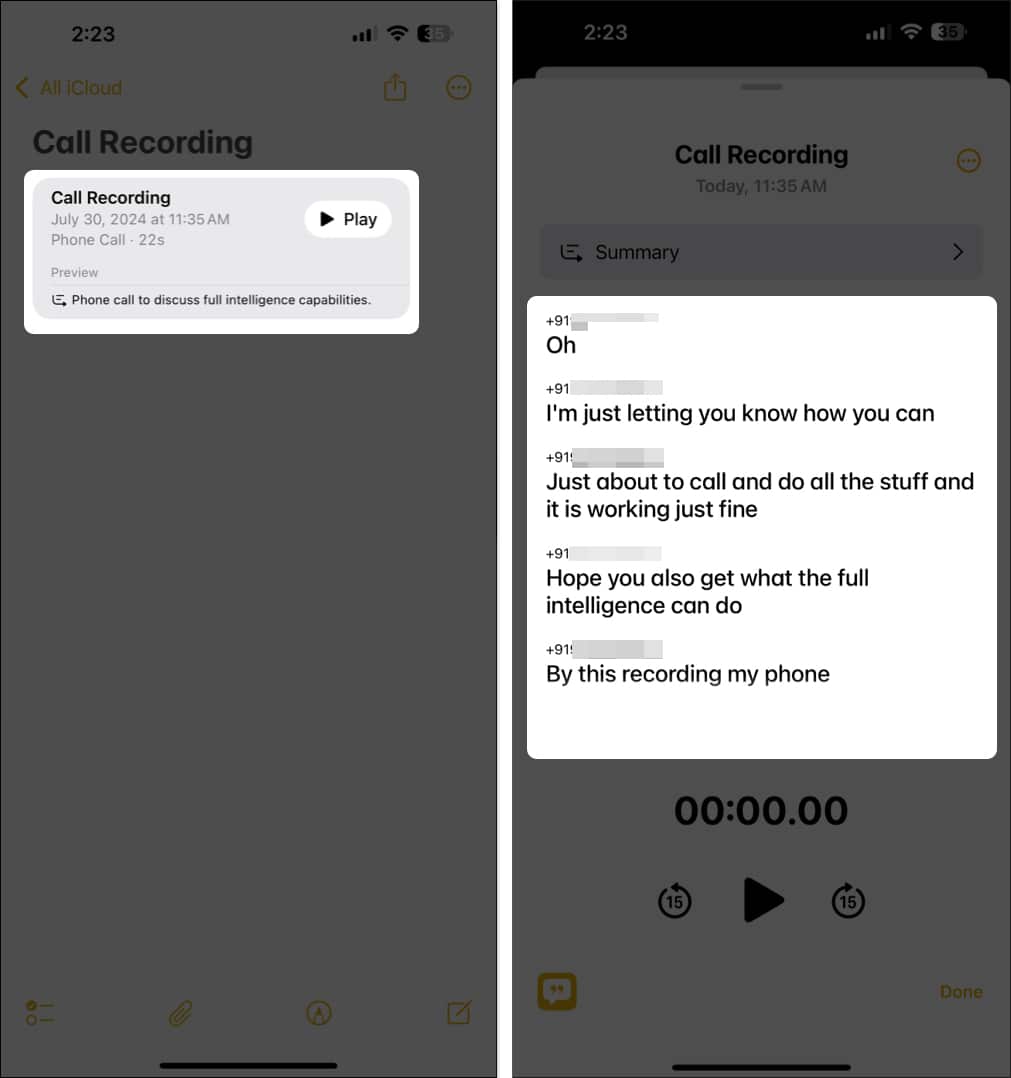
- You can also generate a short summary of your recorded conversation by tapping Summary at the top.
For more insights into recording calls, check out our detailed guide.
How to record FaceTime video call with audio on iPhone and iPad
Recording FaceTime video calls on an iPhone requires a few steps, as Apple doesn’t provide a built-in option for this due to privacy concerns. But you can use your iPhone’s screen recording tool to accomplish this. Before you proceed, ensure you have consent from the other party to record the call.
- First, add the Screen Recording option to the Control Center if it isn’t already there.
- Open Control Center, tap the plus icon at the top left and select Add a Control.
- Select the Screen Recording tile and tap an empty space.
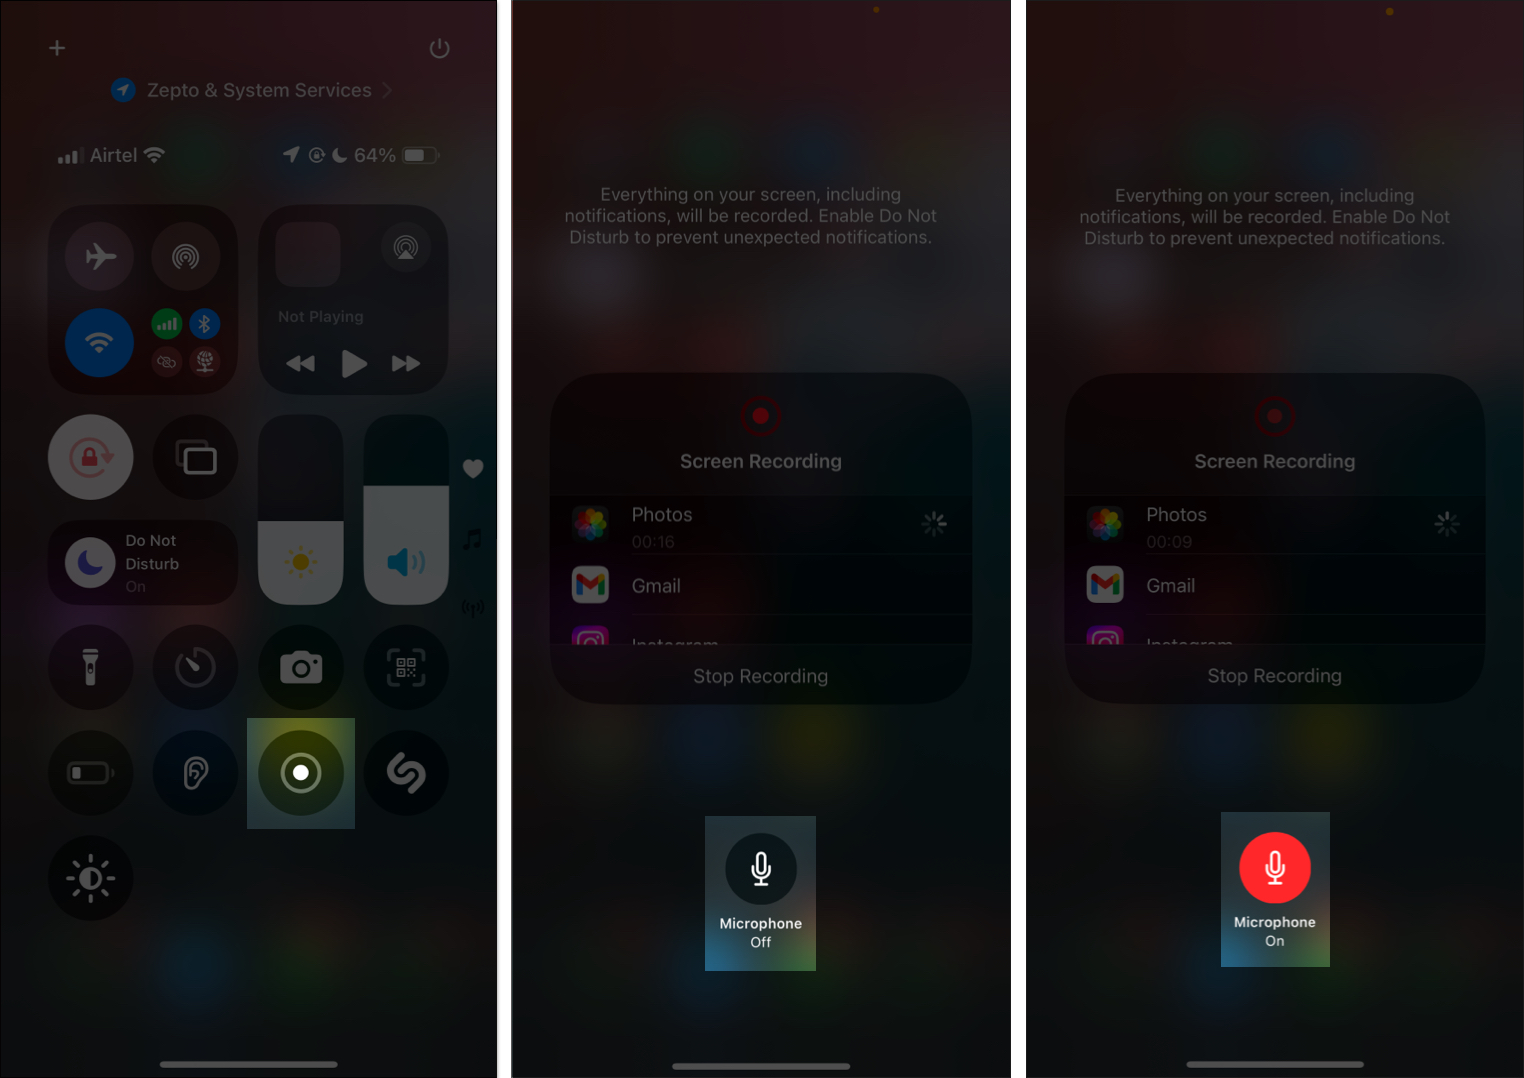
- Open the Control Center and tap the Screen Recording button. It will start the recording after the countdown.

- Now, long press the Screen Recording tile and tap the Microphone at the bottom to record a FaceTime video call with audio.
- Swipe up the Control Center and start or join your FaceTime call.
- Once the call ends, open the Control Center and tap the Screen Recording button again.
- Go to Photos to find your recorded video.
That’s how you can record your FaceTime video call with sound on your iPhone.
How to record FaceTime with audio on Mac
There are two straightforward ways to record FaceTime with audio in macOS. Here are both methods explained.
Method 1: Using the built-in screen recorder
- Start your FaceTime call on Mac.
- Press Command + Shift + 5 to open the screenshot toolbar.
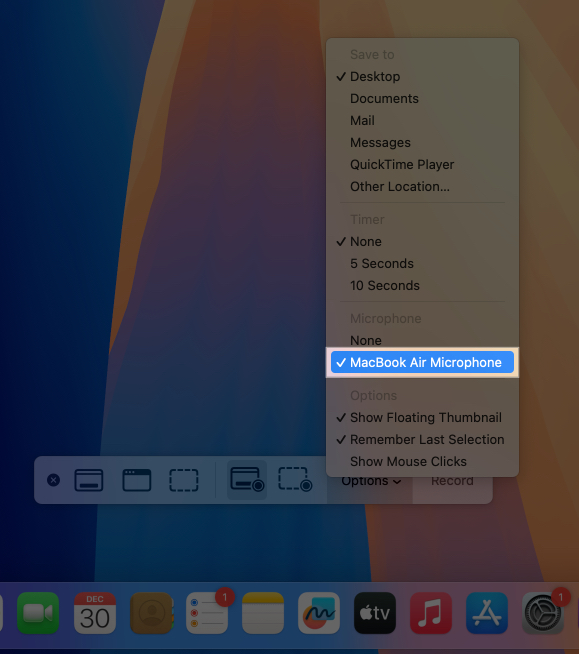
- Choose the portion of the screen you want to record or opt for the entire screen and click on Options.
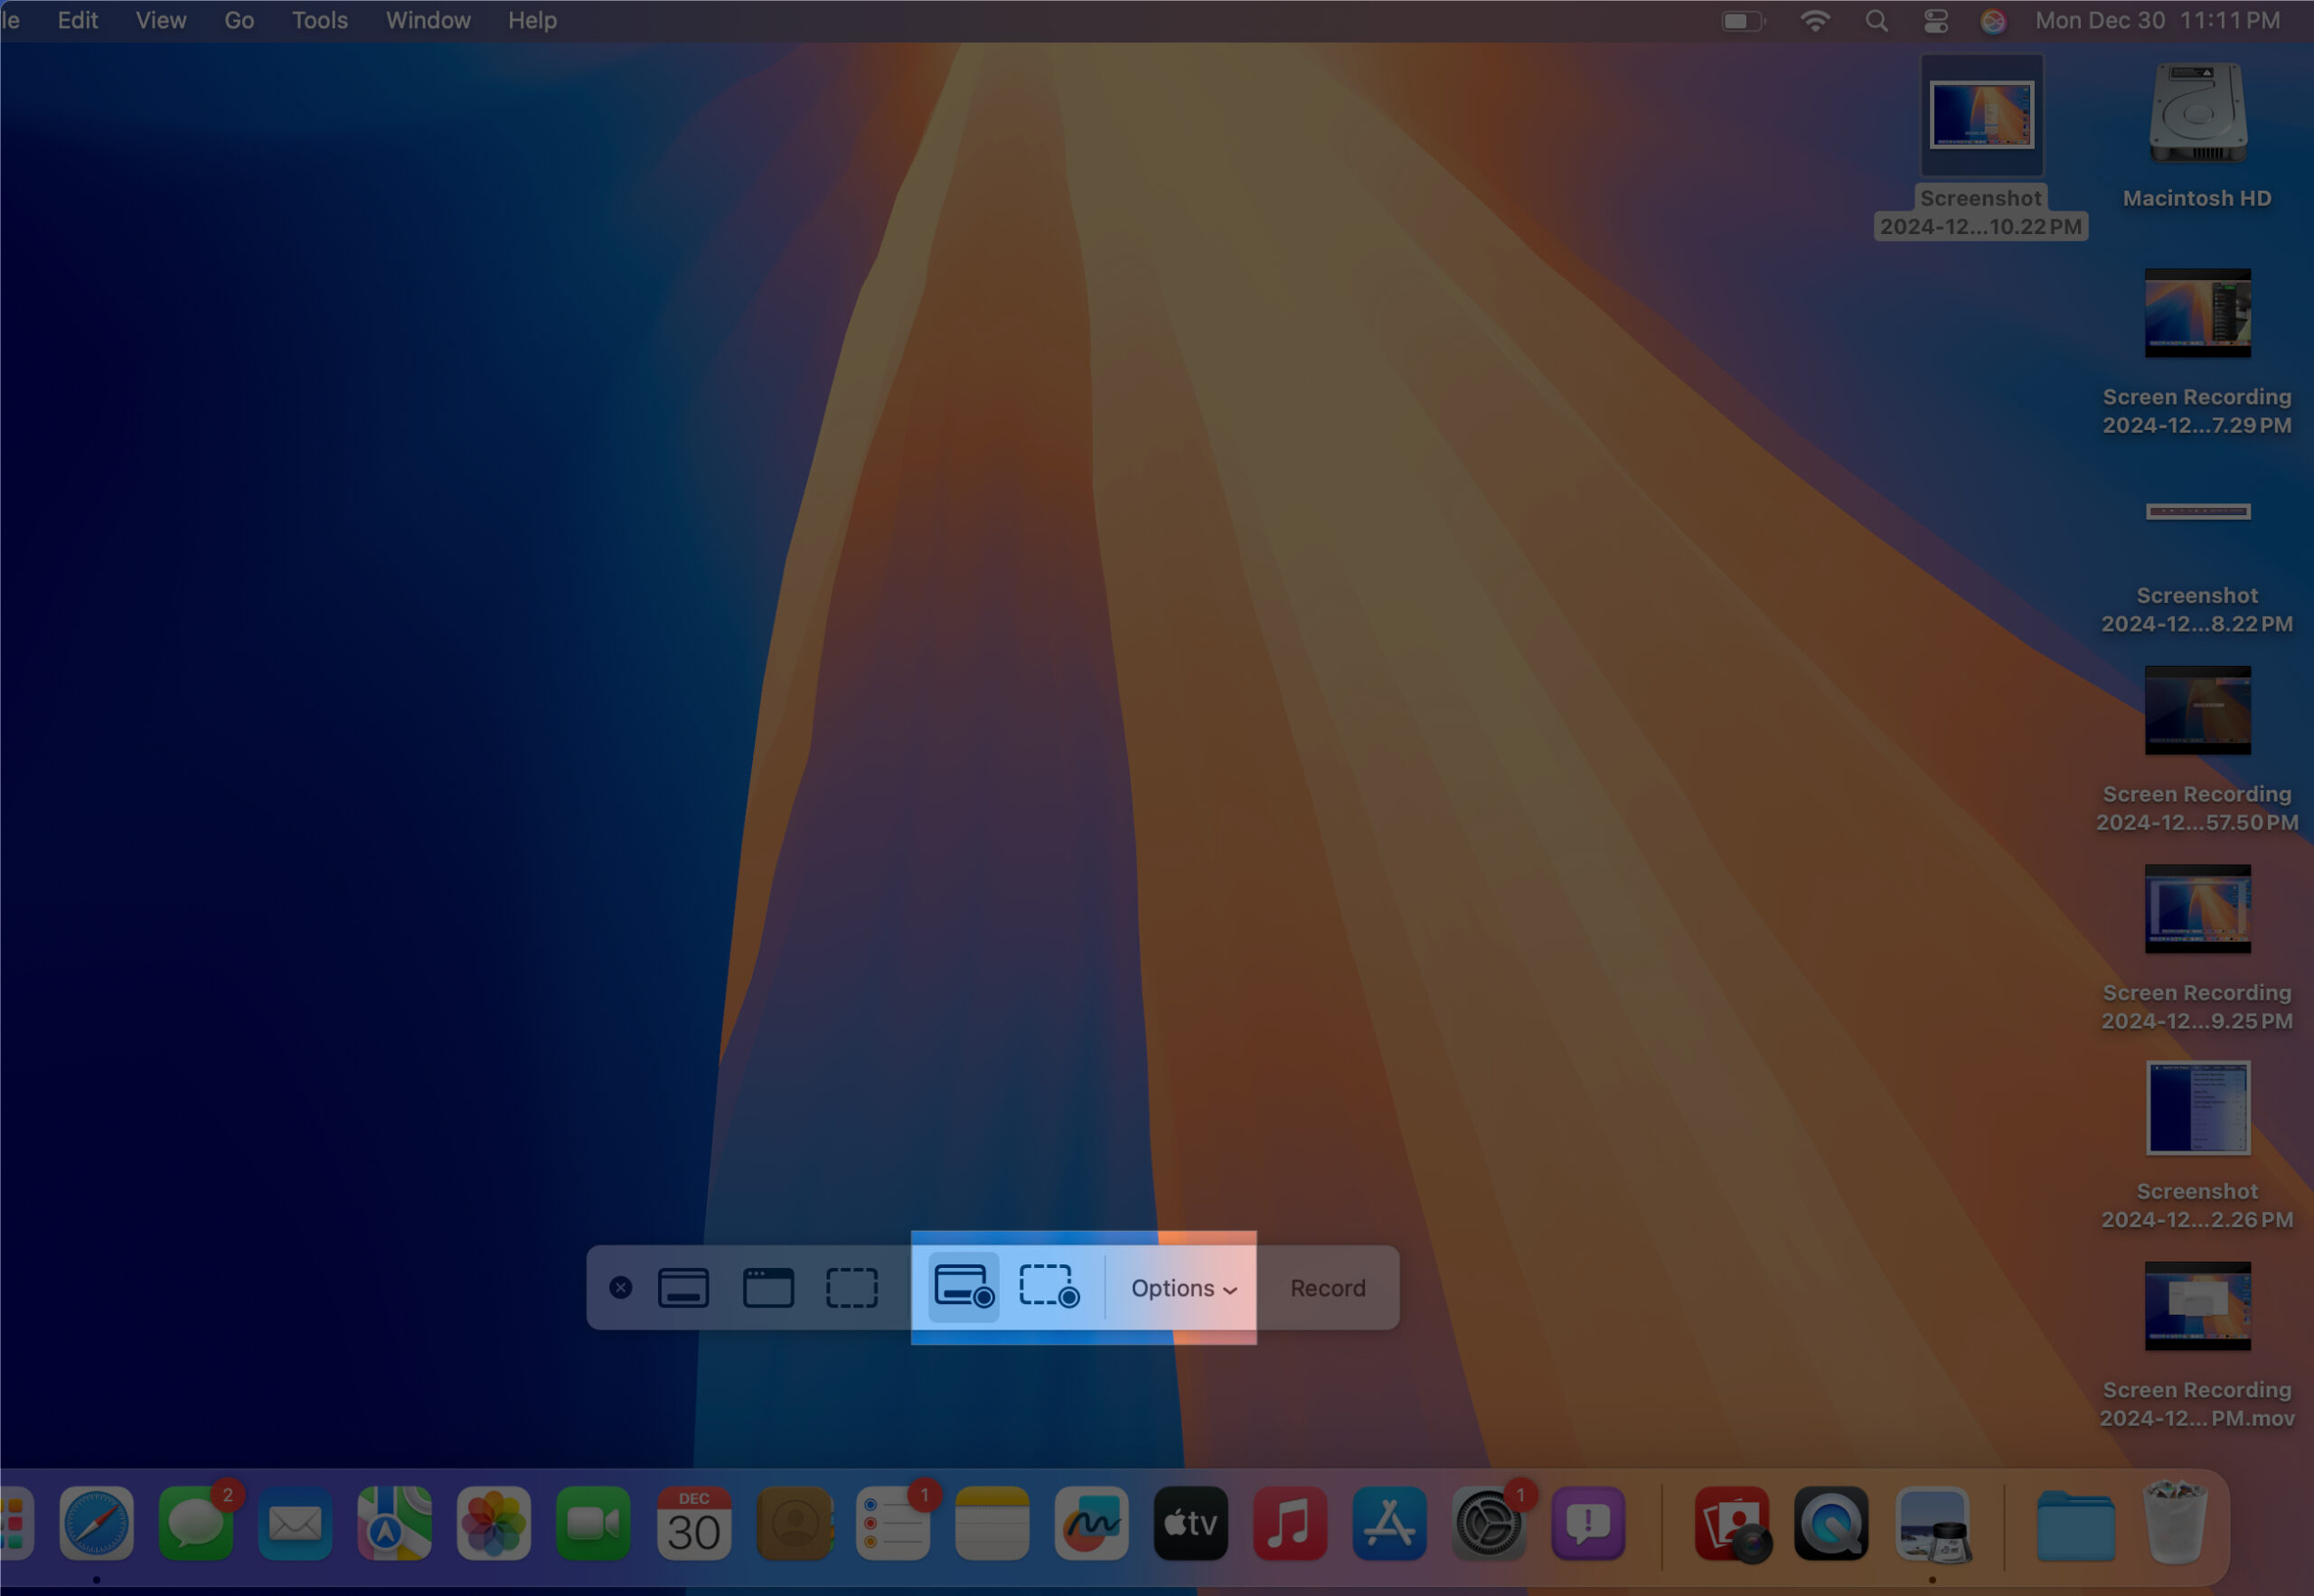
- Select your Mac’s Microphone to capture audio.
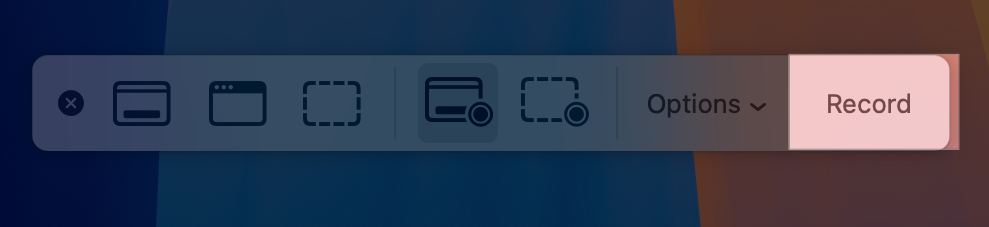
- Click Record and conduct your FaceTime call.
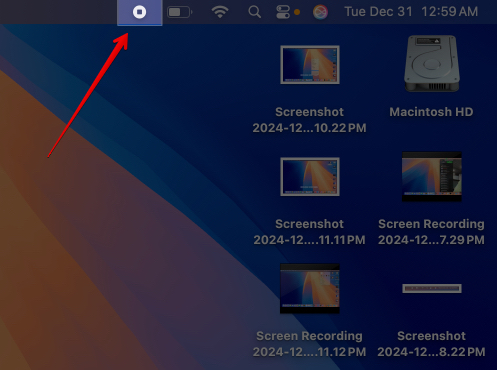
- Click the stop button in the menu bar when done. By default, the recording will be saved to your desktop.
Method 2: Using QuickTime Player
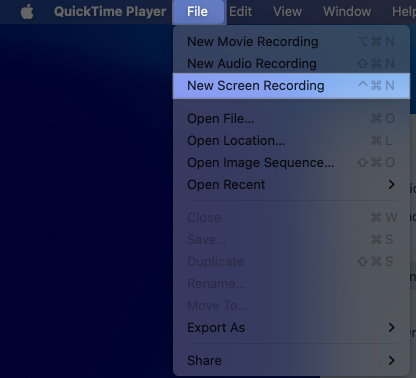
- Launch QuickTime from your Applications folder or Launchpad.
- Click File from the menu bar and select New Screen Recording.
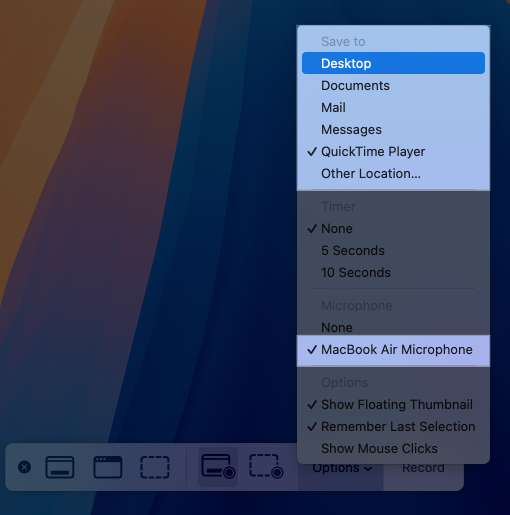
- It will open the screenshot toolbar. Select the area of the screen for recording.
- Click Options next to the record button and select your Mac’s Microphone.
- Also, choose where you want your recording to be saved.
- Click the Record button and start your FaceTime call on your Mac.
- After the call, stop the recording.
Is it legal to record FaceTime calls?
Recording FaceTime calls is subject to the laws of your region. Not all countries (and state governments in powerful federal countries) permit phone recording. Since FaceTime is also a form of calling, the same rules most certainly apply to it. You can learn about laws on recording conversations for all 50 U.S. states in this PDF.
The consensus is that it is better to inform the other person before recording their calls (especially if you plan to use it for non-personal purposes!). You won’t want your private calls to be recorded without your information. The same applies when the roles are reversed. Failing to do so may result in legal consequences.
Signing off…
Recording FaceTime calls can be invaluable for personal and professional use. I hope following the steps outlined above ensures you can record FaceTime audio and video calls effectively. You can revisit the recording later for reference or to save special moments.
