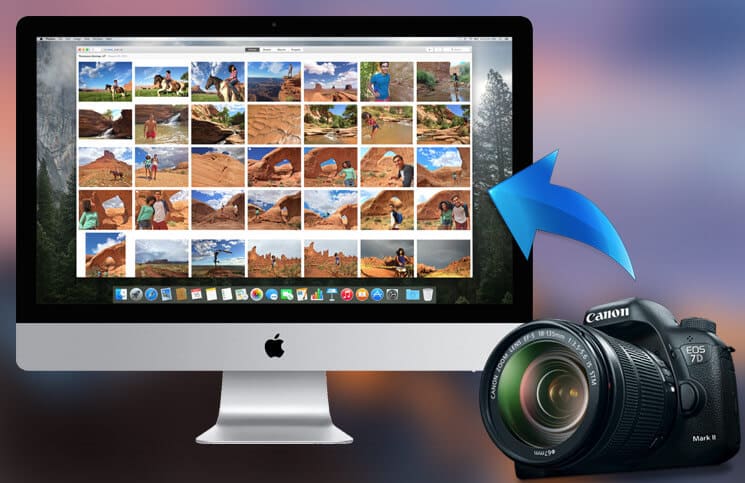
With macOS High Sierra, you can import photos from digital camera to your desired folder or deliver them into a new album on your Mac.
So if you are willing to import all of your memorable photos, which you had snapped using a power-packed DSLR while holidaying with your loved ones, to your Mac, you will be able to get them in a specific folder with ease. Unlike before, you won’t have to navigate through the entire photo library to filter the newly added shots and then pack them up in a separate folder. What’s more, there is also an option to set up the Photos app for macOS to import photos automatically from that specific device.
Quick Access:
- How to Import Photos From Digital Camera to a Folder on Mac
- Find the Photos, Which You Added In a New Folder on Mac
- How to Find Imported Pictures (Unspecified) from Digital Camera in Photos App on Mac
How to Import Photos From Digital Camera to a Folder on Mac
Step #1. Connect the Camera to your Mac.
Now, you need to make sure that the camera is turned on and set correctly for importing photos. In case it has a “sleep” mode, turn it off.
Step #2. Open Photos app on your Mac.
Step #3. Next, you need to click your digital camera from the sidebar under Devices.
Step #4. Next up, you have to select the photos or videos you wish to import to a folder.
Note: Just in case you want Photos to open whenever you connect this digital camera to your Mac, make sure to select the Open Photos checkbox.
If you wish to get rid of all the photos from the camera once you have imported them, check the box for “Delete items”. This option might not appear on all cameras.
Step #4. Next, you need to click on Library at the top of the Photos app.
Step #5. Next up, select the already existing folder or album you wish to import the photos.
Note: If you want to import the photos into a new folder, you have to click Create New Album → Enter its name and then click on OK.
That’s done! All of your photos will be imported into your selected folder.
Find the Photos, Which You Added In a New Folder on Mac
Step #1. Open Photos app on your Mac.
Step #2. Now, you have to click on My Albums in the sidebar.
Step #3. Next, double-click on the Album.
How to Find Imported Pictures (Unspecified) from Digital Camera in Photos App on Mac
All of your photos will be delivered to the Photos library if you don’t select a folder while importing pictures.
Step #1. Launch Photos app on your Mac.
Step #2. Click on Imports.
Now filter the imported content by only photos, favorited, keyword, edited, etc. to quickly find the specific ones.
Step #3. Click on Showing at the top upper left and choose a filter.
That’s done!
Wrapping up:
So, that’s you can easily import your favorite shots from your digital camera to an individual folder. Have any feedback? Let us know that in the comments below.
You might want to take a peek at these posts as well:
- How to Use Portrait Lighting Mode on iPhone X and iPhone 8 Plus
- Best emoji apps for Mac
- MacBook camera not working? Try these fixes
🗣️ Our site is supported by our readers like you. When you purchase through our links, we earn a small commission. Read Disclaimer.

