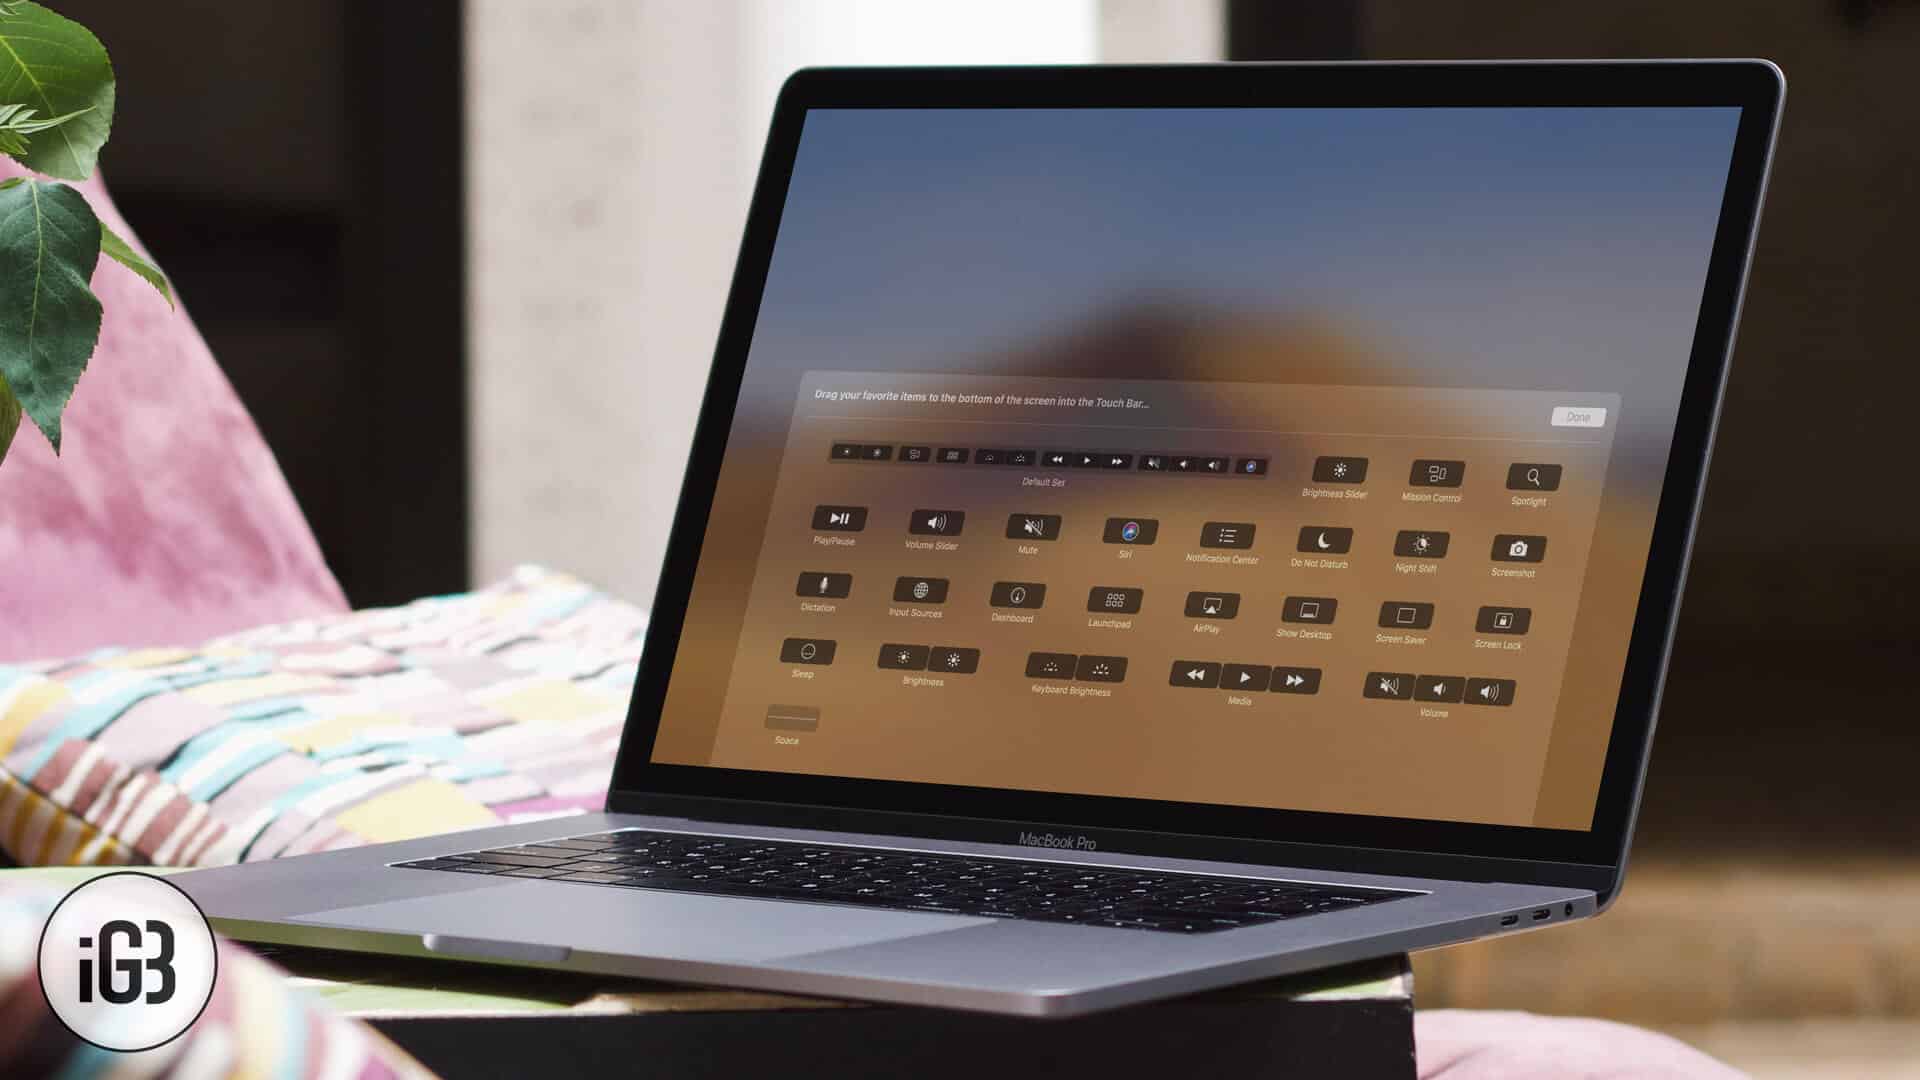
Despite being flanked by many Mac users for not having built-in SD Card reader and coming with just 16GB memory, the new MBP outsold all the laptops including its predecessor in just five days. Though there is one MacBook Pro’s feature which has won enormous praise even from the hard-core critics – “Touch Bar.”
The OLED panel lets you interact with apps with convenience. It has made MBP more user-friendly than ever before. The best part is that you can customize Touch Bar as per your need.
Agreed, that right now there are not too many third-party apps that provide customization option of the multi-touch. However, it’s just a matter of a few months before we will have tons of options.
Let’s swim across to customize Touch Bar on your new MBP! (To use Touch Bar on any Mac, head over to this post.)
How to Customize the Touch Bar on MacBook Pro 2016
Step #1. First off, you need to select an app or program. To change the Control Strip, just click your desktop screen.
Step #2. Next, you have to click View in the app menu bar.
Step #3. Now, choose Customize Touch Bar from the drop down menu.
Then, you will have to choose and drag a tool from the customization panel down towards the bottom of the screen.
You should see the tool on the Touch Bar, move it anywhere within the app section to organize even as desired.
How to Remove Tools from Touch Bar on MacBook Pro 2016
You can easily remove the tools from the Touch Bar if you no longer want them.
Step #1. Starting off, select any app or program. To change the Control Strip, click your desktop screen.
Step #2. Click View in the app menu bar → Select Customize Touch Bar from the drop down menu.
Step #3. Now, you will have to touch and hold a tool in the Touch bar when you see the customization panel on the screen.
Once it has entered wiggle mode, you need to drag the tool to the trash can icon to the left of the Touch Bar.
Step #4. Tap on Done to confirm the change.
How to Reorganize Tools in Touch Bar on New MacBook Pro
It’s easy to reorganize tools in Touch Bar as per your need. You can not only add or remove tools with many apps but also move them to the new location in the app region.
Step #1. Select any app or program. To change the Control Strip, click your desktop screen.
Step #2. Click View in the app menu bar → Select Customize Touch Bar from the drop down menu.
Step #3. Next, you have to touch and hold a tool in the Touch bar when you see the customization panel on the screen.
When it enters wiggle mode, you need to drag the tool to the new location in the app section.
Step #4. Tap Done in the end.
That’s it!
Overall, I find new MacBook Pro and Touch Bar class apart. What do you think of them? Share your views in the comments below.
🗣️ Our site is supported by our readers like you. When you purchase through our links, we earn a small commission. Read Disclaimer.

