No smartphone comes close to the quality or the consistency of videography of the iPhone. The videos shot on iPhone are hands down the best. But with higher quality comes higher storage space, and thereby arrives the need to compress videos on iPhone.
Sadly, Apple does not have a native app that allows users to compress and share files. And so we have to rely on third-party apps or online video-compressing tools. Read along to learn how you can compress videos on your iPhone or iPad through both of these methods.
- Reduce video size using a third-party video compressor app
- Shoot videos in a lower resolution on iPhone
Reduce video size using a third-party video compressor app
Just because Apple does not provide the option to compress videos in iOS 16 or iPadOS 16 does not mean you cannot do it at all. If Apple doesn’t do it, other app developers are ready to capitalize on the opportunity and provide solutions to such problems.
You can select from a wide range of video-compressing apps available on the App Store. Moreover, the process will be similar throughout most video-compressing apps. We recommend the Compress Videos and Resize Video app. For those that decide to go with our recommendation, here’s how to navigate through and compress your videos,
- Download Compress Videos & Resize Video app and open it.
- When you open the app, you must grant permission to access storage. You can either opt for “Select Photos…” and select videos manually or tap Allow Access to All Photos. If you dislike personalized advertisements, select Ask App Not to Track on the next dialogue box.
- Tap Select Videos to Compress.
- Navigate to an album and select the video you want to compress.
- Tap Next.

- Adjust the Frame Rate slider. The lower the frame rate, the less storage it will consume. Also, avoid going below 24 fps, as the video might get choppy.
- Adjust the Video Dimension slider. Again, the resolution is inversely proportional to the storage consumed. However, avoid going to very low resolutions as the video might not retain any details.
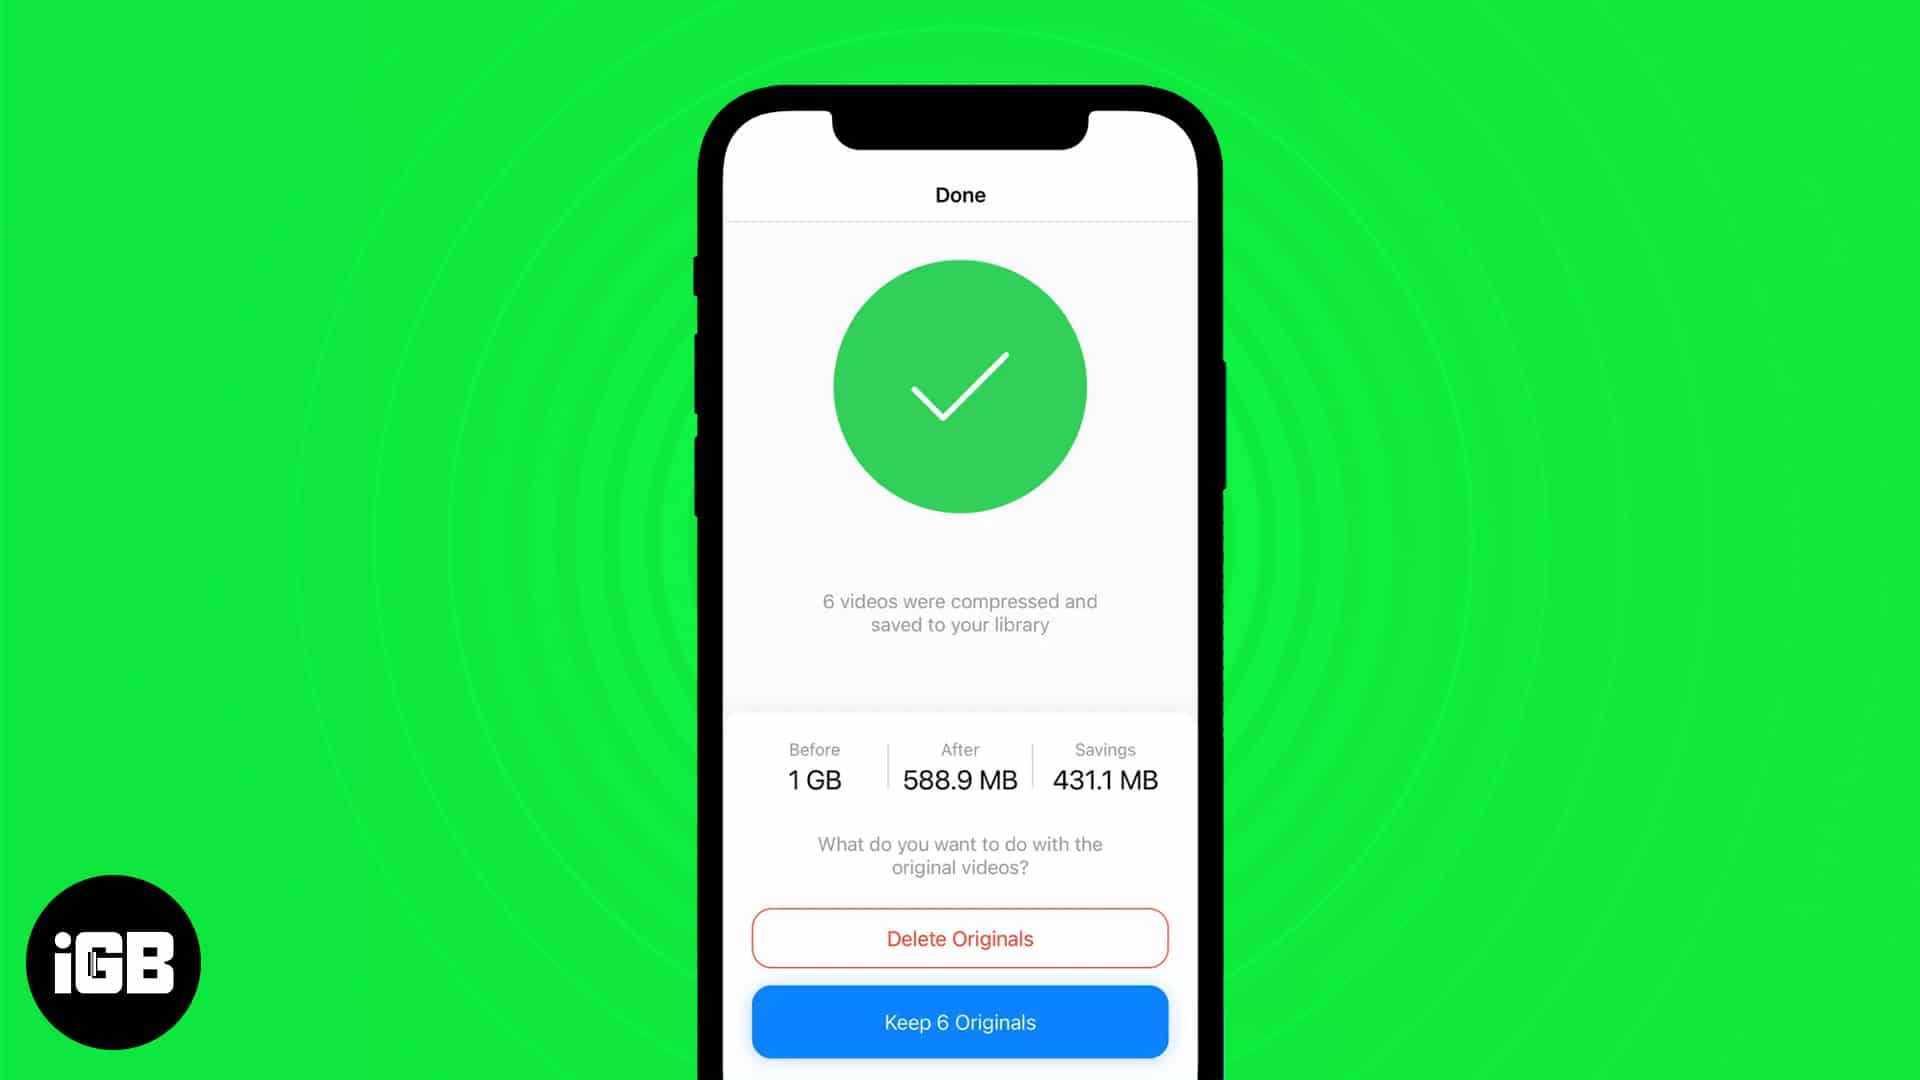
- Tap Compress.
- Once the file is compressed, you can choose to delete the original file or keep it. You should keep the original file just in case you need it later.

The compressed video will be saved to Photos. It can be accessed and shared from there.
Shoot videos in a lower resolution on iPhone
The latest iPhone 14 series can shoot cinematic videos in 4K 30 frames per second or 4K 24 frames per second. While the quality of these videos retains exceptional detail and the rack focusing is very accurate, the main drawback is that the size of these video files is humongous.
So, if you don’t want your videos to be extremely detailed, I recommend you lower the default resolution of videos on your iPhone. Yes, shooting in a lower resolution is not the best advice, but if you constantly share videos with friends and family, 1080p 30 or 60-frames-per-second videos are more than enough. Here’s how to lower the resolution on iPhone and iPad:
- Open Settings on iPhone or iPad.
- Navigate to Camera.
- Tap Record Video.
- Now, you can view the available resolution and fps. Also, just below it is a chart that provides the amount of storage occupied for a minute of video shot in the selected resolutions. The available options are:
- 720p HD at 60 fps.
- 1080p HD at 30 fps
- 1080p HD at 60 fps
- 4K at 24 fps
- 4K at 30 fps
- 4K at 60 fps
- In my opinion and experience, 1080p HD at 60 fps is the sweet spot for most casual users. But you can select one according to your needs.

- Also, scroll down and disable the HDR Video toggle, which will help save storage by keeping the file size low.
- Next, select the Auto FPS option.
- Tap Auto 30 & 60 fps.


I bet the compression was quick
And the sharing time will be quick, too. Simply because the file size is now lower than before. If you have any other doubts related to compressing videos on iPhone or iPad, leave a comment below, and we’ll get back to you as soon as possible. I’m waiting for Apple to introduce their video compressing tool or integrate the feature within the Photos app.