- Why renaming Bluetooth matters: Updating a Bluetooth device name on your iPhone, iPad, or Mac cuts pairing mistakes and keeps lists clear when several accessories stay connected.
- How to rename Bluetooth on iPhone or iPad: You can change your device name in Settings > General > About > Name, which instantly updates how it appears during Bluetooth pairing.
- How to rename Bluetooth on Mac: macOS lets you edit the Name field in Settings > General > About so your Mac shows up with a clearer identity in Bluetooth searches.
- What renaming changes across Apple services: A new device name applies to AirDrop, Personal Hotspot, Find My, and sharing menus, which helps you spot your hardware faster.
Bluetooth makes it easy to connect your Apple devices to accessories, but the default names often create confusion when multiple “iPhones,” “AirPods,” or “Macs” show up during pairing. Changing the Bluetooth name helps you spot your device faster, avoid connection mix-ups, and keep your setup organized. This guide walks you through renaming your iPhone, iPad, Mac, and connected accessories.
Table of Contents
Why You Should Change Your Bluetooth Name
Changing your device’s Bluetooth name has many benefits, including but not limited to:
- Making device identification easy, especially in shared environments.
- Helping avoid pairing mistakes.
- Keeping your accessory list clean.
- Adding personalization to your Apple devices.
- Reducing confusion when you own multiple iPhones, iPads, or Macs.
How to Change Bluetooth Name on iPhone or iPad
Every accessory you pair with your iPhone or iPad shows up with a generic default name. Renaming it to something personal makes it much easier to identify and manage.
Here’s how you can:
- Open Settings → General → About.
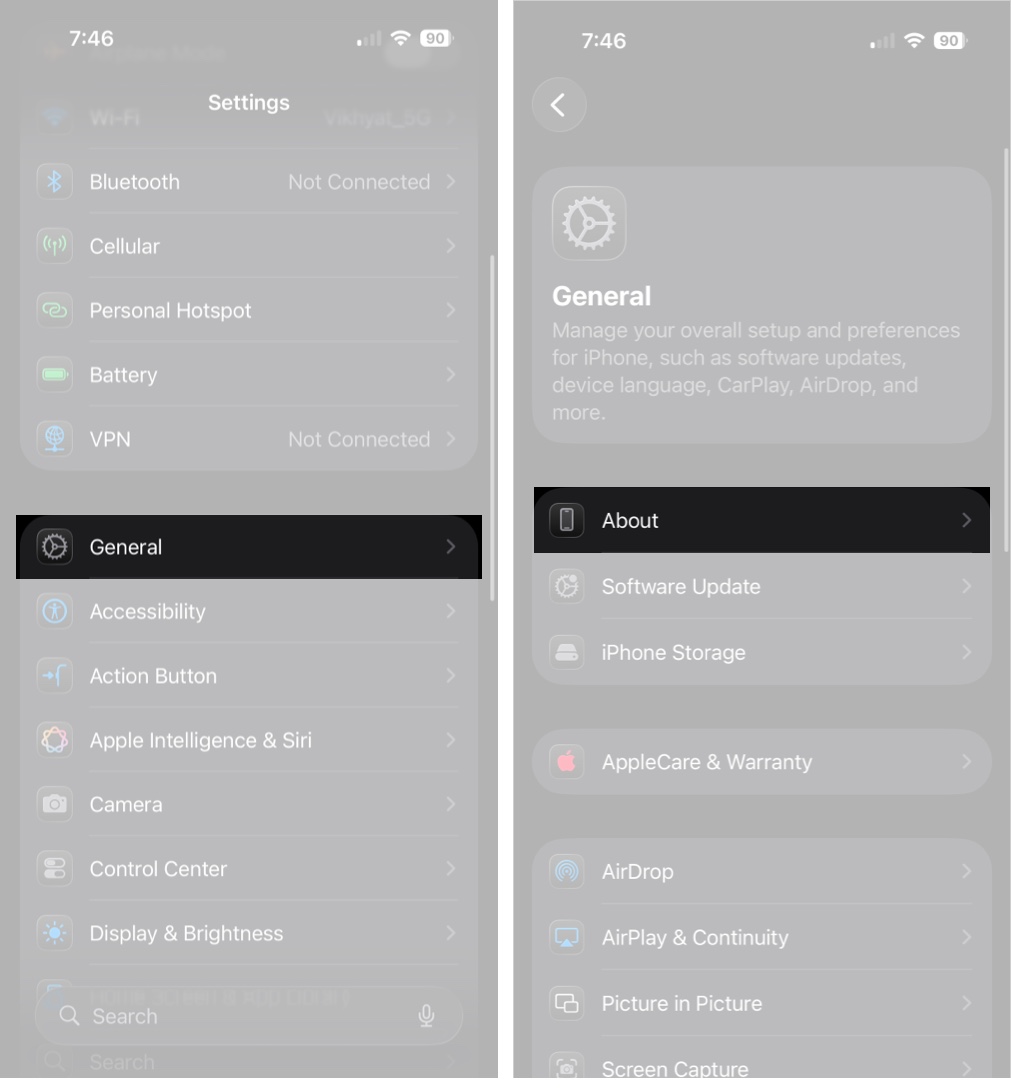
- Tap on Name.
- Enter the name you want to use and tap Done.

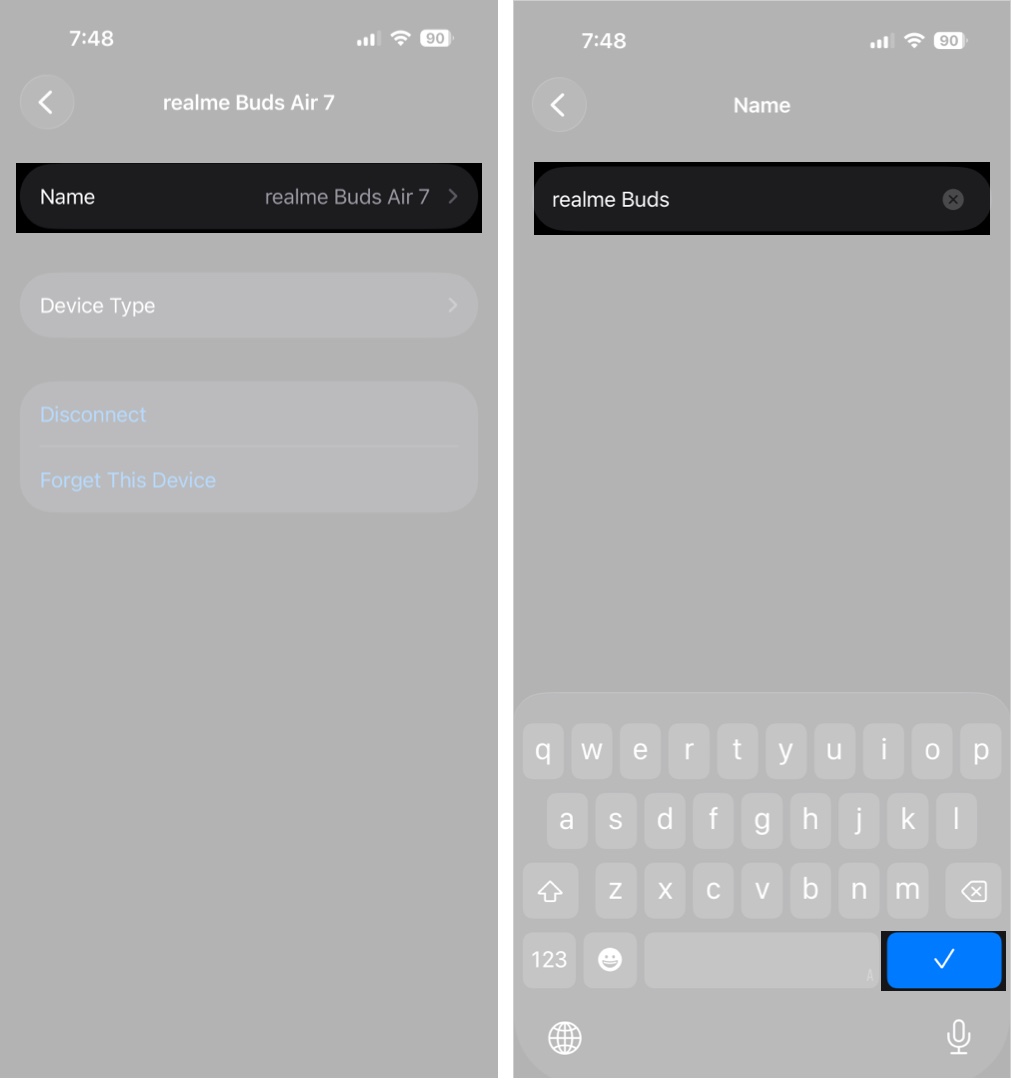
Rename a Bluetooth Accessory on iPhone or iPad
Apple links your Bluetooth device name to your iPhone’s name. Once you change it, the new name automatically appears everywhere Bluetooth is used, including AirDrop, Hotspot, and Find My.
- Make sure the Bluetooth accessory you want to rename is connected to your iPhone.
- Go to Settings → Bluetooth.
- Tap the (i) button next to the connected Bluetooth accessory’s name.
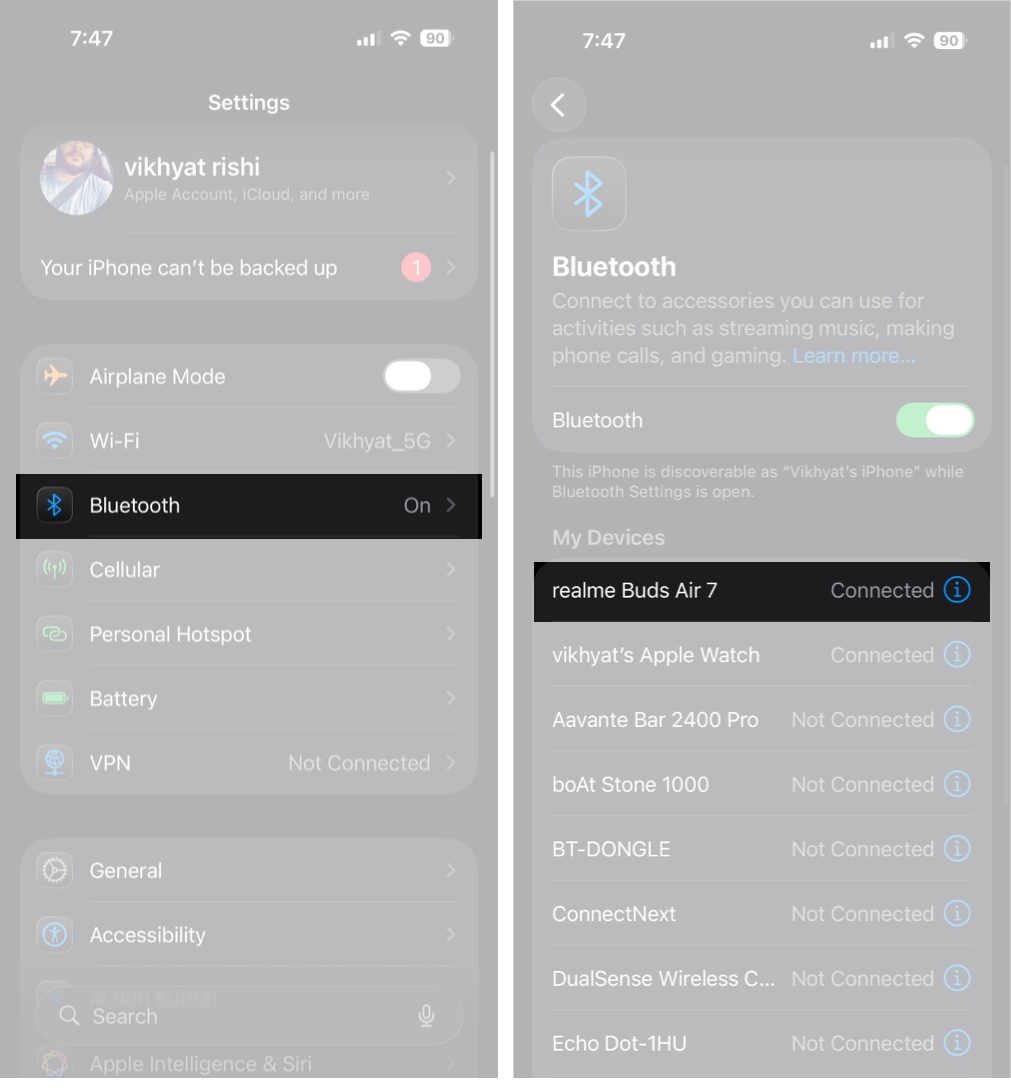
- Tap Name.
- Enter the name you want to use and tap Done.
How to Change Bluetooth Name on Mac
Like the iPhone, your Mac’s Bluetooth name matches your computer name, and updating it changes how your Mac appears in Bluetooth, AirDrop, and other sharing services.
- Open Settings → General → About.
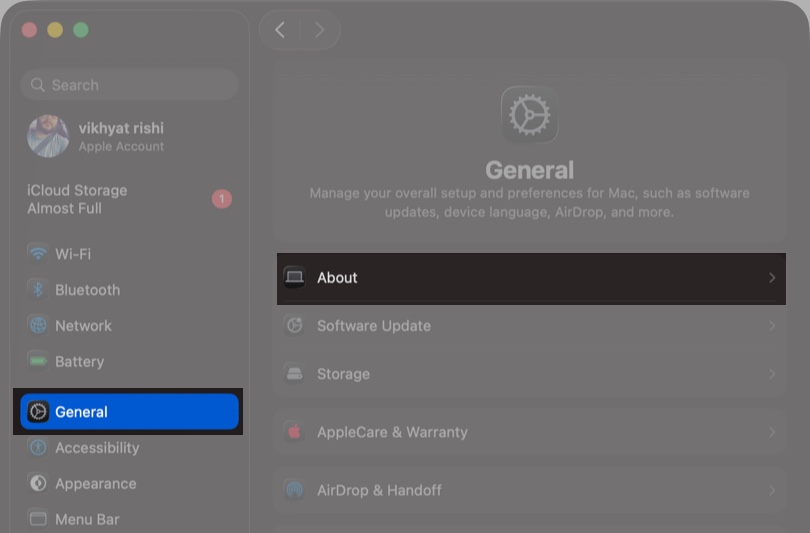
- Click Name.

- Remove the current name and enter the new name you want to use.
Rename a Bluetooth Accessory on Mac
If you want to rename a connected accessory on your Mac:
- Connect the Bluetooth accessory to your Mac.
- Now, go to Settings → Bluetooth.
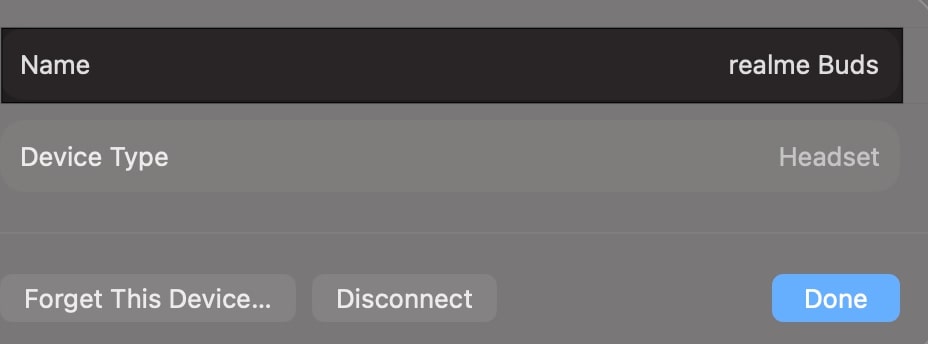
- Click the (i) button next to the connected Bluetooth accessory’s name.
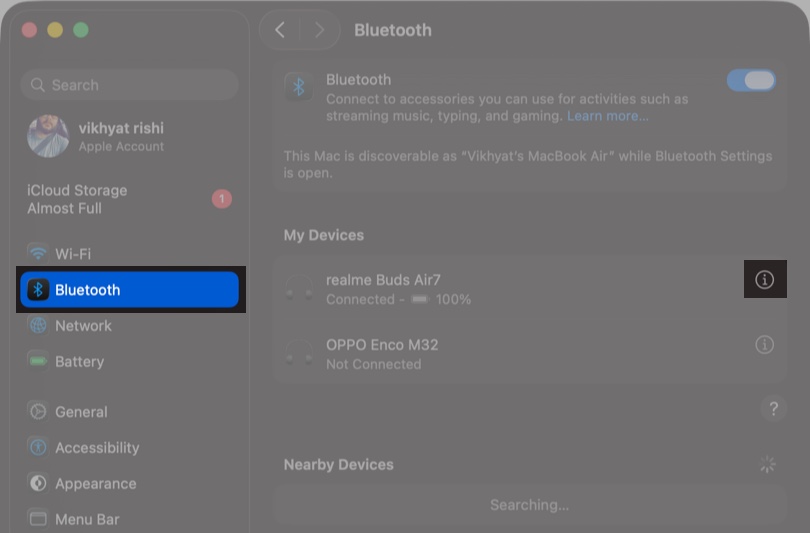
- Click Name, then enter the new name you want to use for the Bluetooth accessory.
What Happens When You Change the Bluetooth Name on iPhone and Mac
Since Apple uses your device name across multiple features and services, renaming your iPhone, iPad, or Mac does more than change how the device appears in a Bluetooth list. Here’s everything that changes after you rename your device:
- Bluetooth Pairing Lists: Your new name appears whenever another device scans for Bluetooth, making identification easier in crowded spaces.
- AirDrop Identity: AirDrop uses your device’s current name to help others quickly recognize it.
- Hotspot Name: Personal Hotspot automatically adopts the new device name on both iPhone and Mac.
- Find My: The new name appears in the Find My app, keeping your device list organized.
- Network & Sharing (Mac): On Mac, the new name also serves as your identity for file sharing, screen sharing, and local network visibility.
- Car Systems & Accessories: CarPlay, smart TVs, speakers, and previously paired accessories will display the new name the next time they connect.
Keep Your Connections Clear
And that’s it. Now you know how easy it is to change the Bluetooth name on your iPhone, iPad, and Mac. It helps you avoid pairing mix-ups, keep track of accessories, and maintain a cleaner, more personal device environment.
Tried renaming your devices? Share your experience in the comments.
Read more: