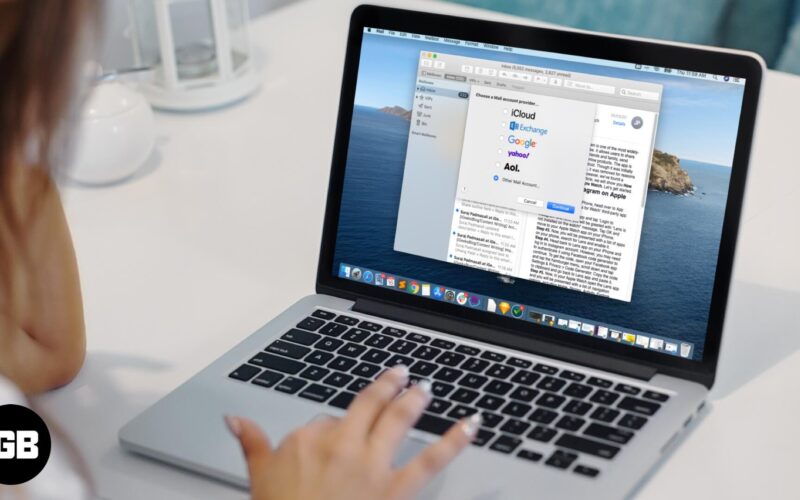
While there are some great alternative email apps that you can use, the Mail App on Mac is pretty convenient. The first time you open it, you will be prompted to add an email account on the Mac Mail App. Moreover, you can add multiple accounts which makes it easy to manage all your email whether it’s from Gmail, Outlook, iCloud, Yahoo or some other service. When needed, you can also remove an email account from the Mail app. So let’s see how to set it all up in some simple steps.
Add Email Account to Mail App on Mac
If you’re wondering how to add Outlook email to Mac or how to add GoDaddy email to Mac.
There are 3 ways to do it.
Add an Email Account for the First Time on Mac
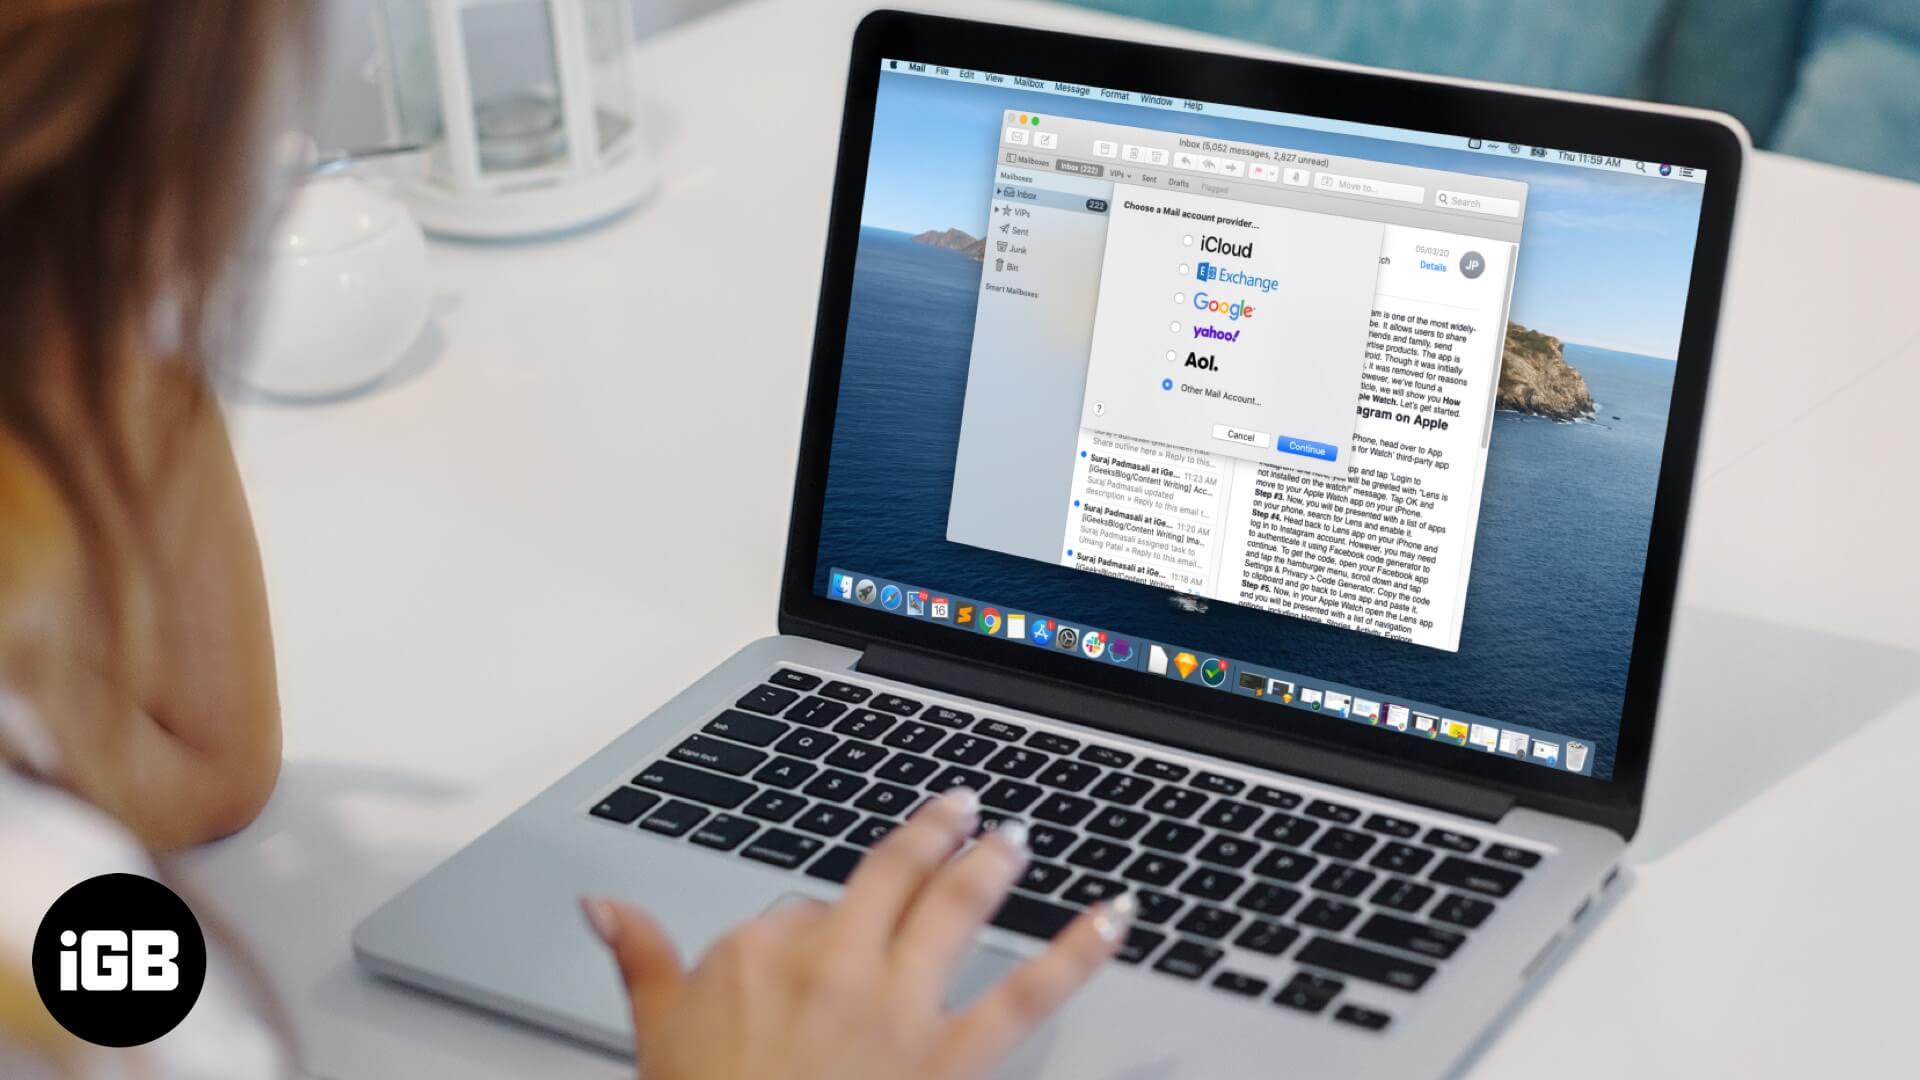
The first time you open the Mail app on your Mac, a dialog box will prompt you to add an account.
Select an account type from the list and click Continue. If your account is not on the list such as Outlook or GoDaddy, choose ‘Other mail account.’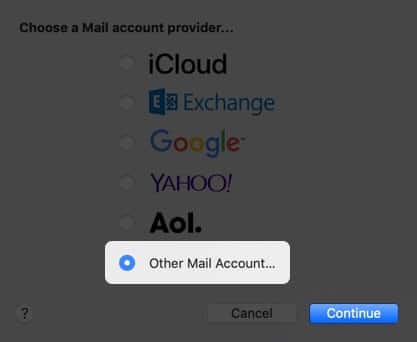
Now, enter your email account information as prompted and click on Sign In. Once verified, the account will be added to the Mail app.
Add Multiple Email Accounts to Mac Mail
If you have already added an email account, it’s also possible to add more.
In the Mail app, click on the Mail menu at the top of the screen and select Add Account.
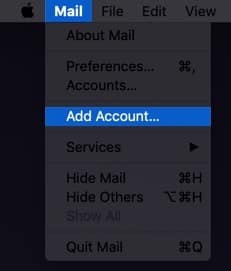
Select an account type, then enter your account information.

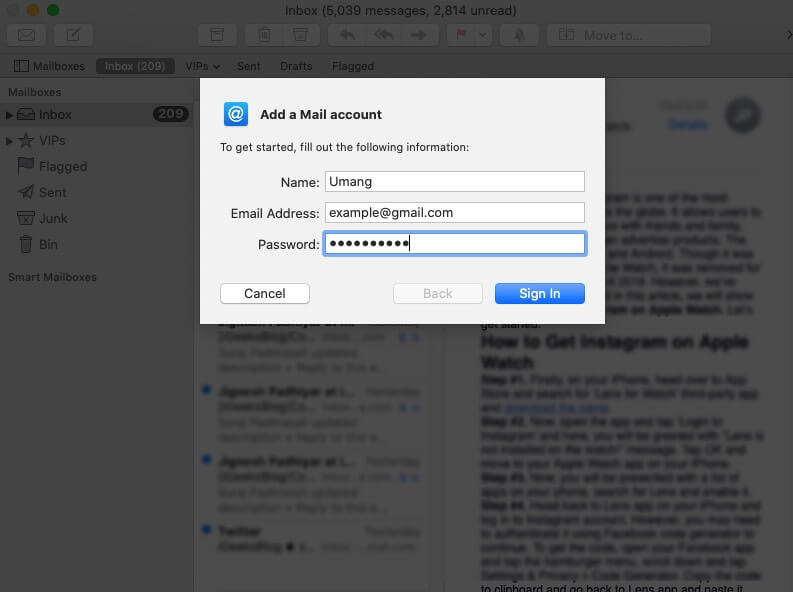
Make sure the Mail tick-box is selected for the account.
Add Email Account to Mac Mail through System Preferences
This option is good if you also want to use other apps on your Mac with the same email such as Notes or Calendar.
At the top of your screen, click the Apple menu and select System Preferences.
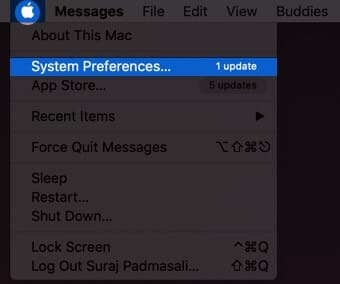
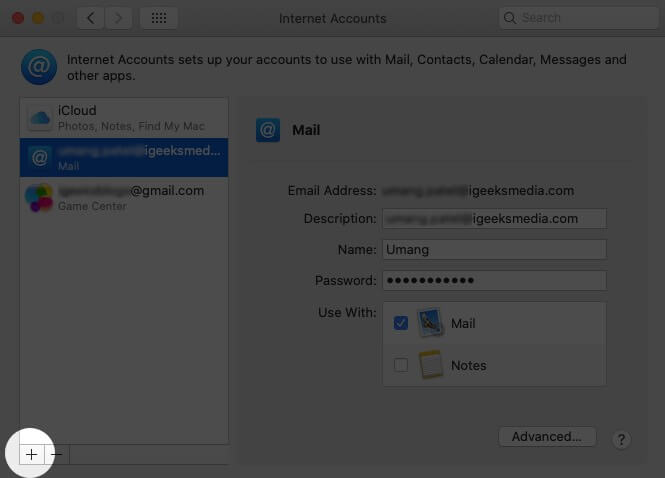
Then click on Internet Accounts.
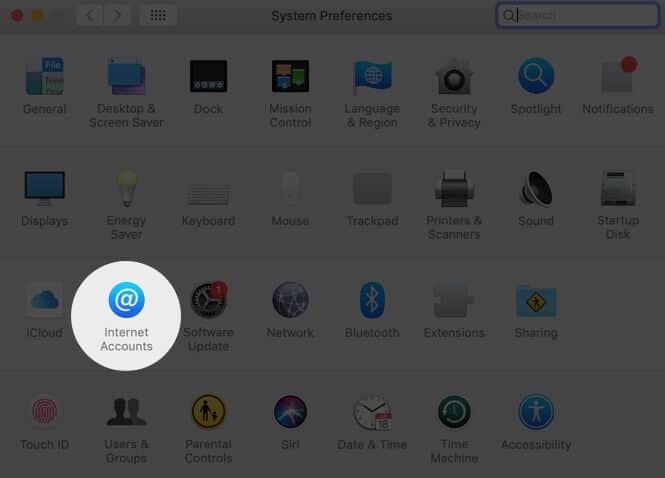
To add a new email, click the “+” button at the bottom of the list.
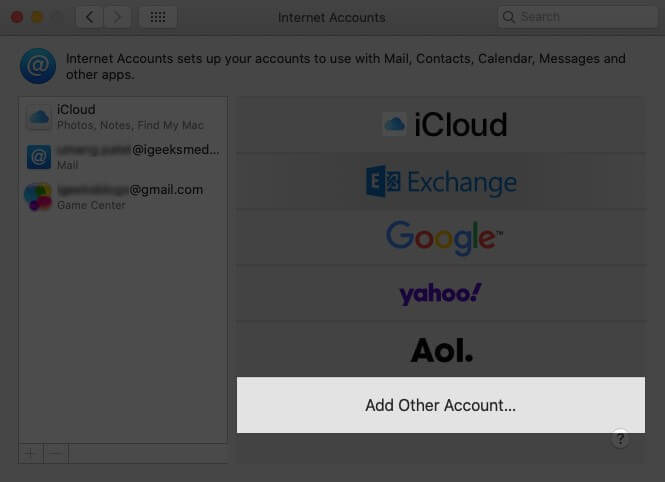
Click on your mail provider name. If it’s not on the list, choose “Add Other Account.”
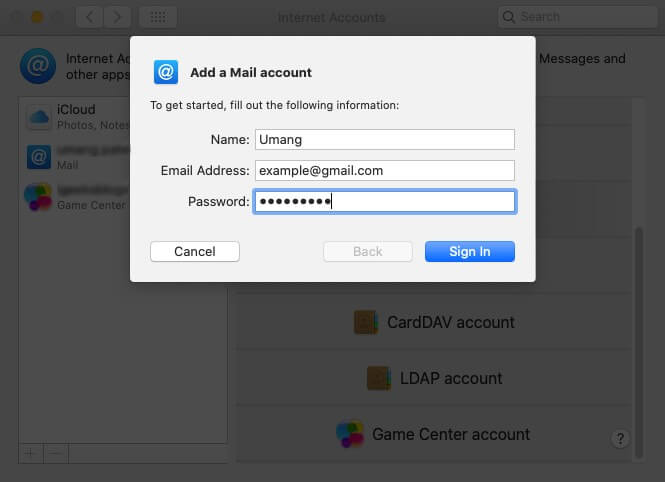
You’ll be shown a popup asking you to sign in to your mail account. Enter your email and password for the account you want to use, and click “Sign In.”
Once you’re signed in, you’ll have the option to choose which other apps to link to your email. If you only want Mail, disable the other features like Contacts and Calendar, and click “Done.”
How to Remove an Email Account from Mail App on Mac
There are two ways to remove an email account from Mac. In the first method, your messages will not be shown in Mail but they’ll still remain on your computer so you can easily get them back:
Temporarily Disable an Account from Mac Mail App
In the Mail app on your Mac, choose Mail → Accounts.

Select the account, then deselect the Mail tick-box. Now the account’s messages will not be shown in Mail.
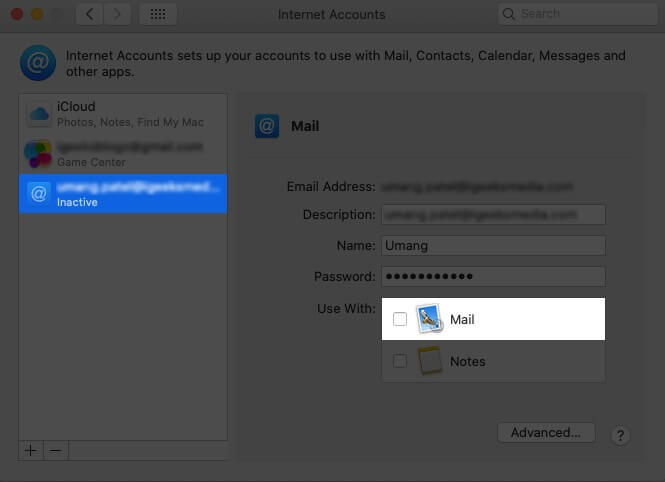
You can easily get the messages back by once again selecting the Mail tick-box.
This method is useful when you want to temporarily stop using your email account on Mac. But if you want to completely remove your account and all its messages from your Mac then a different approach is needed.
Remove an Account from Mac Mail App
When you remove an email account from Mail, the account’s messages are deleted and no longer available on your Mac. Copies of messages will still remain on the account’s mail server. So you’ll be able to access them through the web.
In the Mail app on your Mac, go to the Mail menu and select Preferences, then click Accounts.

Select an account, then click the Remove button.
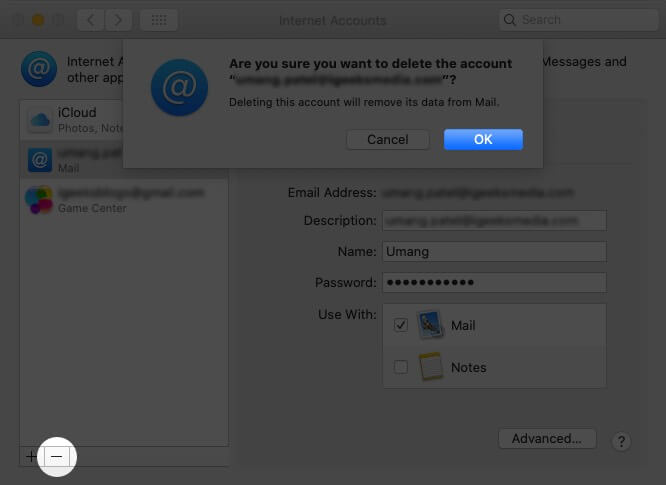
In case your account is used by other apps on your Mac, you will be prompted to remove the account in System Preferences. Click the button to open Internet Accounts in System Preferences. Then uncheck the Mail tick-box for the account. To stop using the account in all apps, make sure the account is selected, then click the Remove button.
Wrapping Up…
Now you’re all set to smoothly manage your email accounts with the Mail App on your Mac. Hope this tutorial has been helpful. Share your thoughts in the comments below. That’s all for now.
You would like to read these posts as well:

