How to add filters to video on iPhone or iPad
Like to beautify your videos? As you likely already know, iOS has a fantastic feature in Photos that lets you add filters to videos on your iPhone. The process is as smooth and straightforward as adding a filter to photos. Filters help enhance your videos and make them look more polished.
How to apply a filter to videos on iPhone
- Open Photos on your iPhone
- In Albums, scroll down to the Media Types section and tap Videos.
- Choose the video you wish to add a filter to.
- Tap Edit at the top right corner.
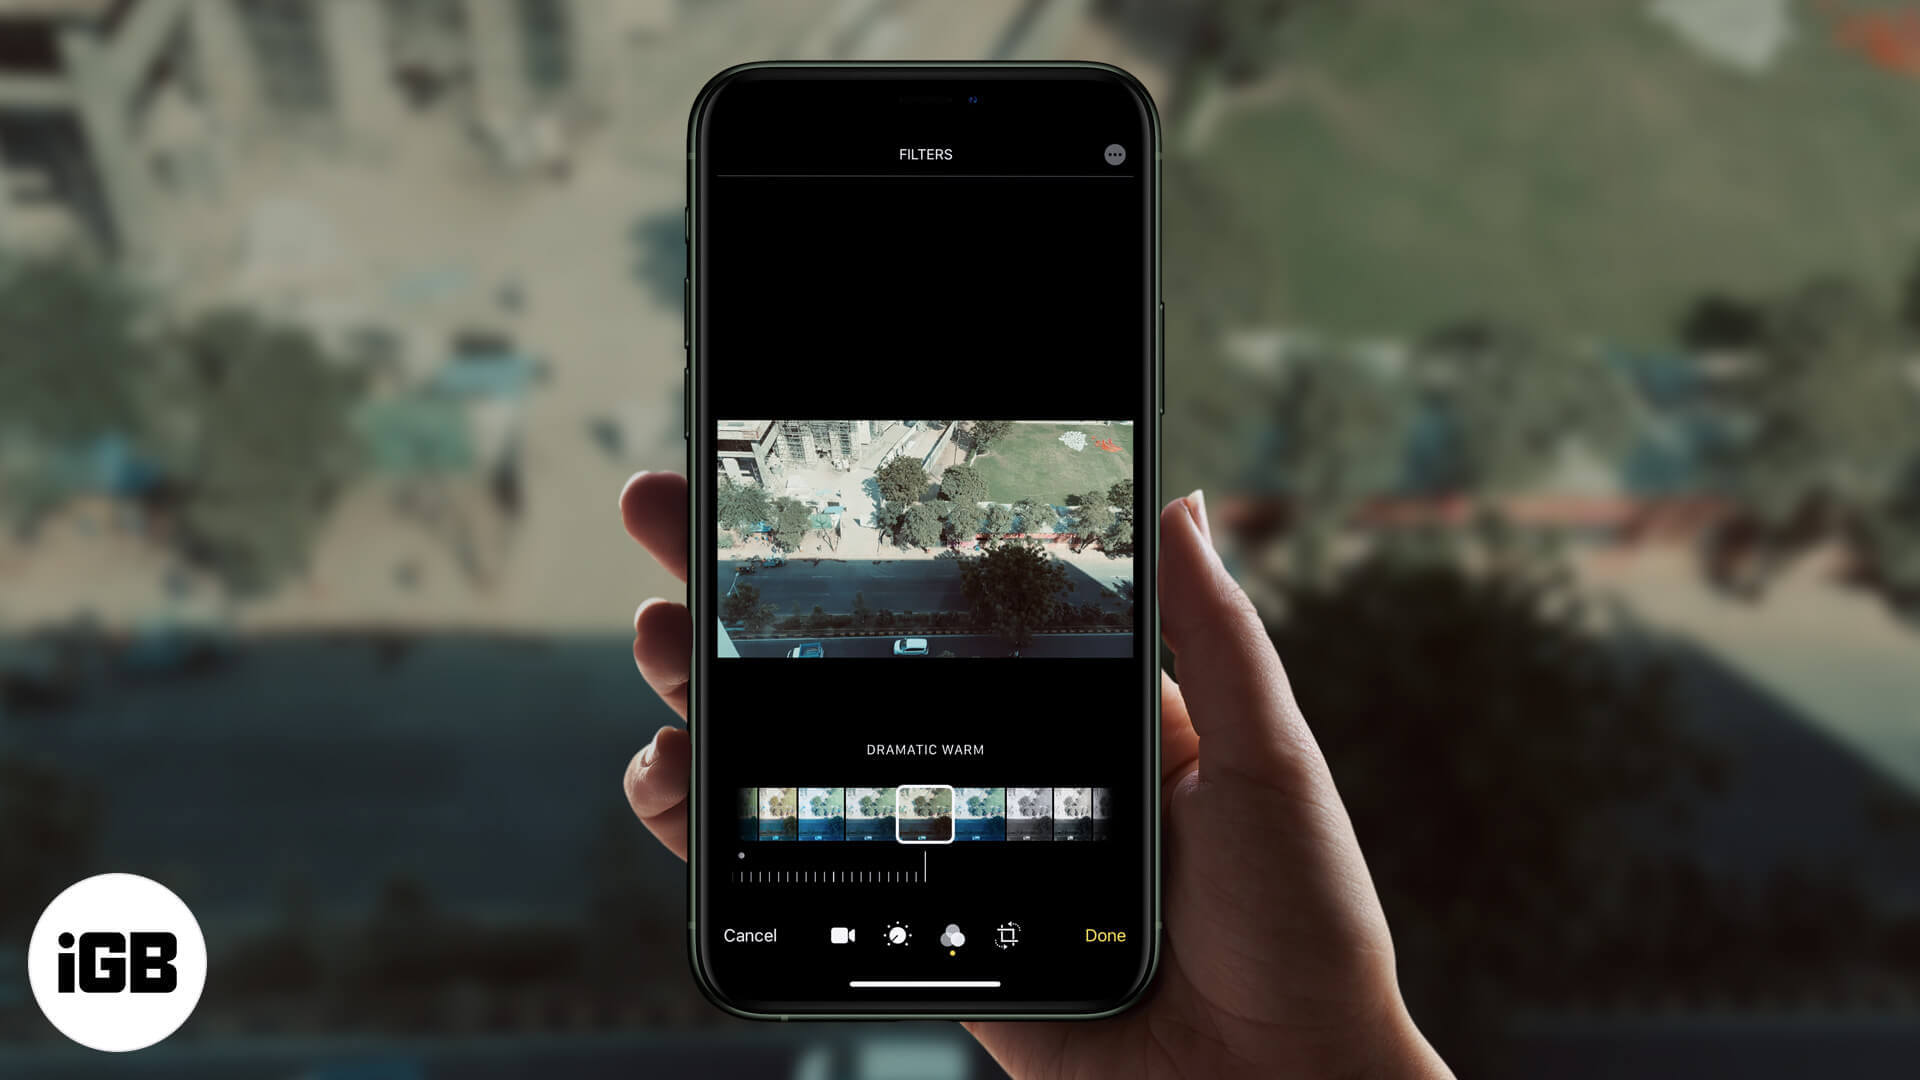
- Select the Filter icon that looks like a Venn diagram from the menu below.
iOS gives you nine filter options to choose from:- VIVID
- VIVID WARM
- VIVID COOL
- DRAMATIC
- DRAMATIC WARM
- DRAMATIC COOL
- MONO
- SILVERTONE
- NOIR
- Select the option you think best suits your video.
Note: You’ll see a horizontal dial under a selected filter. Use the dial to adjust the tone of the filter. - Tap Done at the bottom right corner once you’ve made your choice to save your selected filter. Wait a few seconds after applying the filter to let iOS prepare it and finish the whole process.

To remove filters from a video on iPhone
To undo the filter you applied on the video, simply tap Edit → Revert → Revert to original to remove all applied edits.

There’s more than just one way to style your videos. For instance, you could add sound and music to it for a better presentation. Let me show you how you can do so.
What are the best video filter apps for iPhone?
Suppose you’re not quite satisfied with the filter options you get by default in iOS. In that case, you can always download some third-party video editing apps from the App Store. Some of the best Apps to have for adding filters in your videos are iMovie, LumaFusion, Splice, etc.
And that’s all, folks!
Add filters to your videos to make them look more professional, or simply to spruce them up a bit for your Instagram page. Personally, I prefer the built-in iOS filters from the editing tool as I just love its options, and it fulfills all of my filter needs.
Please share your views about this feature in the comments, and feel free to reach out to us if you have any questions regarding Apple products.

Written by
Marcus Mears IIIMarcus Mears III is a lifelong technology enthusiast with half a decade of experience developing prose that keeps readers in the know. With hundreds of reviews, buying guides, and how-to explainers across a number of tech and lifestyle publications like How-To Geek, MakeUseOf, and iGeeksBlog, Mears’ work helps readers around the globe learn to make the most of their devices and software. He uses a 2016 MacBook Pro as his daily driver laptop and a self-built Windows PC for gaming and productivity.
View all posts →More from How-to
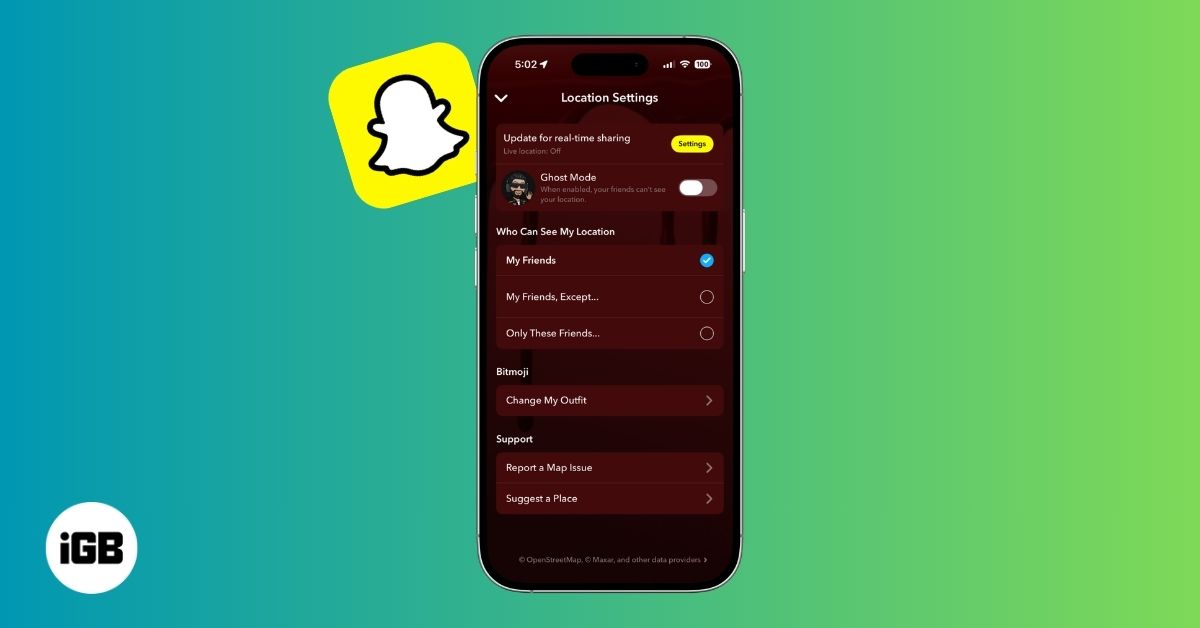
How to Turn Off Location on Snapchat (Step-by-Step Guide)
Want to stop sharing your location on Snapchat? This guide explains how Snapchat location sharing works and shows simple ways to turn off your location using Ghost Mode or phone settings. Stay in control of your privacy in just a few steps.

Snapchat Parental Controls: How to Set Up Family Center and Keep Your Teen Safe
Snapchat’s Family Center lets parents monitor their teen’s friend activity and screen time without reading private messages. Here’s how to set it up and what to expect.

How to Block and Unblock Someone on Instagram
Instagram lets you block or unblock someone in seconds. Follow these simple steps to take full control of your privacy and online peace.