While going to theaters and watching cable TV is still a thing, a growing number of viewers prefer consuming global content through streaming devices. Apple TV is at the forefront of this change. However, these devices come with their own security and geo-restriction challenges. To avoid these troubles, you can set up and use a VPN on your Apple TV.
Before I show you how it is done, here’s a look at why you should consider using a VPN on Apple TV.
Why should you use VPN on Apple TV?
There are multiple benefits of installing a VPN on Apple TV:
- Enhanced privacy and security: A VPN encrypts your internet connection, making it more secure and protecting your online activities from prying eyes, including advertisers and potential hackers.
- Access to geo-restricted content: Content streaming services, such as Netflix, Hulu, and Prime Video, offer different content libraries in regions other than yours. By using a VPN service on your Apple TV, you can change your virtual location and access the restricted content in your region.
- Bypass ISP throttling: Many internet service providers throttle their internet speed for certain activities like streaming. You can bypass this throttling using an effective VPN service and enjoy smoother streaming experiences.
Before starting the setup process, it’s important to subscribe to a VPN service you’d like to use for your Apple TV or Apple TV 4K.
You can choose from two types of VPNs. One that has a dedicated app for tvOS, such as ExpressVPN. Or the other that offers budget-friendly plans and requires manual configuration through router settings, such as SurfShark VPN.
To learn more, you can check out our detailed guide on the best VPNs for Apple TV and pick a service that best meets your needs.
How to use a VPN on Apple TV – 4 ways
You can set up and use a VPN on your Apple TV in four ways, each of which I have explained below in detail. But I’ll begin with the easiest method.
1. Install VPN app on tvOS 17 or later
With many popular VPN companies like ExpressVPN, NordVPN, and IPVanish now offering Apple TV dedicated VPN apps, using VPN on Apple TV has become easier than ever.
However, you must make sure that your Apple TV or Apple TV 4K streaming device is running tvOS 17 or later.
After that, all you need to do is download the VPN app on your Apple TV, launch it, and connect to your preferred server. Here’s how:
- Launch the App Store on your Apple TV.
- Search for your preferred VPN app and Download it.
- Once the VPN app gets installed, launch it and sign in to your account.
- Now, connect to your preferred VPN server and stream your favorite shows.
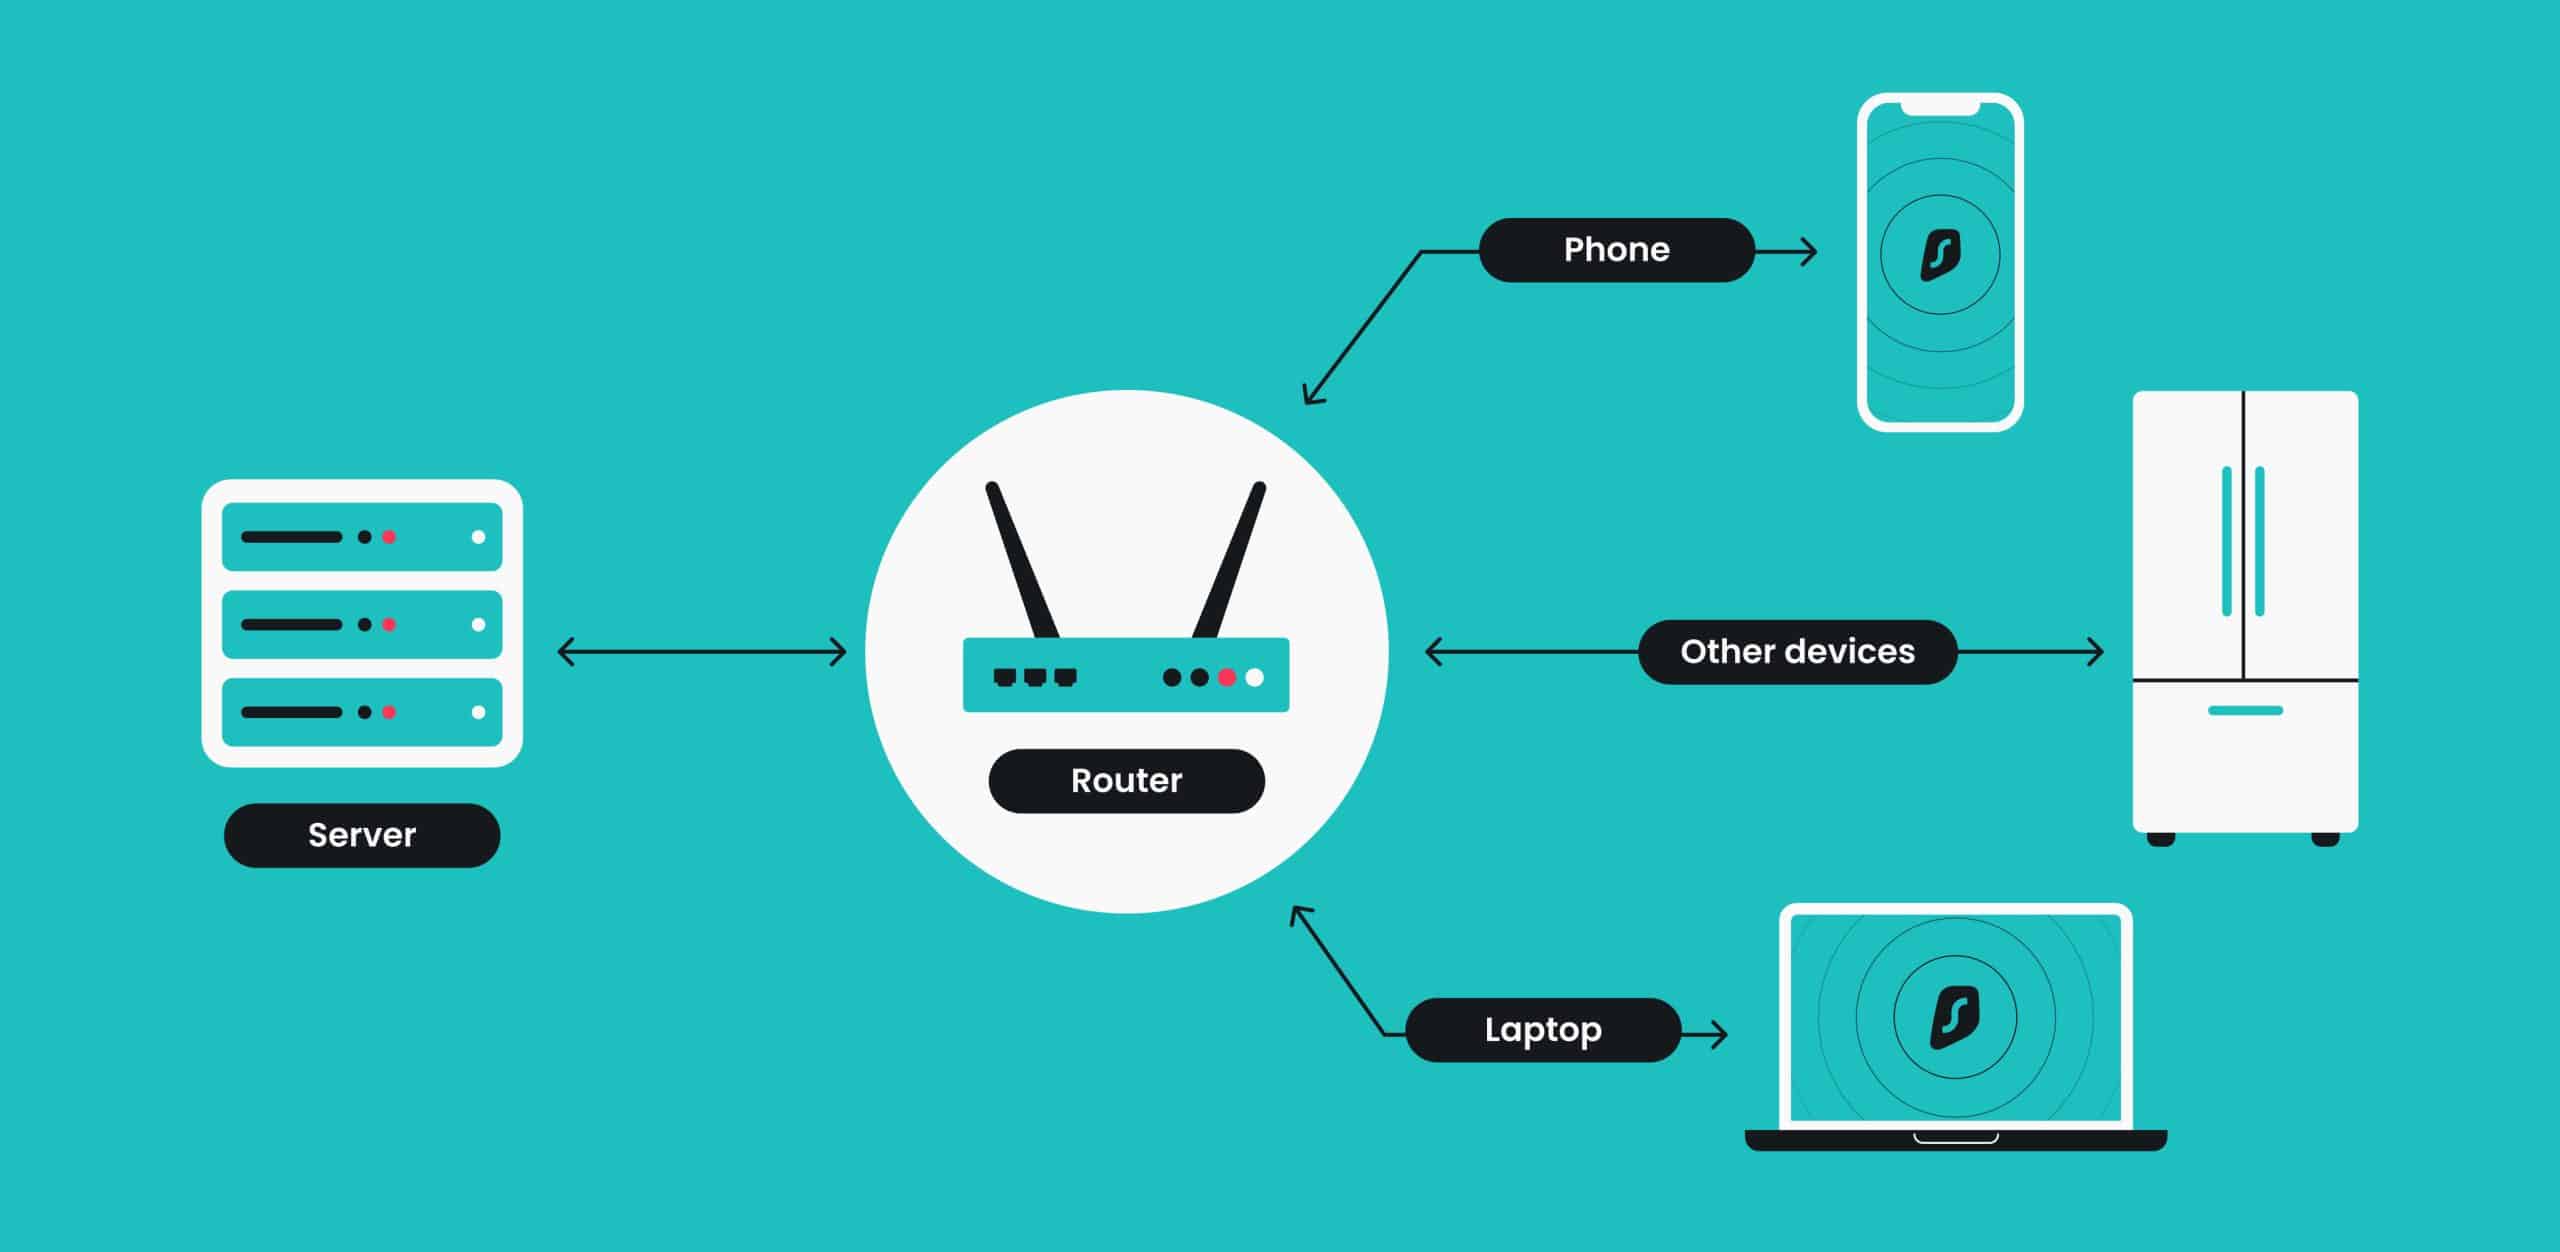
2. Set up a VPN on your router
If you own a VPN-compatible router, I recommend you set up a VPN on your router to enhance the security of your Apple TV and access content across the globe.
The advantage of setting up VPN on your router is that it not only protects your Apple TV but all the devices connected to it.

To use VPN on your router, you need to first obtain OpenVPN credentials from your subscribed VPN service and manually add it or your router’s configuration panel.
The process can get a bit tedious. But the steps below will help you along the way.
- Obtain the OpenVPN credentials for your router from your VPN provider’s website.
- On the VPN provider’s website, go to locations and click on the download icon next to your desired server to the right of the server’s name.
- Click on Download UDP to download the selected server’s configuration file.
- Now, open your router’s Configuration Panel by entering its IP address in your browser, just like you would be using a website’s URL.
- Under the Advanced Settings section, select the VPN Client tab.
(Note: The VPN Client tab location may vary depending on your router’s model and brand.) - Here, click on Add Profile.
- Select the OpenVPN tab and enter the credentials you generated in the 1st step.
- Now, upload the configuration file of the server you downloaded earlier.
- Once done, click the Activate button to connect your router to the VPN server.
3. Set up a virtual router with VPN
If your router is not VPN-compatible or offers no firmware, you can create a virtual router using your Mac and connect your Apple TV to it.
And don’t worry; using a virtual router won’t reduce the benefits you get with a VPN router. You’ll still get full VPN encryption and access to the entire server list offered by your VPN provider.
Here’s how you can set up the virtual router with a VPN on your Mac:
- Download the VPN app on your Mac App Store.
For demonstration, I’m using SurfShark. - Now, connect your Mac to the router using an ethernet cable.
- Launch Surfshark and log in to your account.
- Go to the Surfshark Settings → Protocol → OpenVPN (UDP).
- Head back to the home page and connect to your preferred VPN server.
- Now, open the Settings app on your Mac → Search and enter the Sharing tab.
- Toggle on Internet Sharing under the Accessories & Internet section.
- Here, click the Up Down Arrow button next to Share your connection and choose Surfshark OpenVPN (UDP) in the drop-down menu.
- Once done, toggle on Wi-Fi under the To devices using section.
- Enter the details in the Configure an internet sharing network window and click OK.
- Toggle on Internet sharing at the top and click the Turn on button in the confirmation prompt.
- Now, connect your Apple TV to the Wi-Fi network you created in the 10th step.
- Restart your Apple TV and enjoy streaming geo-restricted content from the location you selected in the 5th step.
4. Set up Smart DNS on your Apple TV
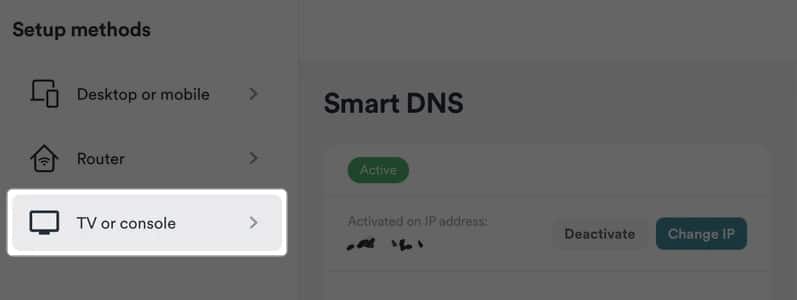
Now, if your objective is to just access geo-restricted content, you can manually set up Smart DNS on your Apple TV. This will route your entire internet connection through a remote server and allow you to bypass regional restrictions.
- Go to the Surfshark Smart DNS page using your preferred browser.
- Select TV or Console and click on the Activate Smart DNS button.
- Wait a few moments for your Smart DNS address to generate.
- Once you receive the Smart DNS address on your Apple TV, go to Settings → Network → → Change the Apple TV DNS.
Note
Please note that the Smart DNS option is not as safe as using a VPN service. Smart DNS doesn’t encrypt your traffic and mask your IP address, thereby not offering the privacy and security that a regular VPN service does.
How to disconnect VPN on Apple TV
If you want to use a VPN temporarily on your Apple TV, you can disconnect it after use.
From the dedicated Apple TV app:
- Open the VPN app on your Apple TV.
- Click the Disconnect button using your Siri remote.
From router:
- Head to the VPN client’s tab in your router’s Configuration panel.
- Click on the Deactivate button next to the VPN name.
Bonus: Use AirPlay to stream geo-restricted content on Apple TV
Want to avoid getting into the hassle of setting up Smart DNS on Apple TV or VPN on the router level? Well, you can do so and still enjoy geo-restricted content on your Apple TV if you have a VPN set up on your iPhone. Here’s how:
- Connect your Apple TV and iPhone to the same Wi-Fi network.
- Launch the VPN app on your iPhone and connect to your desired server.
- Now, go to the content streaming app and play the geo-restricted content.
- Once the content starts playing, tap the AirPlay button at the top.
- Select your Apple TV from the list of available devices.
- Accept the Airplay request on your Apple TV.
I have included this method as a bonus because it might not work for everyone or every streaming platform. But hey, it’s still a workaround that might do the trick for some.
Keep streaming…
I am sure this guide will help you set up and use a VPN on your Apple TV. Whether you want to opt for a VPN service that offers an Apple TV dedicated VPN app or are comfortable setting it up on a router level, the choice is yours.
If you encounter any issues while setting up the VPN, feel free to comment below, and I’ll happily respond.
Read more:


Leave a Reply