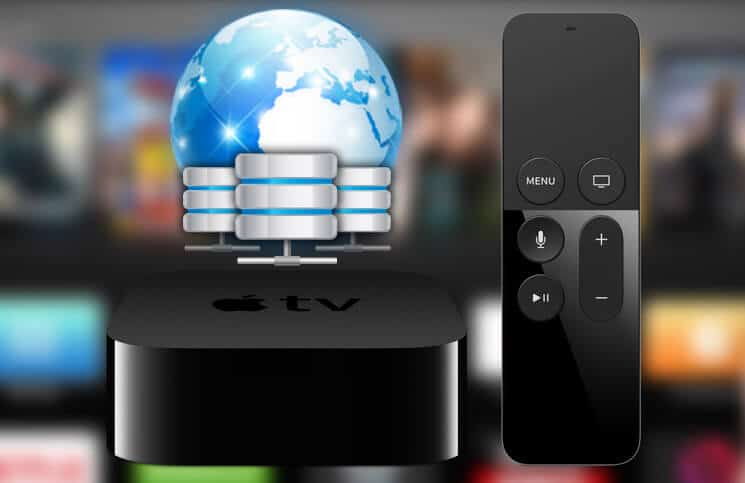
Whenever our internet is little slow or we aren’t able to access certain content, we start blaming our internet service provider. If you are little geeky like me, you’ll know the importance of DNS. For others, every website has a unique IP address. Normal web surfers remember the name of a website while your computer doesn’t understand the name; it recognizes a website with its IP address. Job of a DNS server is to translate the name of website to an IP address.
We have already explained how to change DNS on iPhone or iPad. Today, we will guide on changing DNS server on your Apple TV. By doing so, you will be able to unlock geography lock and access certain sites that are restricted in your country. We strongly recommend you to not to access any sites that are against the law of your country, but you can access services like Netflix, in case it is not available in your country.
Before proceeding to guide, let’s see what DNS you should be using on your Apple TV. There are two reliable options:
#1. Google DNS: Google offers free DNS service, which is fast as well as reliable. You can use either of the DNS given below:
- 8.8.8.8
- 8.8.4.4
#2. OpenDNS: OpenDNS is one more fast and reliable DNS server, you can choose either of the DNS addresses given below:
- 208.67.222.222
- 208.67.222.220
Now, that you have the source of DNS server, we can move ahead with changing them on Apple TV.
How to Change DNS on Apple TV 4th Generation
Step #1. Launch the Settings app on your Apple TV.
Step #2. From the list of options, select “Network”.
Step #3. On the Network screen, tap on Wi-Fi twice to bring up network information.
Step #4. Now from the list of option for Wi-Fi, select “Configure DNS”.
Step #5. It will be set to Automatic by default, swipe down on your Siri remote and select “Manual”.
Step #6. Now feed in the DNS from the one given above. You will need to prefix “0” if your DNS is not in three digits. For example, if you are entering Google DNS, then on Apple TV you will have to enter “008.008.008.008”. Don’t worry your Apple TV will read it as 8.8.8.8.
Step #7. Now click on “Done” to confirm the operation.
That’s all; your Apple TV will now use the DNS you entered. For an earlier version of Apple TV, the process is almost identical.
Do you use a manual DNS, if yes, then Which DNS you use and why? Share with us in comments below.


Leave a Reply