Siri stores all your voice command history to learn your preferences and improve responses. However, as data leaks become increasingly common, there is nothing wrong with not trusting the Cupertino tech giant for its privacy policy blindly. To this end, Apple gives you the freedom to opt out of data sharing and even delete the Siri history stored on your device. Keep reading to learn how to delete Siri history on your iPhone, Mac, Apple Watch, Apple TV and HomePod.
Table of Contents
Why should you delete your Siri history?
Clearing your Siri history can be helpful in several ways. Here are some compelling reasons to consider doing it:
- Improves privacy: Apple keeps transcriptions of your Siri interactions across all your devices. These interactions can be anything from casual stuff to something personal that you wouldn’t want anyone to know about. Deleting your Siri history guarantees your Siri interactions remain discreet and aren’t stored on Apple servers.
- Puts you in control of your data: Clearing your Siri history ensures your private data isn’t retained longer than necessary which, in turn, limits its misuse.
- Boosts security: Clearing your Siri history can ease your concern regarding the risk of sensitive voice data being accessed or used without your consent.
- Fixes malfunctioning and improves personalization: While the stored data in Siri history is used to improve the voice assistant’s responses, malfunctions can occur, resulting in errors and irrelevant responses. Deleting the Siri history will reset Siri and help it start fresh.
Can you see your Siri history?
While earlier, you could easily view your “Voice Searches” and “Type to Siri” history, the same authority no longer exists. Although your Siri history is still stored, the transcript is shared with Apple if you have enabled the “Improve Siri & Dictation” toggle within the Privacy & Security settings.
But why let Apple see your Siri history when you yourself aren’t allowed to? That’s why we recommend deleting your Siri history across all your devices.
What happens when you delete Siri history?
When you hit the delete button for Siri history, Apple deletes all your past interactions with Siri stored on the device and Apple servers. However, the past interactions do not include any data related to recent searches and monitored device activity. So, Siri continues to offer personalized suggestions in Spotlight search, keyboard, and other places. If you don’t wish to get them, you can turn off Siri Suggestions as well.
How to delete Siri history on iPhone or iPad
- Open the Settings app and head to Siri (Apple Intelligence and Siri on supported devices) settings.
- Locate and tap Siri & Dictation History.
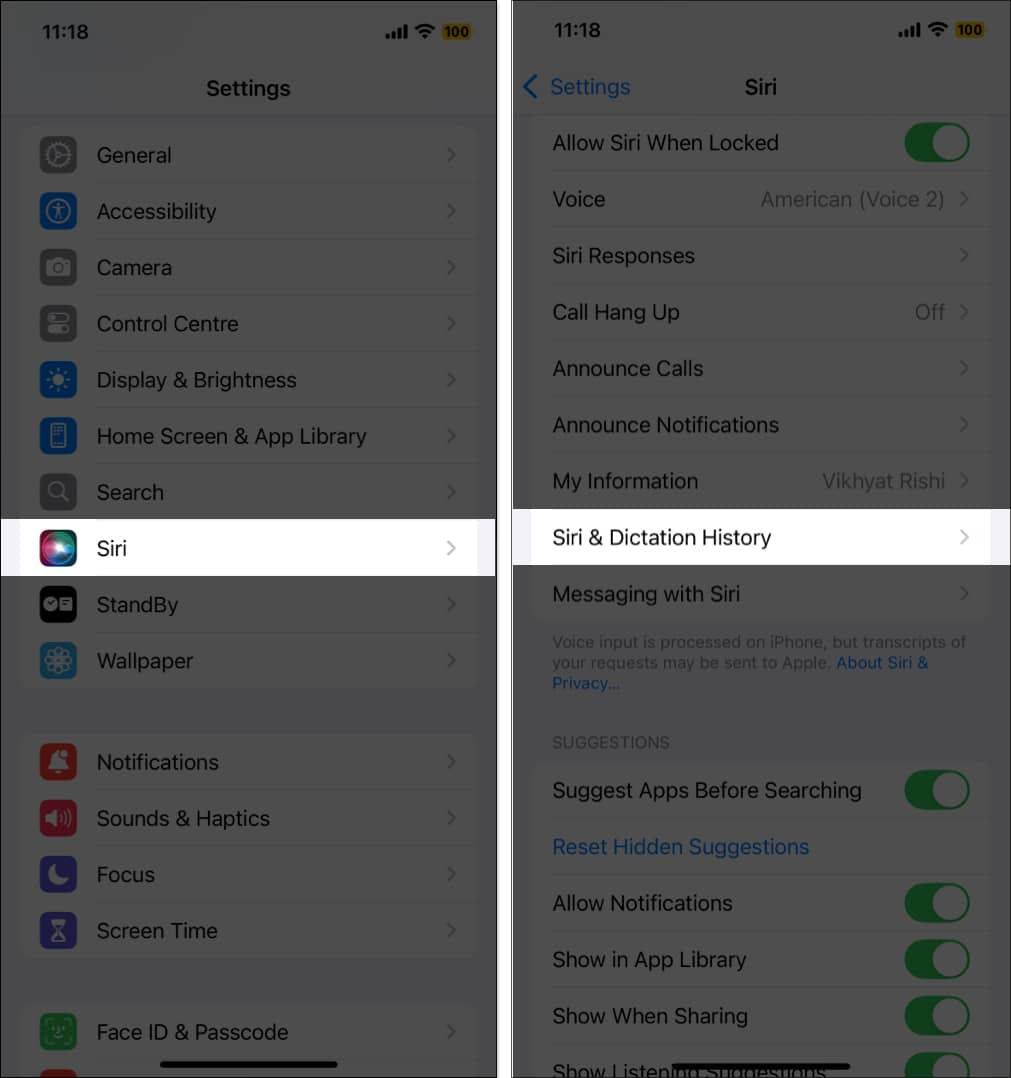
- Next, tap the Delete Siri & Dictation History button.
- Again, tap Delete Siri & Dictation History on the prompt to confirm deletion.

How to delete Siri history on Mac
- Open System Settings and select Siri (Apple Intelligence and Siri on supported devices) in the left sidebar.
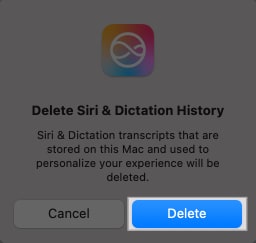
- Click the Delete Siri & Dictation History button next to Siri History.
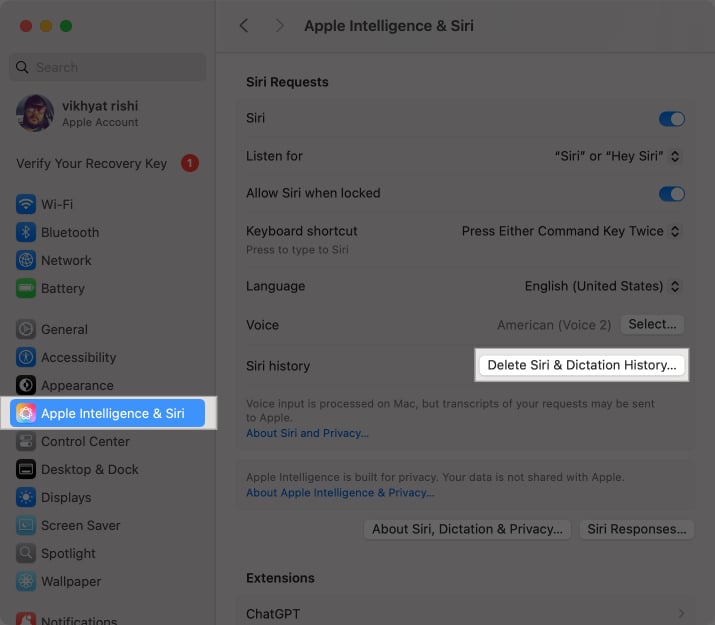
- Finally, click the Delete button when the confirmation prompt appears to confirm deleting your Siri transcripts.


How to delete Siri history on Apple Watch, HomePod, and Apple TV
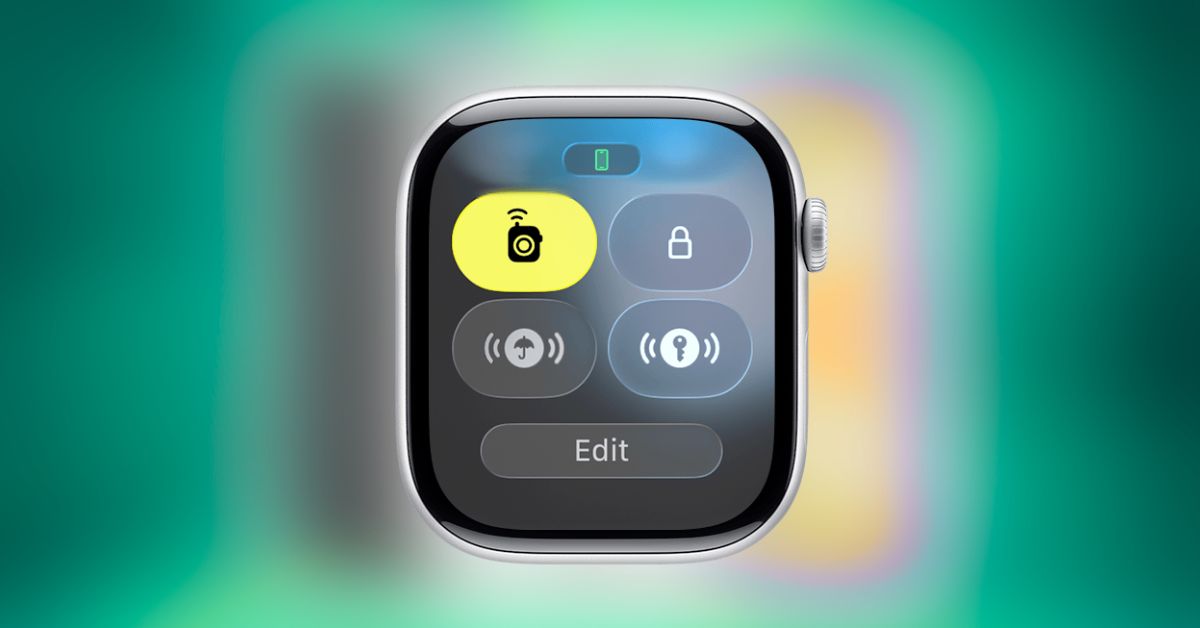
- On Apple Watch: Open the Settings app, tap on Siri, select Siri History, and tap Delete Siri History.
- On HomePod: Open the Home app, go to HomePod settings, select Siri History, and tap Delete Siri History.
- On Apple TV: Navigate to Settings, choose General, then Siri History, and select Delete Siri & Dictation History.
How to opt out of Siri Analytics
While deleting your Siri history is pretty straightforward, you can even opt out of sharing Siri Analytics, which Apple uses to improve Siri. This prevents Apple from using your Siri interactions to improve its service, adding an extra layer of privacy to your data. Here’s how you can do this:
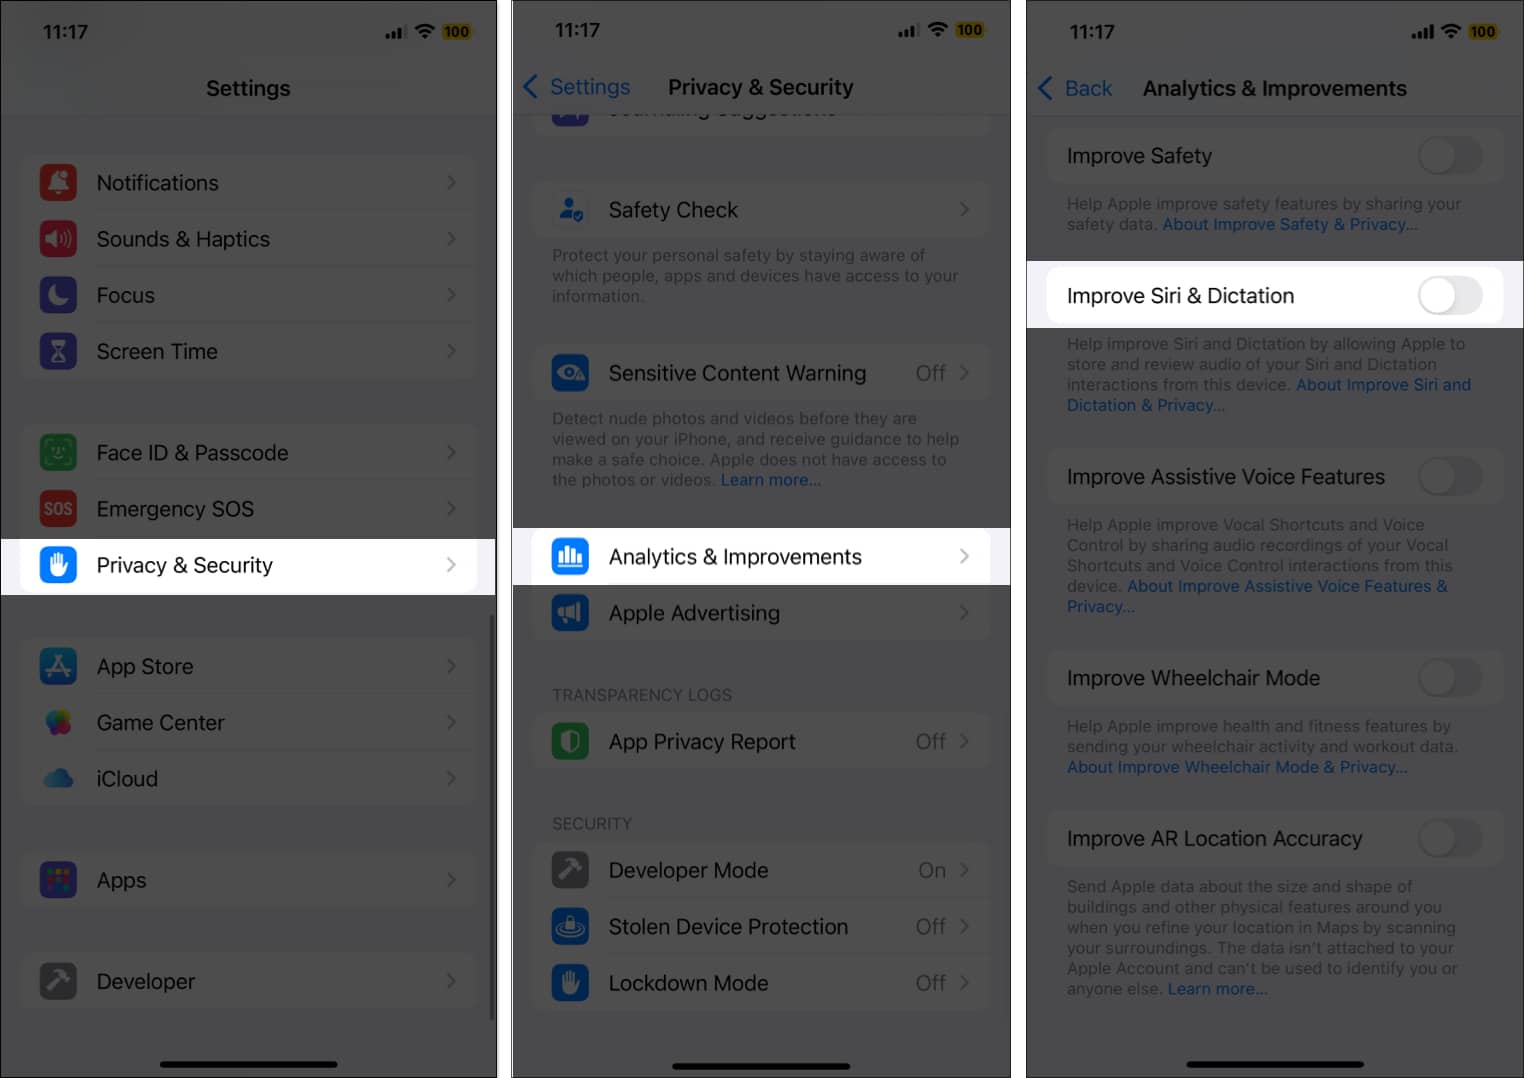
- Open Settings and head to Privacy & Security settings.
- Here, tap Analytics & Improvements.
- Locate and toggle off Improve Siri & Dictation if it is on.

Private data secured…
Deleting your Siri history puts you in control over your private data, allowing you to limit its unwarranted use. Plus, it’s a great way to troubleshoot Siri when its responses begin to seem off. So, if you use Siri extensively, be sure to take a few seconds from time to time and clear its history on your Apple devices.
If you still have doubts regarding deleting Siri history or anything Apple, feel free to reach out to us via comments.
Also read: