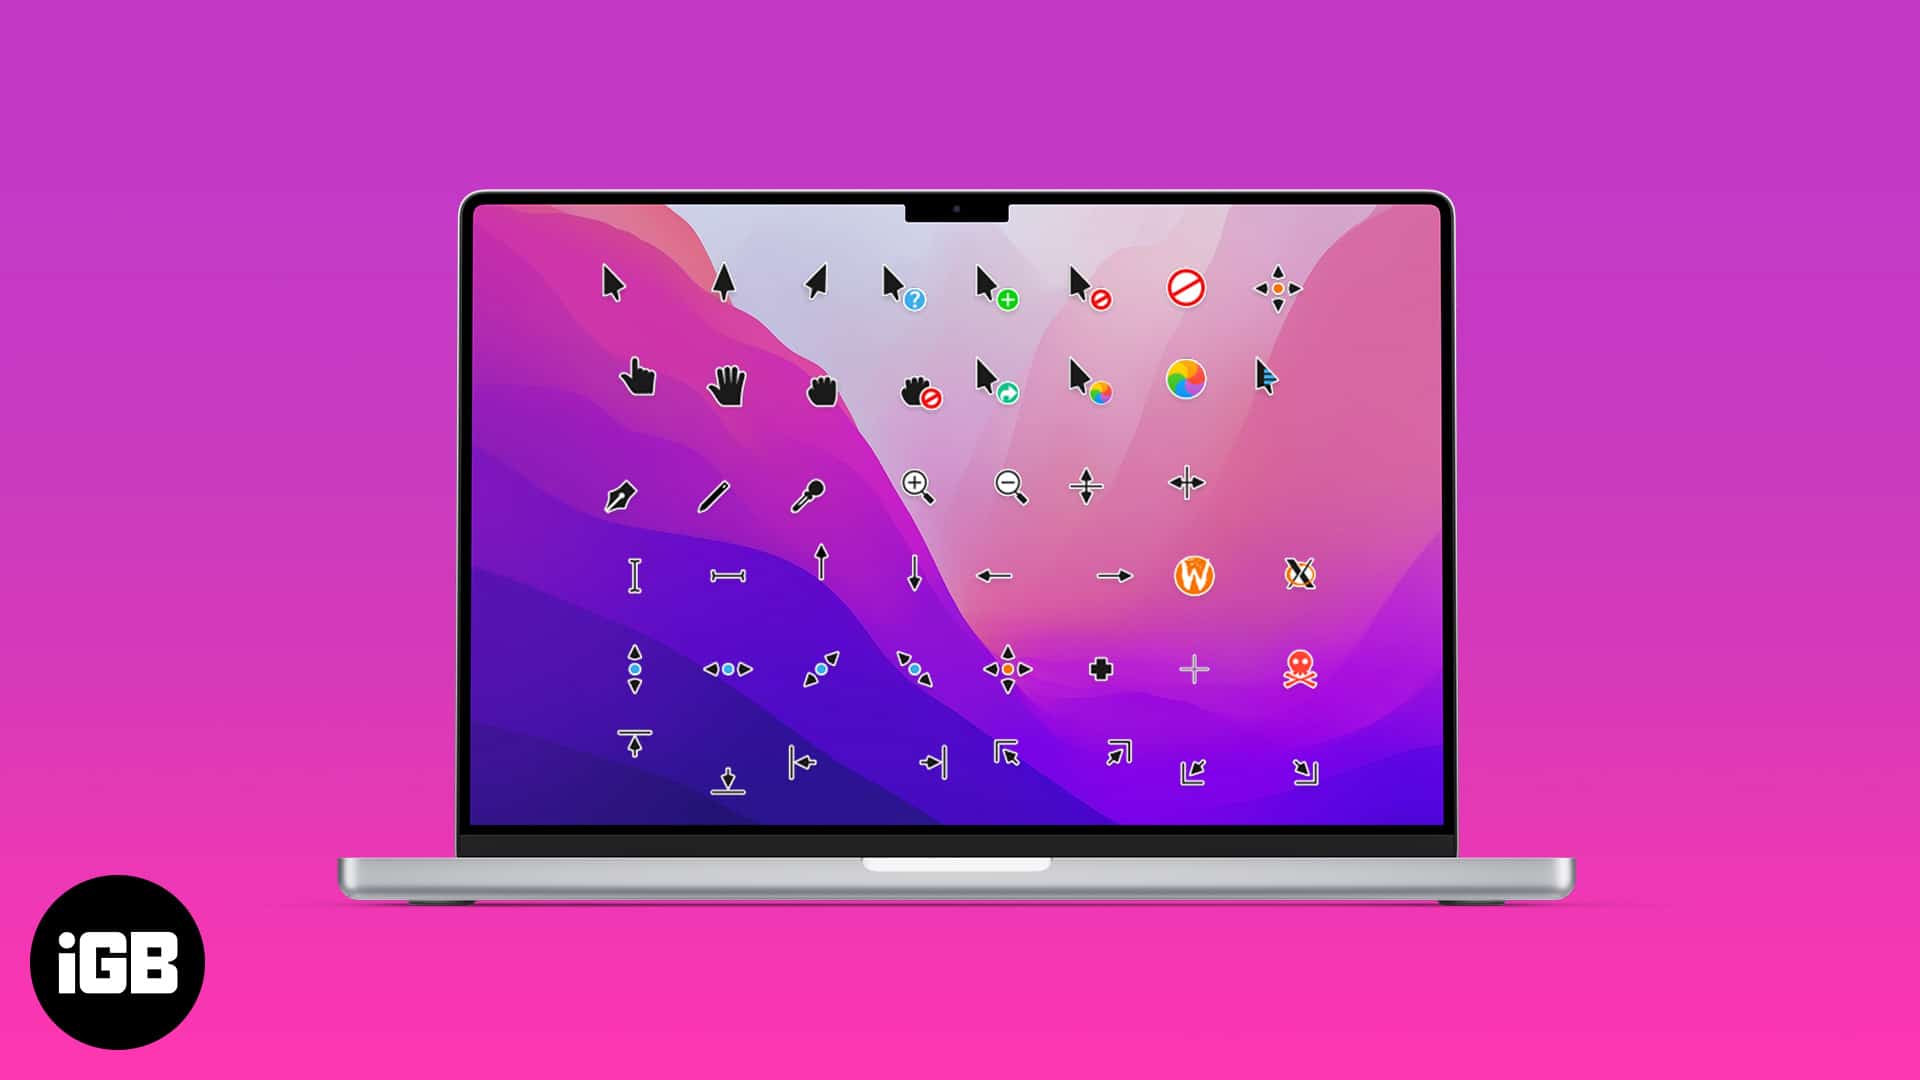
As changing mouse pointers is a niche area of interest, Apple is notorious for making it incredibly difficult to change your mouse pointer. That being said, we are not saying it can’t be done. If you wish to change the outlook of your Mac by customizing your pointer, we are here to guide you through the process.

We have figured out quite a few ways to customize your mouse pointer. Let us walk through those step-by-step.
Customizing cursor on macOS Monterey
Apple has simplified mouse cursor customization with macOS Monterey. Now, if you wish to change your mouse pointer to any color or change the color of its outline so that it is easily visible while passing over crosshairs, shapes, or insertion points, you can do it with a few quick and simple steps.
Let us walk through the process of changing the pointer outline color first.
How to change the pointer outline color
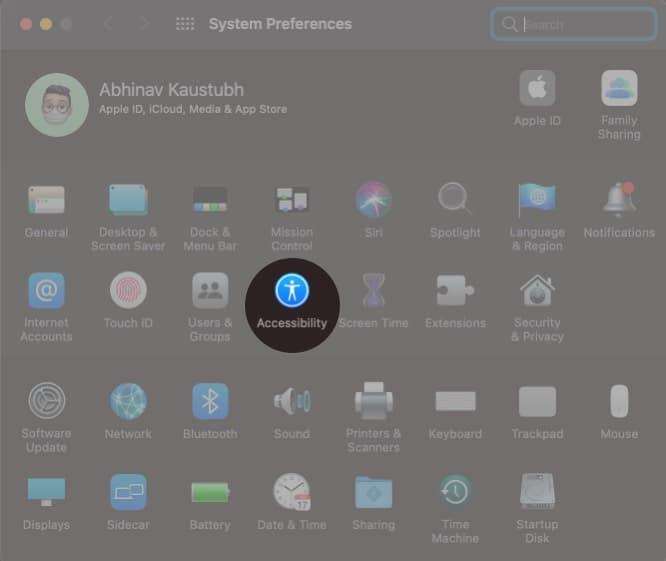
- Go to System Preferences.
- Choose the Accessibility icon.
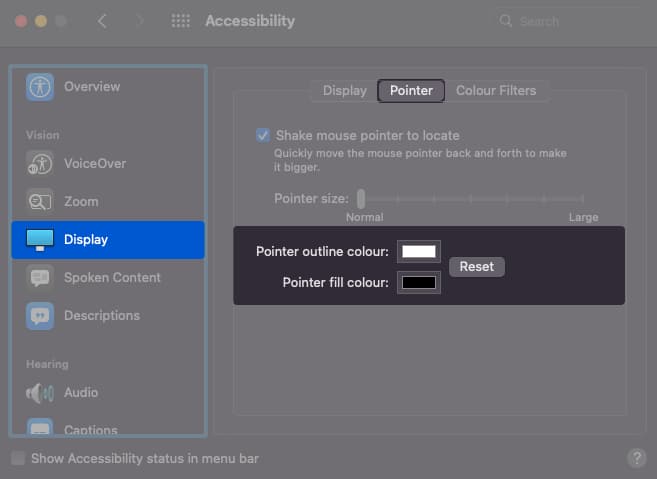
- Choose the Display option on the menu’s left.
- Select the Pointer tab.
- To change your pointer outline color, choose the box that reads Pointer outline color.
Here, you can choose an outline color of your preference and close the box.
How to change mouse cursor color
- Go to System Preferences.
- Choose the Accessibility icon.
- Hit the Display option on the menu’s left.
- Now, choose the Pointer tab.
- To change your mouse pointer color, choose the Pointer Fill Color box.
- Select the preferred color and then exit.
Change mouse pointer using third-party apps
As Apple did not allow many provisions to change the mouse pointer in all the macOS released before Monterey, there are many apps that enable users to change their mouse pointers. Of all the apps, Mousescape is our pick of choice due to its easy accessibility and user-friendly nature.
How to change your pointer using Mousescape
Mousescape is an intuitive third-party application allowing you to customize your mouse pointer to virtually anything. Without further ado, let us look at how to operate Mousescape on your Mac.
- Install Mousescape from Github.
- Open the app, and you should come across an empty interface.
- Now, go online and search for cursor packs to download.
A few examples of the cursor packs online are Cosmos cursors, Big Visible cursors, etc. - Right-click the icon row and click Apply to apply the cursor pack.
How to create your cursor pack using Mousescape
If you cannot find a cursor pack of your choice, Mousescape allows you to create one from scratch.
- Press CMD+N to create a new cursor pack.
- Select the newly created cursor pack and click CMD+E.
- Select Type and choose an item from the list.
Let us say that we choose the Arrow. - Now, all you need to do is drag and drop the image in the box labeled 1x.
The 2x, 5x, and 10x options allow putting zoomed-in images of your cursor. - Add as many instances as you wish.
The process is time-consuming but pretty straightforward.
Custom cursor Chrome extension
If you use Chrome while working, all you need to do to change your mouse pointer is install the custom cursor Chrome extension.
- Install the Custom cursor extension from Chrome.
- Click the extension icon and choose from the list of options.
Voila! Your mouse pointer would update instantly.
While the first method is only available on the macOS Monterey, it allows limited customization in pointer outline color and pointer color. The third method is subject to using Google Chrome on your Mac. The second option, i.e., Mousescape, offers you the best possible customization solution.
Did you know you can use your iPhone as a mouse? The trick is very useful in emergencies. Which of these ways worked best for you? Are there any other methods that you use to customize your mouse pointer? Let us know in the comments.
Read more:


