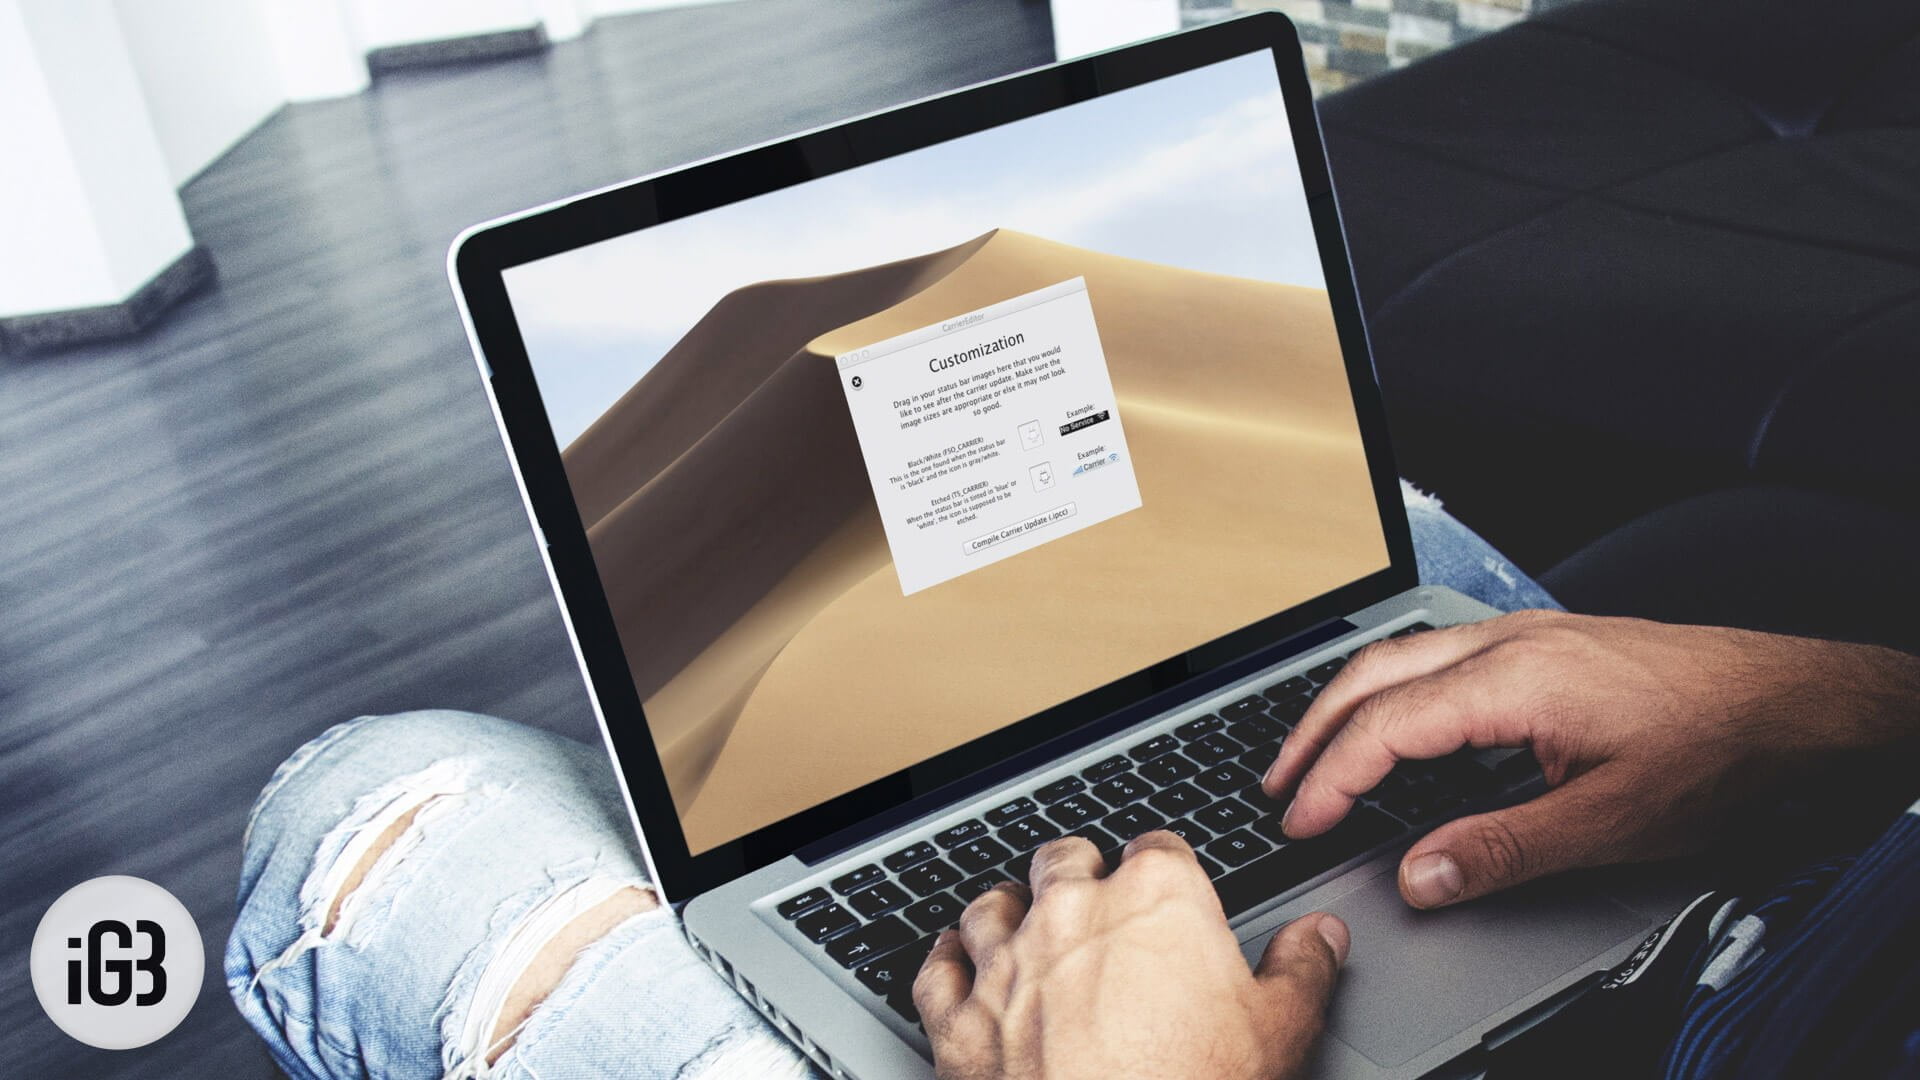
It’s great to customize your favorite device and give it a personal touch. The obvious advantage of customization is that it makes your gadget stand out or different from the rest. Fortunately, there are many ways you can personalize your iOS device. As for instance, you will choose from various glowing wallpapers, engrave your name on a case or even change carrier name on your iPhone and iPad.
While exploring some of the smartest ways to customize my iOS device, I stumbled upon a Mac app called CarrierEditor by Kevin and Daniel. The app allows you to easily change carrier name on your iPhone. Unlike other similar apps which work just by letting you replace the carrier name with a text, it allows you to replace carrier name with a preselected Zeppelin icon. Sounds interesting, isn’t it? You can select from multiple ready-made logos which can make the status bar look really cool.
Here’s what you’ll need:
- An iPhone or iPad (cellular)
- Mac
- CarierEditor
How to Change iPhone or iPad Carrier Logo
Step #1. Download the CarrierEditor file (.dmg) and mount the file.
Step #2. Now, run the CarrierEditor.app file.
Step #3. Click on “Let’s Get Started” to begin.
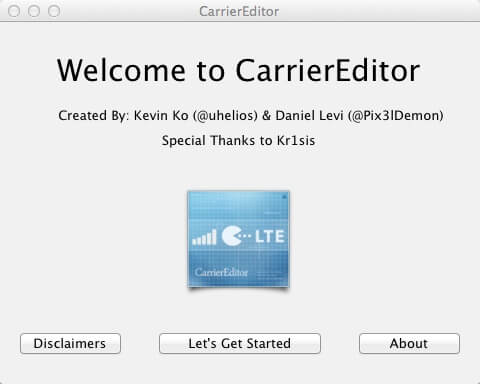
Step #4. Now, find out what version your carrier is on. To do this, go to Settings → General → About and scroll down to where it says ‘Carrier’ and note down the number (like 13.3, 13.2, etc.)
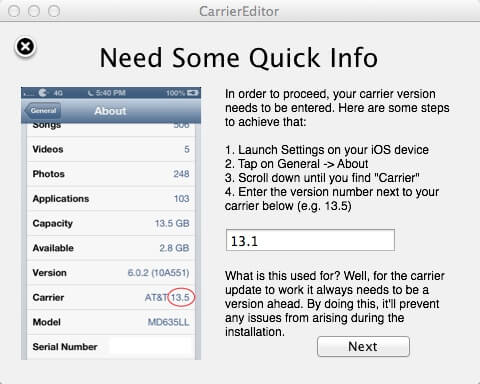
Step #5. Type this number in the input box and click Next
Step #6. Now, select your device and then the carrier name that you are currently on. Note that if your carrier isn’t listed, this method ain’t gonna work for you.
Step #7. This is the best part now. You can select two icons to customize your status bar. There are about ten Zeppelin logos provided with the .dmg file so you can choose from that. Alternatively, if you’ve already got them, drag and place them in the two boxes. (two versions for different scenarios, but you can do with just one too)
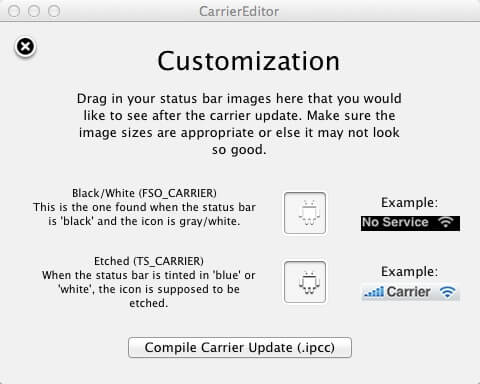
Step #8. Put the images and click Compile Carrier Update (.ipcc)
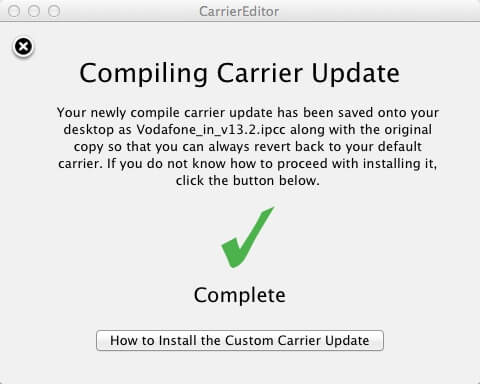
Step #9. Once done, your desktop will have two new files. You are going to use one of these to change the carrier name.
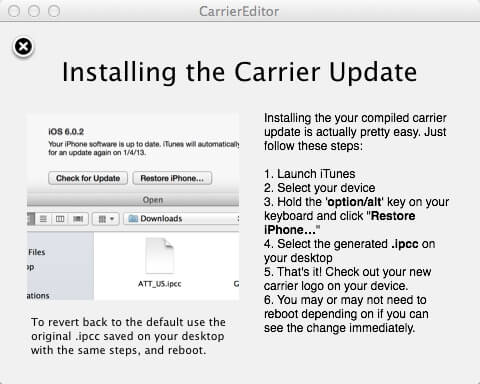
Finally…
- Open iTunes and click on your device’s name
- Press Alt (Option) and click on ‘Restore iPhone…’
- Choose the generated .ipcc file (which doesn’t have original in its name)
- Once restored, your iPhone/iPad will show the new icon instantly!
That’s it.
As easy as it sounds, the thing is available only for Mac users right now. Yeah, we’re waiting too, Windows users!!
Wrapping up
How do you personalize your iOS device? If given a chance, what sort of customization would you like to bring into iOS 12 and macOS Mojave? Share your thoughts in the comments below.
🗣️ Our site is supported by our readers like you. When you purchase through our links, we earn a small commission. Read Disclaimer.

