Do you ever find yourself wanting to note down something but don’t want to interrupt your workflow so end up putting it off and then forgetting? Well, enter Quick Notes, a handy feature on macOS that makes it easy to take notes without opening the Notes app.
It’s perfect for capturing a fleeting idea, saving something from the web, jotting down a phone number, etc. So let’s learn more and check out how to use Quick Notes on Mac.
What is a Quick Note on Mac?
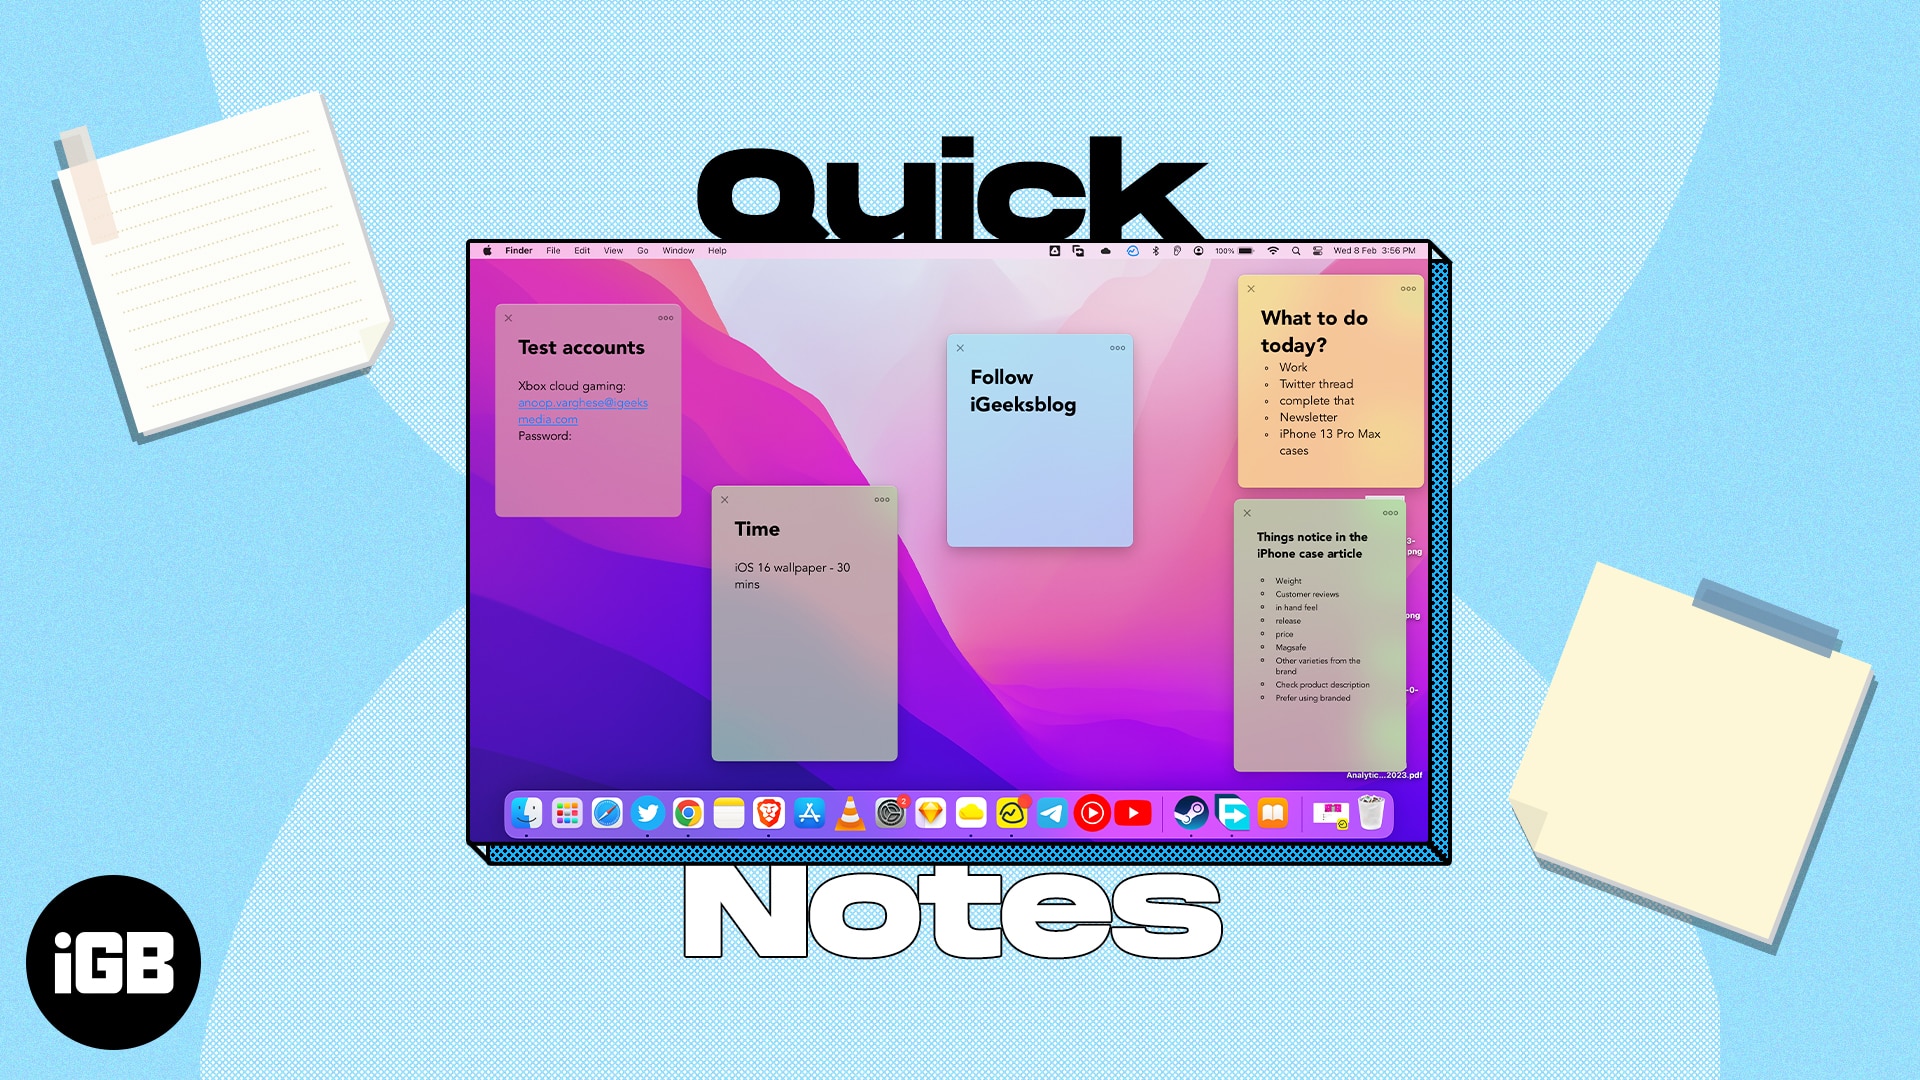
Quick Notes is a faster way to take notes without leaving the app you’re using. It makes it easy and convenient to capture thoughts and snippets without necessarily opening the Notes app.
The best part is that it can intelligently detect which app you’re using to give you a customized experience. For instance, if you’re using Safari, you can note a URL or some text from a webpage. Or, if you’re using the Mail app, you can quickly save some content from an email.
Quick Notes debuted with macOS Monterey and iPadOS 15 and have got better with macOS Ventura and iPadOS 16.1.1.
How to use Quick Notes on Mac
The quickest method to open a Quick Note on Mac is to use the keyboard shortcut “Fn + Q.” You may also go to the Notes app and tap Quick Notes on top of the pop-up.
You may also use Hot Corners to quickly access Quick Notes. To enable hot corners on your Mac, follow the steps below.
1. Set up hot corners to use Quick Notes
- Click the Apple logo () from the top left of the screen.
- Go to System Settings.
- Navigate to Desktop & Dock.
- Scroll down and select Hot Corners.
- Select Quick Note from the dropdown at any corner.
chose the bottom right. - Click done.
Note:
If you are using macOS Monterey, go to Apple logo → System Preferences → Mission Control. Then follow Steps 3-6 from above.
2. Get new Quick Note each time on macOS
- Go to Launchpad or use Spotlight search.
- Navigate to the Notes app.
- Click Notes from the top left of the menu bar.
- Choose Settings.
- De-select Always resume to last Quick Note.
Note:
If you are using macOS Monterey, follow steps 1-3 from above and click Preferences → Resume Last Quick Note.
To unlock all the possibilities of the Notes app, follow our guide on how to use the Notes app proficiently on Mac.
3. Add Safari links to a Quick Note
You may add Smart Links to a Quick Note on Mac from within an app or while browsing the web. Let’s see how we can accomplish that with Safari and the Quick Notes interface.
- Open the Webpage on Safari.
- Click the Share button.
- Choose Add to Quick Note.
When you revisit the linked content on the webpage, the Quick Note’s thumbnail appears in the screen’s lower right corner to remind you of what you previously noted.
4. Shortcut to add links on Quick Notes
- Create a Quick Note.
- Click Add App link from above.
- Click Add Link in front of the webpage you need to save.
Congratulations! Now your link will be displayed in the Quick Notes.
5. Add text or images from Safari to Quick Notes
Another fantastic feature of Quick Notes is that it lets you capture images or texts from a webpage along with the URL. When you click the saved snippet, it will transport you to the precise location on the webpage where it came from. Here’s how to put it to use:
- Navigate to a Website in Safari.
- Select the text.
- Right-click and choose New Quick Note/Add to Quick Note.

How to view and edit Quick Notes in Notes app
- Open Notes → Quick Notes folder.
- Click a Quick Note to edit.

Other actions, such as sharing or deleting, can be taken on a note under the Quick Note section. You may also edit a Quick Note to add tables, tags, and other features. Consider the following:
- Include a table.
- Make a list.
- Include hyperlinks
- Attach images, files, and other media.
Note:
Quick Notes can’t be locked.
Signing off…
I hope this comprehensive guide helped you understand how to use Quick Notes on your Mac running macOS Monterey. Personally, I find this feature super convenient and handy. What’s your take on Quick Notes? Share in the comments below!
Read more:


