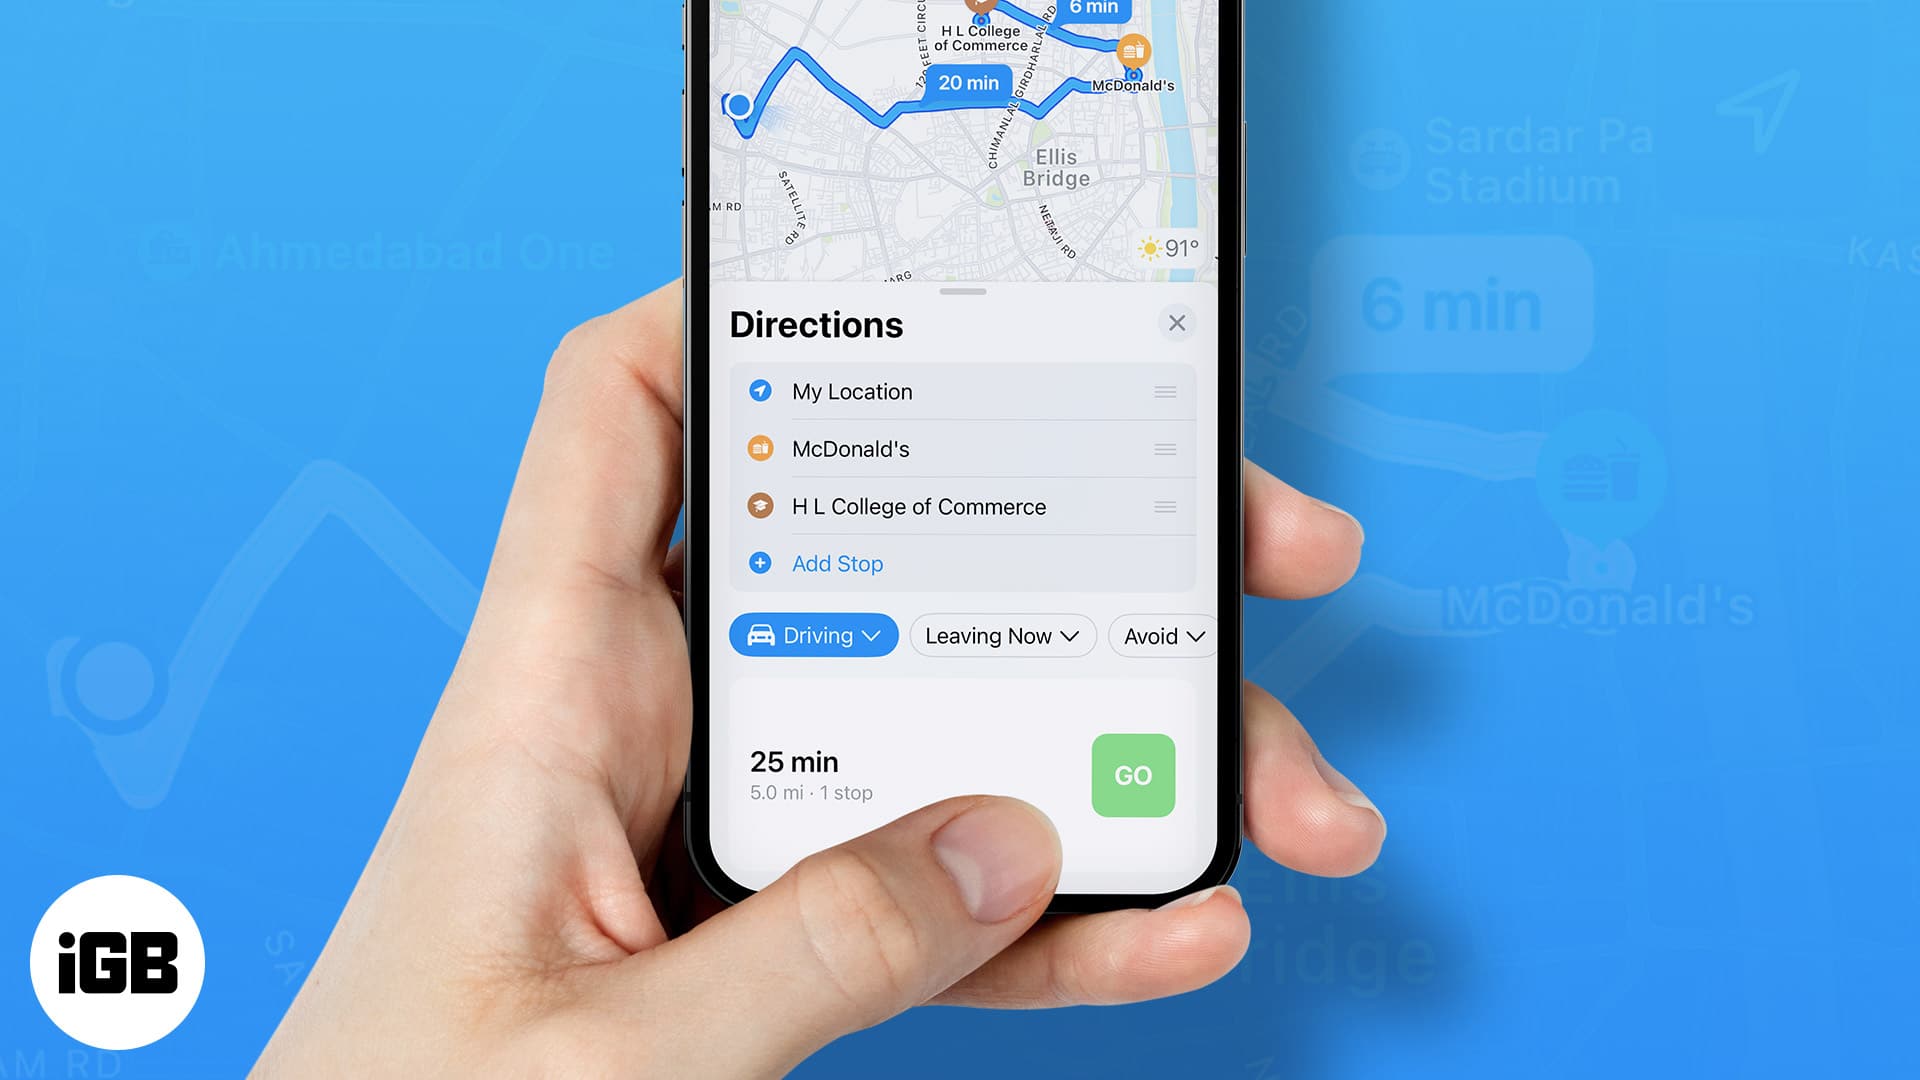
Apple is set to make its Maps app reliable or even better than its competitors. Recently, as you may have noticed, the navigation, as well as the overall UI has been overall improved after the updates. During WWDC 2022, Apple announced the long-awaited feature to the Maps app: The ability to add multiple stops on a route.
Since this new feature is introduced for iOS 16, iPadOS 16, and macOS 13, you may not know how to plan a route on Apple Maps with multiple stops. No worries, as that’s what I will be showing you here.
Can I add multiple destinations in Apple Maps?
Yes! Apple has finally heard the community and has added support for multiple destinations in Apple Maps. But before you get excited, this feature is only available for Apple devices that support iOS 16, iPadOS 16, and macOS 13. Since we now know which devices will get support for multiple stops in Apple Maps, let’s look at the steps.
Add multiple destinations in Apple Maps on iPhone, iPad, and Mac
The ability to add multiple stops in Apple Maps is limited to only directions for cars and bicycles. Now, let’s look at how to add more than one stop in Apple Map routes.
How to Create multiple stops in Apple Maps ( iOS 16 and iPadOS 16 )
Even though both are different Operating Systems, the steps to create a route on Apple Maps with multiple stops are the same for iOS and iPadOS. All you have to do is:
- Open Apple Maps.
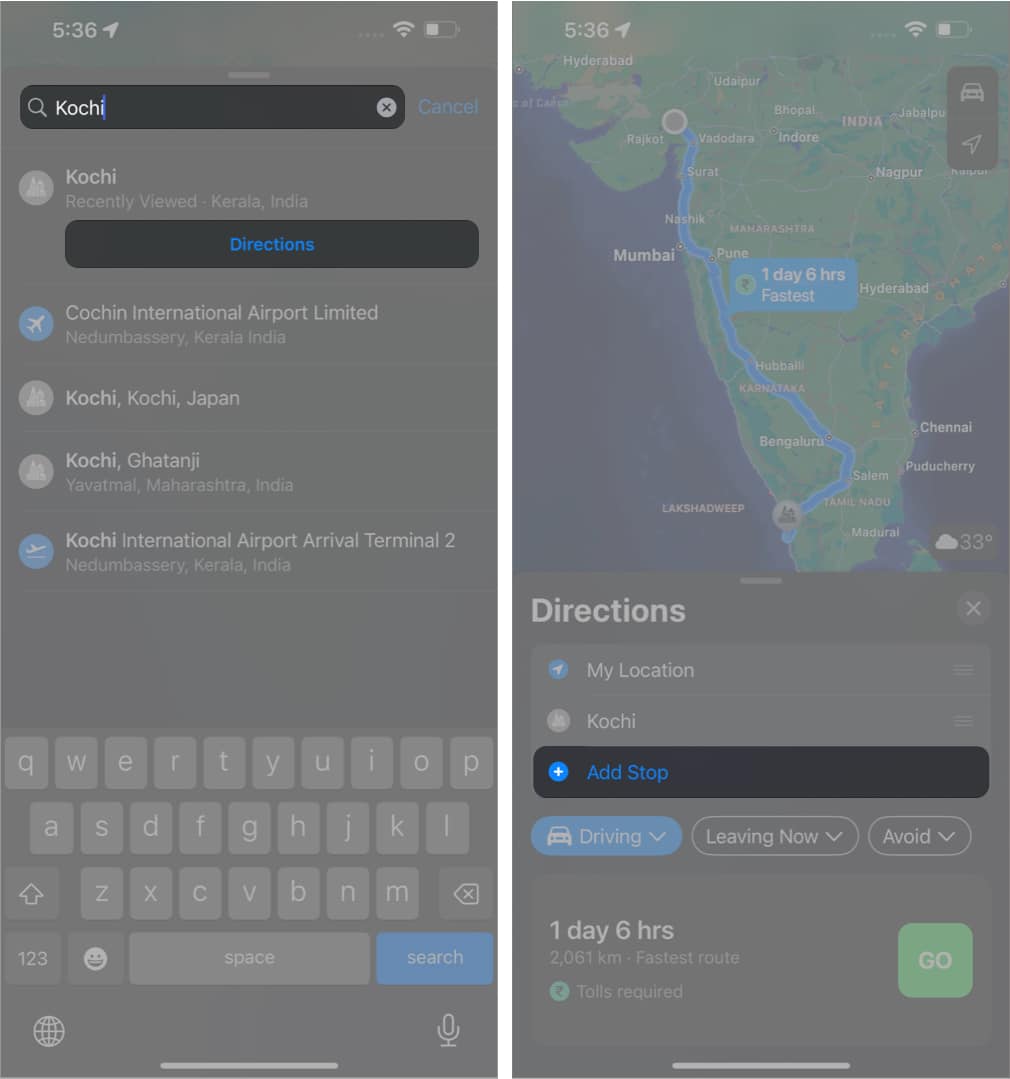
- Search for your Destination.
- Tap Directions.
- Then, Tap Add Stop.
- Select the place you want to add in between.
To add more stops, tap Add Stop again and select the stop. Repeat this to add as many stops as you want to add. To rearrange the stop, tap and hold the stop you want to rearrange and then drag it above or below other stops. If you want to delete a stop, swipe the stop to the left and select delete.
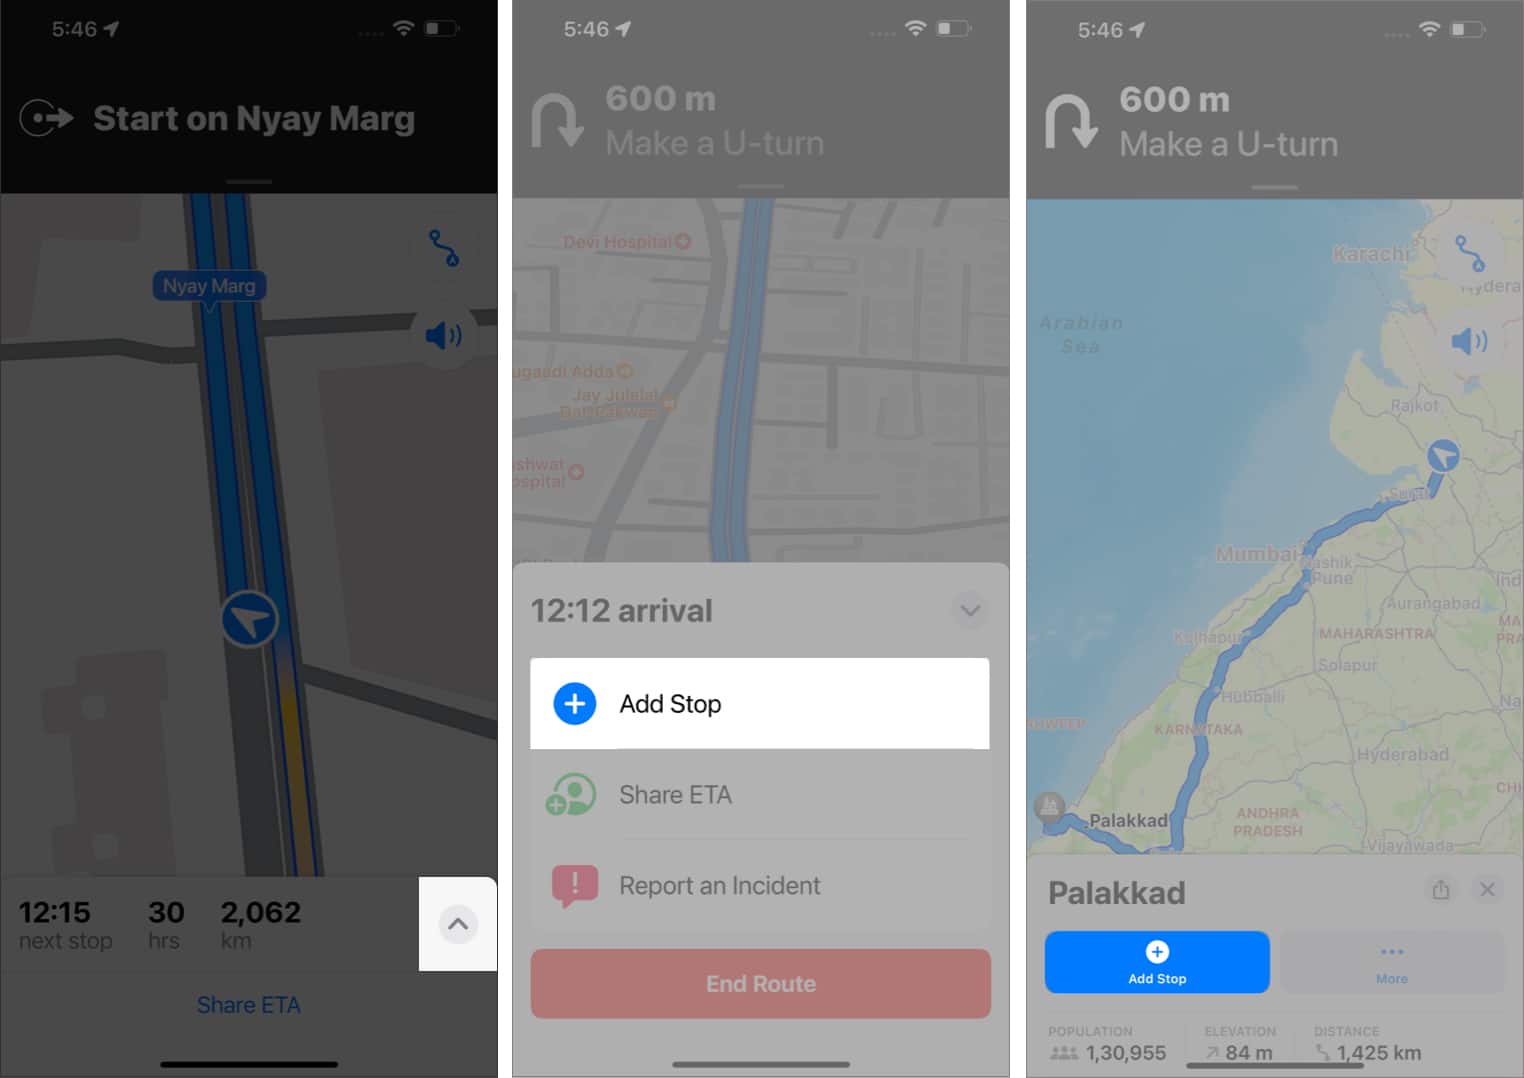
You can even add multiple stops after you start the navigation. For that:
- Tap the small arrow on the bottom right.
- Now tap, Add Stop.
- Search for the place and tap Add Stop.
To add more stops while in navigation, repeat the same steps. With every new stop added, there will be a change in the ETA. To remove a stop, tap the arrow and tap the minus sign next to the stop to remove it.
How to plan multiple locations in Apple Maps on macOS Ventura
- Open Apple Maps on your Mac and search for the end destination.
- Select the place from the search results.
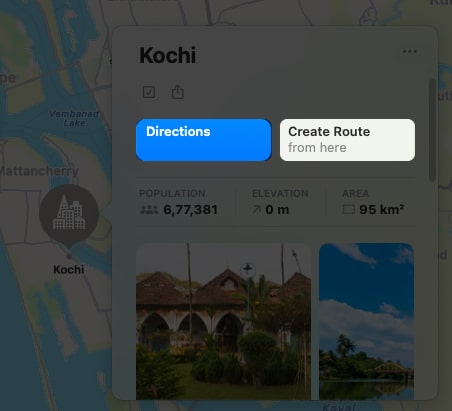
- Click Directions or Create route.
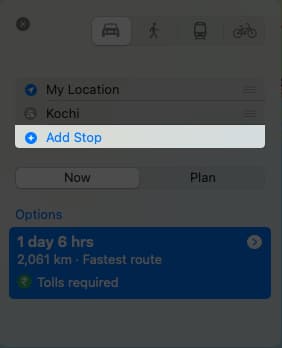
- Now, click Add Stop.
- Search and select the place you want to add.
- Repeat the step for adding multiple stops.
- Then, continue with Now or Plan later.
After setting the directions, you can share the directions from your Mac to your iPhone or anyone you want. To share an Apple Maps route, click the Share button and select whom and how you want to share.
FAQs
Yes, you can create a custom route on Apple Map. Just search for the start point and the destination, and then select the destination.
To drop pin on iPhone, search for the place, and then tap and hold to add a pin. On Mac, search for the place, right-click, and select Drop Pin.
To add multiple locations on Apple Maps, follow the same steps to pin or make a location. You need to repeat the same steps for all the locations you want to mark.
That’s it!
There is no doubt that Apple wants its users to switch from other map apps to their own Maps app, which is why they are adding features and improving the UI with every update. Will you be switching to Apple Maps? Let me know in the comments.
Want more Apple Maps tricks? Check these out:



Leave a Reply