While Finder on Mac is a good file manager, it doesn’t always look obvious to customize it. Over time, it brims with both – relevant and irrelevant media and files, making it time-consuming to find what you are looking for. Thus, affecting your overall productivity.
Thankfully, there’re a few methods to customize the Sidebar and bookmark folders in Finder on Mac to keep them handy. Let’s get started.
There are a couple of ways to add a folder to the Finder favorites Sidebar section.
I. Use Finder Preferences menu
Initially, I was surprised to see Apple excluding the user home folder from the sidebar. It’s such a handy way to access all the relevant Mac folders. Using this trick, you can easily add the home folder and others to it.
- Open Finder by clicking the Finder icon on the Dock.
Alternatively, you can also access Finder through Spotlight. Press command + spacebar and type Finder. Next, locate it in the search options and click it.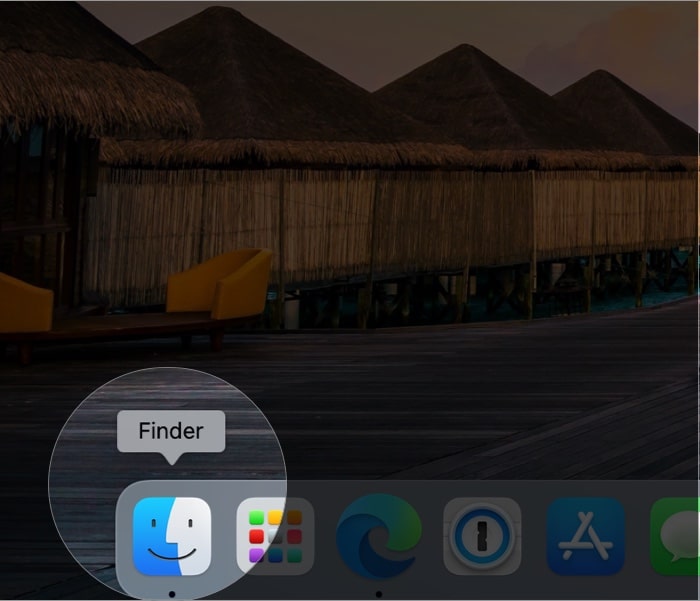
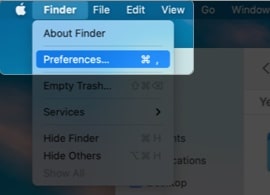
- At the top menu bar, click Finder → Preferences.
- Next, select Sidebar from the options at the top.
Here, you will see a list of items added to the Sidebar. - Enable or disable the items you want to add or remove from the Sidebar.
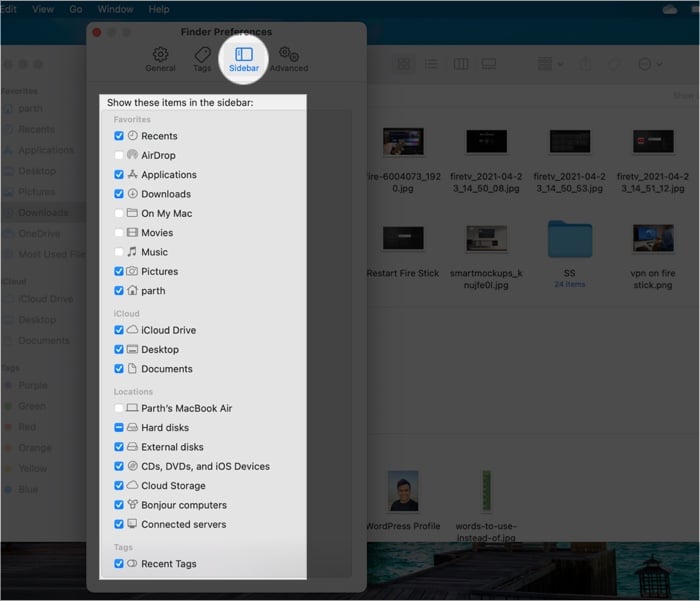
However, the suggested method is limited to the default Mac folders. What if you want to add a subfolder from the Downloads menu to the Sidebar? Check the following method!
II. Drag and drop folders to favorites
As the name suggests, it’s pretty straightforward.
- Open Finder.
- Locate the folder you want to move.
- Drag and drop it to the favorites Sidebar.
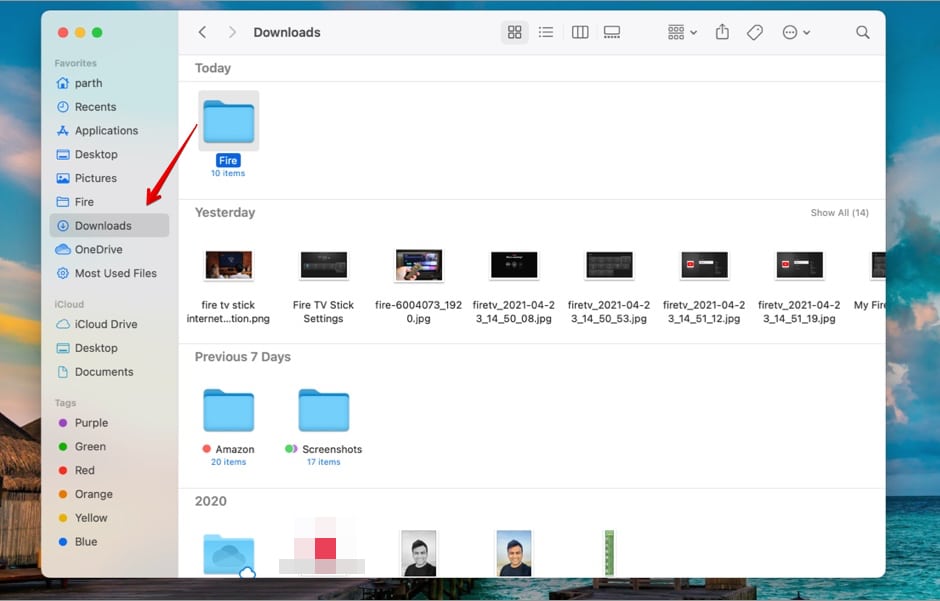
That’s it! You have successfully bookmarked the folder in the Finder sidebar. To change the folder’s position within the Sidebar, drag and drop it as per your preference.
Note: If you no longer need the added folder in the Sidebar, you can easily remove it using the same drag and drop method. Select the folder and drag it to the right side menu. You will notice a small ‘x’ mark suggesting that the OS is removing the folder from the Sidebar.
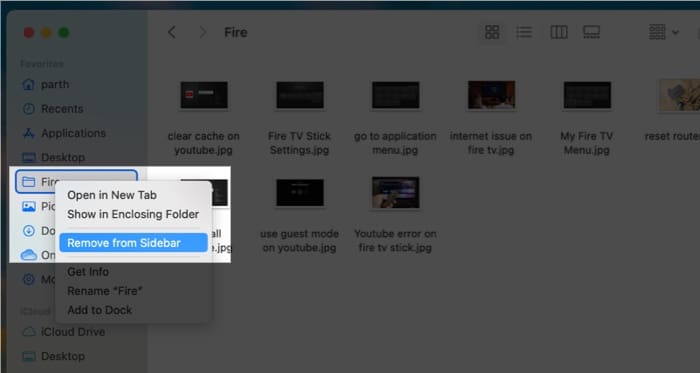
One can also right-click the bookmarked folder and select the remove option from the following menu.
III. Using the keyboard shortcut
This method is most convenient for those who love to use keyboard over trackpad.
Open Finder → select the folder you wish to add to the Finder Sidebar → press control + command + T.
That’s it! The folder will be added below the last folder.
Method 2. Add the folder to the Dock
With the above-mentioned methods, you need to visit the Finder menu every time you want to access the bookmarked folder. For more efficiency, you can pin the folder to the macOS Dock.
Open Finder → locate the folder you want to move → drag it to the macOS Dock beside the Trash icon.
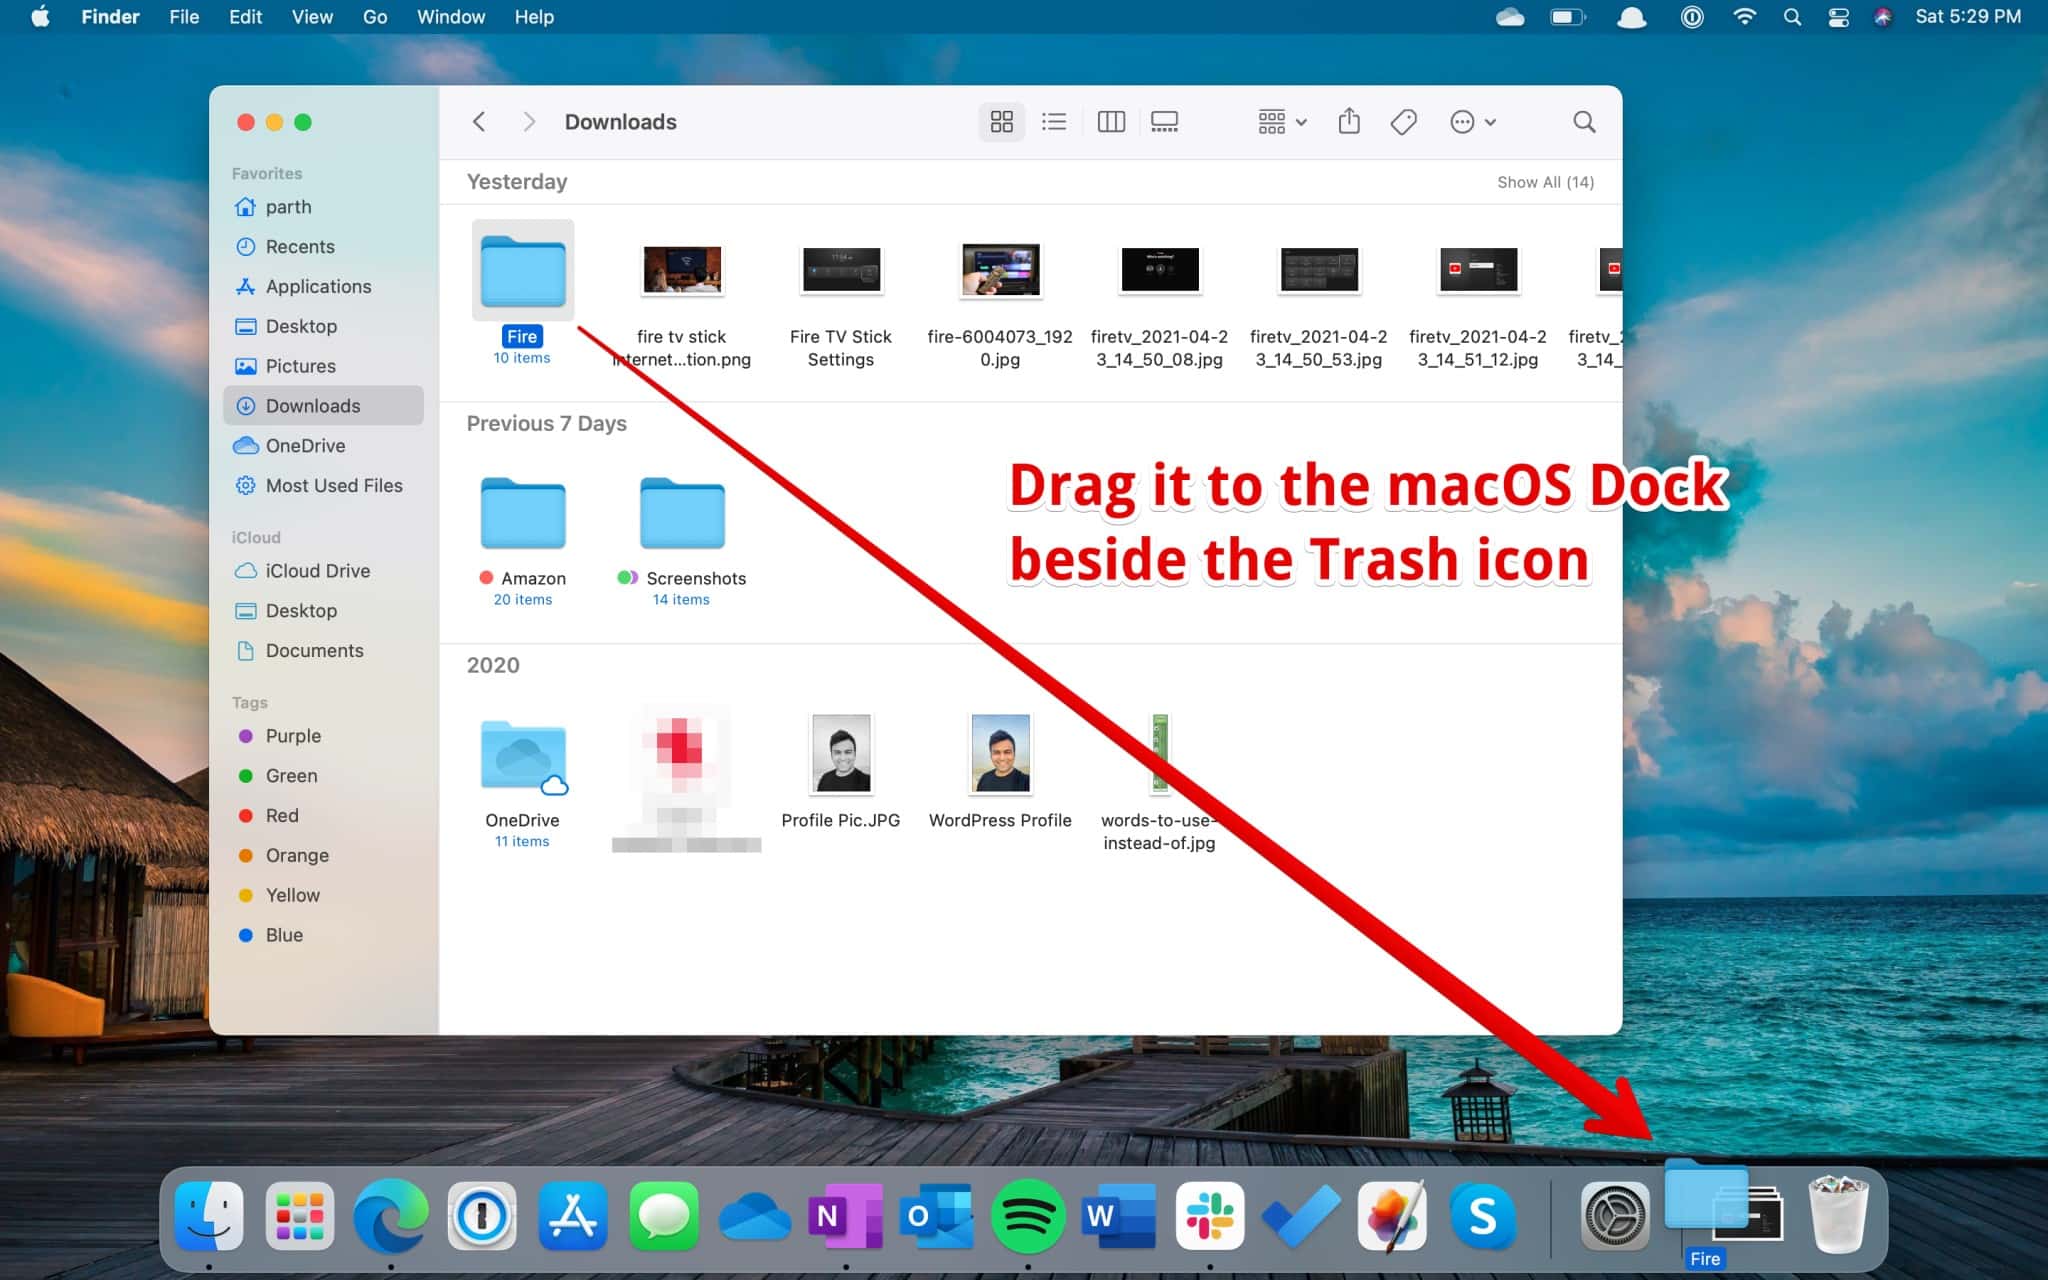
The Dock on the macOS is divided into two categories. On the left side, you can see the installed and pinned apps, and on the right side, you can access the minimized apps. The bookmarked folder stays between the minimized apps and the trash icon.
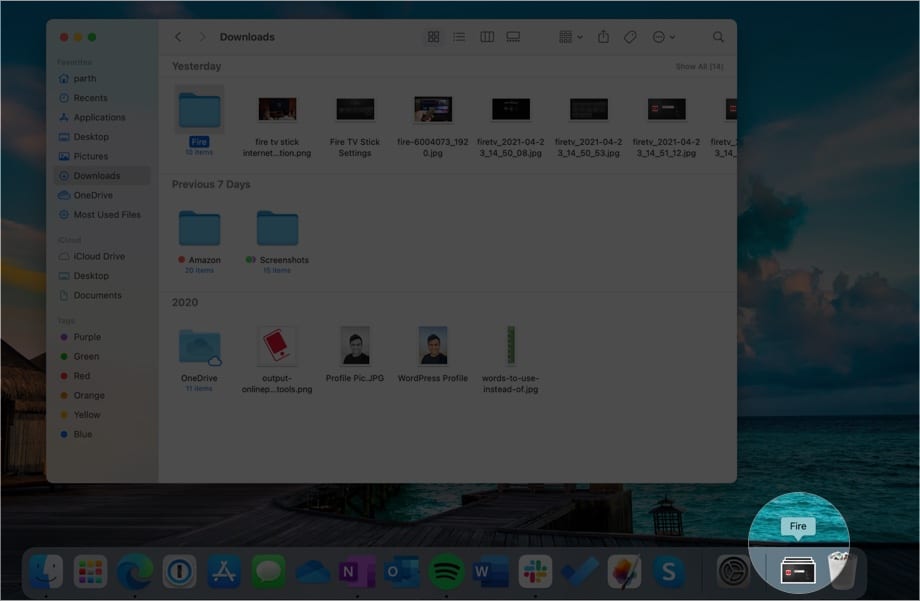
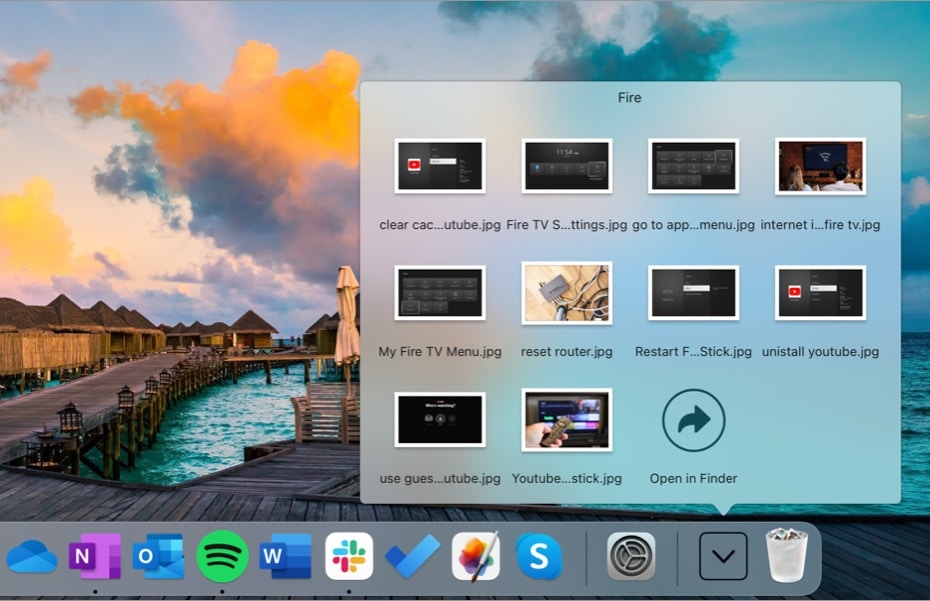
You won’t see the pinned item as a folder icon; instead, the shortcut will showcase the files stacked in a drawer-style view. Simply click it to view and access all the files from the Dock menu.
Note: There’s an alternative method to add the folder to the Dock. Go to Finder → right-click the folder in the Sidebar → select the option Add to Dock. However, this method works only if the folder is added to the Sidebar.
Method 3. Make a Desktop Alias to the folder
This is one of the effective ways to create a bookmark folder on the Mac. By using the ‘Make an Alias’ option, one can develop multiple pointer files that send the user to the origin folder. Here is how to use the Alias option on the Mac.
- Open Finder.
- Select the folder that you want to bookmark and right-click it.
- Select Make Alias from the context menu.
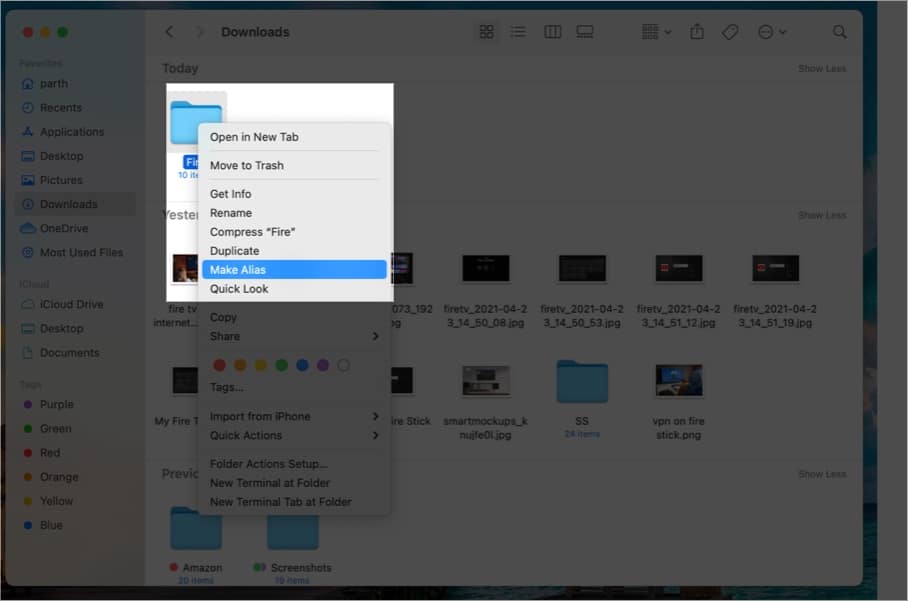
- Now place the alias in the different sections in the Finder menu.
You can create multiple aliases for a single folder.
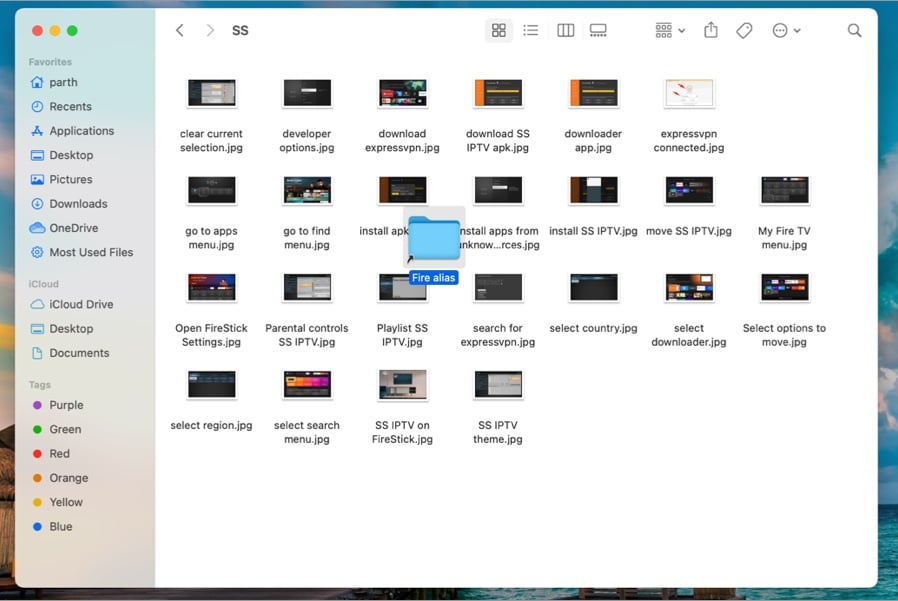
And it’s done! Now, whenever you want to access the folder, simply click the alias, and it will take you inside the original folder.
Bonus: Add Smart Folders
Smart folders are an exciting addition to the macOS. Using the smart folder option, users can define the types of files they are looking for and create a folder.
Let’s say you are working on a video project for a month. You can create a smart folder and add a condition to look for the files you created and used for the last month. Follow the steps below to learn more.
- Go to Finder.
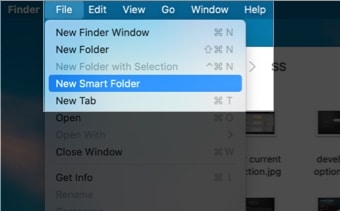
- Click the File name in the Menu bar.
- Select New Smart Folder.
- Click the + icon and specify the rules such as the content, created date, modified date, or name. Add a file type that you want to include in the smart folder.
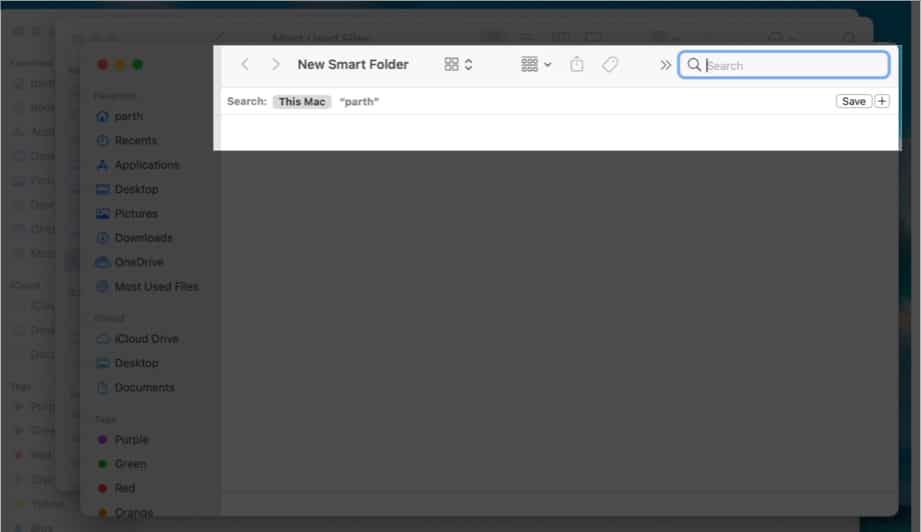
- For example, in the screenshot, I have created a smart folder that contains images, videos, and most-used applications from the last 30 days.
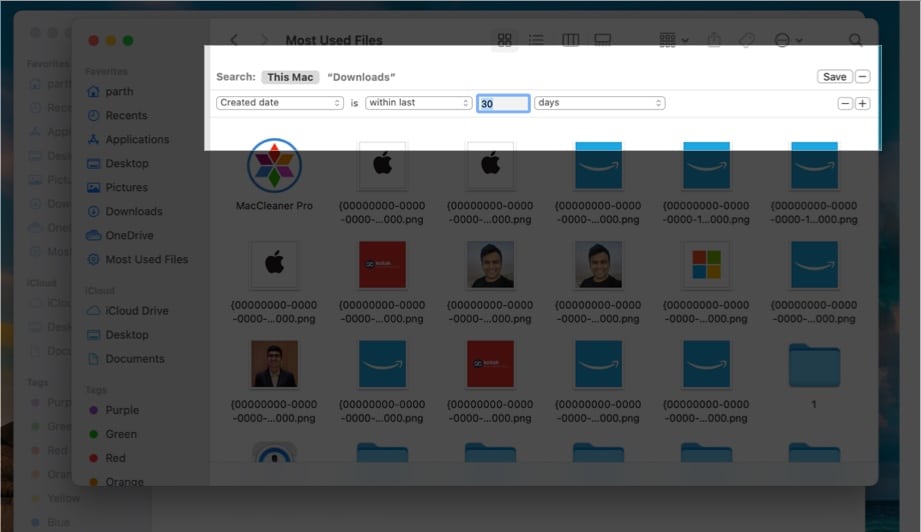
- Hit the ‘+’ icon, and your smart folder is ready for use.
At any point, you can right-click the smart folder and change the search criteria for the folder. You can also use the Remove from Sidebar option to clear the folder.
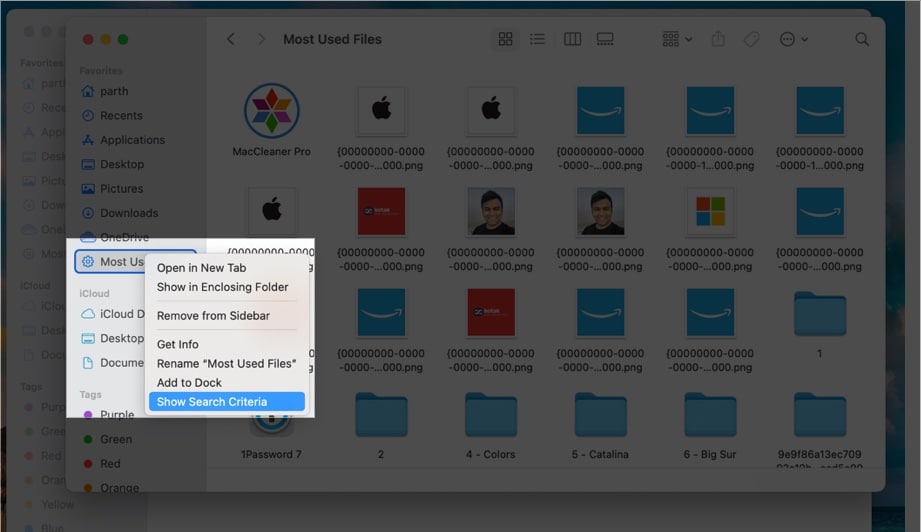
Overall, as the name suggests, it is a smart way to create a personalized folder on Mac.
Bookmark your most-used files and folders on Mac
Another neat trick is to give the folders a color tag. It’s aimed towards improving the overall organization of the Mac. Give the folders a relevant color tag, and you can easily access them using the Tags menu in the Finder sidebar.
You can read our dedicated post to learn how to color tag your folders and files on Mac.
I have been using the MacBook Air (2018) for the last three years, and my file management is complete chaos in Finder. If you are in the same boat, go ahead and bookmark your most-used files and folders.
You would like to read these posts as well:

