Apple Freeform is a powerful digital whiteboard app designed to help you brainstorm, plan, and collaborate seamlessly across your Apple devices. Whether you’re a student, creative, or team lead, Freeform gives you the freedom to organize ideas visually using text, images, drawings, sticky notes, and more.
In this guide, you’ll learn everything about the Freeform app — from what it is and why you should use it to how to create boards, collaborate, and use advanced features.
What is the Apple Freeform app?
Apple Freeform is a flexible digital whiteboard that allows you to gather ideas, sketch concepts, and collaborate in real time. Unlike standard note-taking apps, Freeform gives you an infinite canvas on which you can place anything, anywhere—no structure required.
Key uses of Freeform:
- Students – Take class notes, create mind maps, or plan essays visually.
- Professionals – Organize workflows, manage projects, and prepare presentations.
- Creatives – Build mood boards, brainstorm ideas, and sketch freely.
- Teams – Collaborate live with shared boards and real-time updates.
Why use Apple Freeform?
Here are some key features that make Freeform worth using:
- Infinite Canvas: Freeform gives you a limitless space to lay out your ideas. Zoom, pan, and rearrange elements freely.
- Multimedia Support: Add text, images, sticky notes, drawings, PDFs, links, and more — all in one place.
- Apple Pencil Support: On iPad, draw and sketch using the Apple Pencil for a more natural note-taking experience.
- Real-time Collaboration: Invite others to your board and collaborate live. Changes appear instantly with custom cursors for each participant.
- Seamless Apple Integration: Freeform syncs across iPhone, iPad, and Mac via iCloud, so you can pick up your ideas from anywhere.
How to get started with Freeform on iPhone, iPad, or Mac
If you’re new to Freeform, don’t worry! It’s easy to use, and you’ll be creating boards in no time. In this section, we’ll go step by step so you can start using Freeform on your iPhone, iPad, or Mac.
Check compatibility
Freeform comes pre-installed on:
- iOS 16.2 or later
- iPadOS 16.2 or later
- macOS Ventura 13.1 or later
If you don’t see the app, update your device or download Freeform from the App Store.
Open the Freeform app
- On iPhone or iPad: Find the app on your Home Screen or App Library.
- On Mac: Use Launchpad or Spotlight Search (Command + Space, then type “Freeform”).
Tap Continue on the welcome screen to begin your first board.
Understanding the Freeform interface
- Main Canvas: Your infinite whiteboard.
- Toolbar: Add text, images, shapes, sticky notes, and more.
- Sidebar (Mac): View all boards and access shared content.
How to create and edit a Freeform board
When you first launch the app, it will open a blank canvas with dots. So, you can start doodling. If you see the All Boards section, select the Pen icon from the top right corner. You can also choose the Pen icon from an opened board to create a new one.
![]()
Rename a board:
Press and hold (right-click) on the board from the All Board section and select Rename. Type a new name and tap Ok (hit enter). This helps keep your boards organized!
How to add content to a Freeform board
You can add various content types to your board using the toolbar icons:
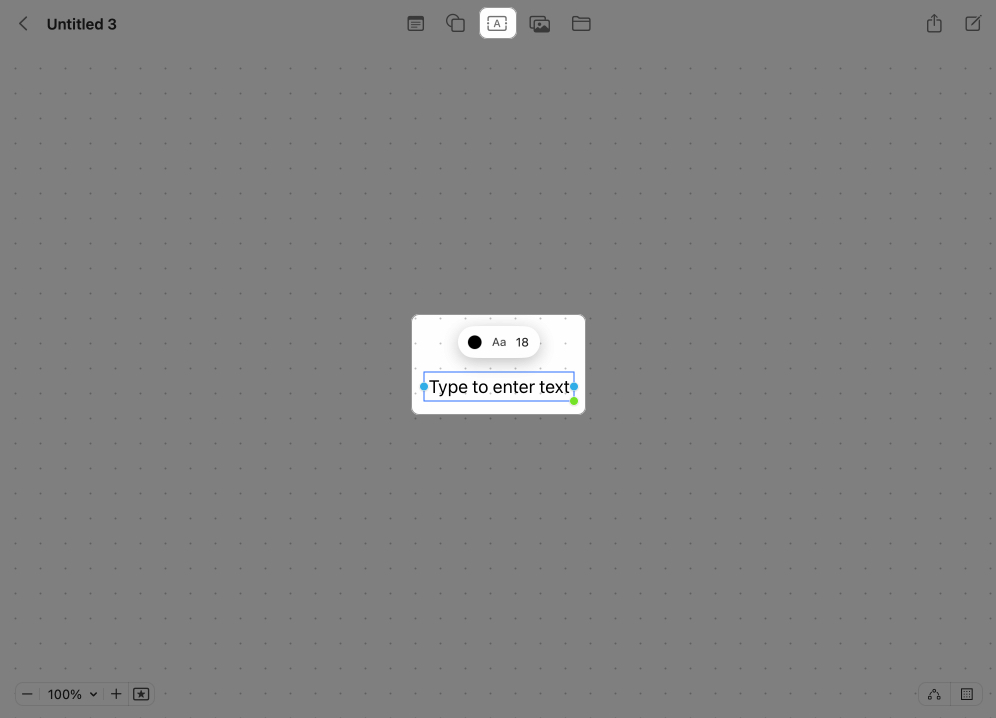
Add text
- Select the Text icon → Click/tap the text box and type your text. Expand the box by dragging the blue and green dots. You can change font color, style, size, and other text formatting.
Add images
- Tap/click the Photos icon → Select Photos or Videos → Choose image → Hit Add. In a similar way, you can add Stickers on your board on iPhone.
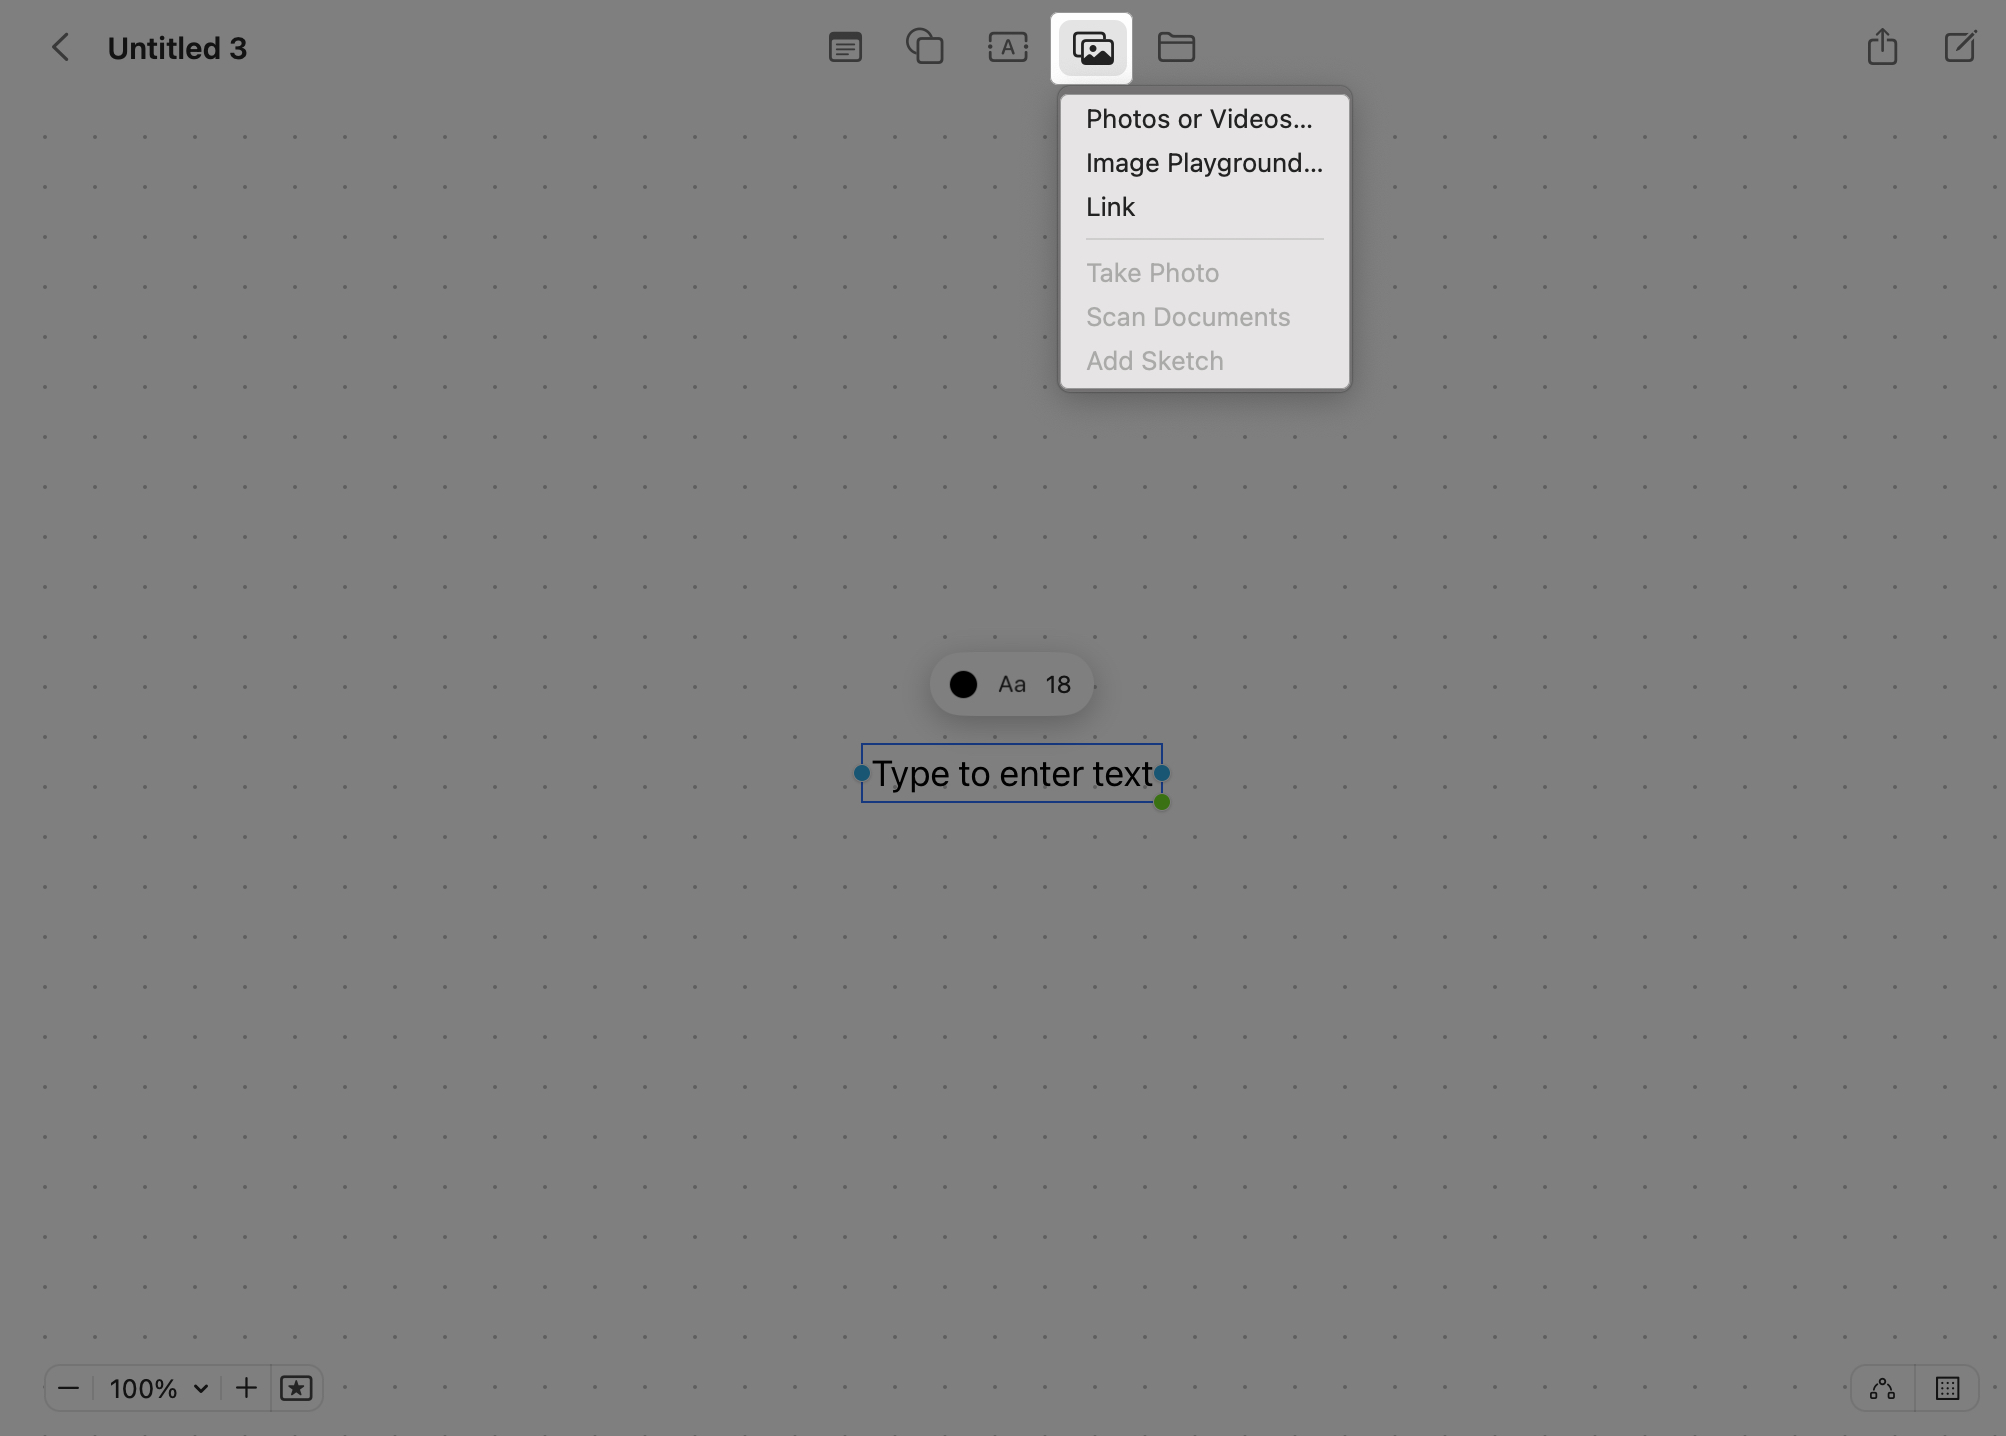
Add a link to your board
- Tap/click the Photos icon → Select Link → Paste your link → Hit Insert.
Add AI-generated images (Apple Intelligence)
- If your iPhone, iPad, or Mac supports Apple Intelligence, you can add your AI images to your board. Select the Photos icon → Image Playground → Generate your image → Hit Done.
Add files and documents
- On a Mac, click the Folder icon and locate the file → Click Insert. This way you can add downloaded images on your Mac. For iPhone, tap the Photos icon and select Insert from.
Add a shape
- Freeform has a library of over 900 shapes to choose from. Click/tap the Shape icon → Select a category on the sidebar → Choose the shape. Now, you can change its color, border, and add text into it.

Use Sticky Notes
- Select the note icon to create a new Sticky Note. Double-click the note → Start typing your text. You can customize its color and text format. Click/tap anywhere outside the sticky note to stop editing.

Doodling with Apple Pencil
- If you’re using an iPad with an Apple Pencil, you can easily doodle on your Freeform board. This also works on your iPhone. Tap the Pen icon and select pen styles and colors. Once satisfied, tap Done to save it and exit the doodle mode. If this doesn’t work, go to Settings → Apps → Freeform and toggle on Select and Scroll under the Apple Pencil section.
Once you add content, you should see a rectangular thumbnail appear.
- To view the content: Double-click the thumbnail to open or view the item, such as a PDF. Meanwhile, audio files have a play button. Just click it, and the audio will immediately play inside Freeform.
- To resize the content: Click/tap the thumbnail and drag the edges outwards.
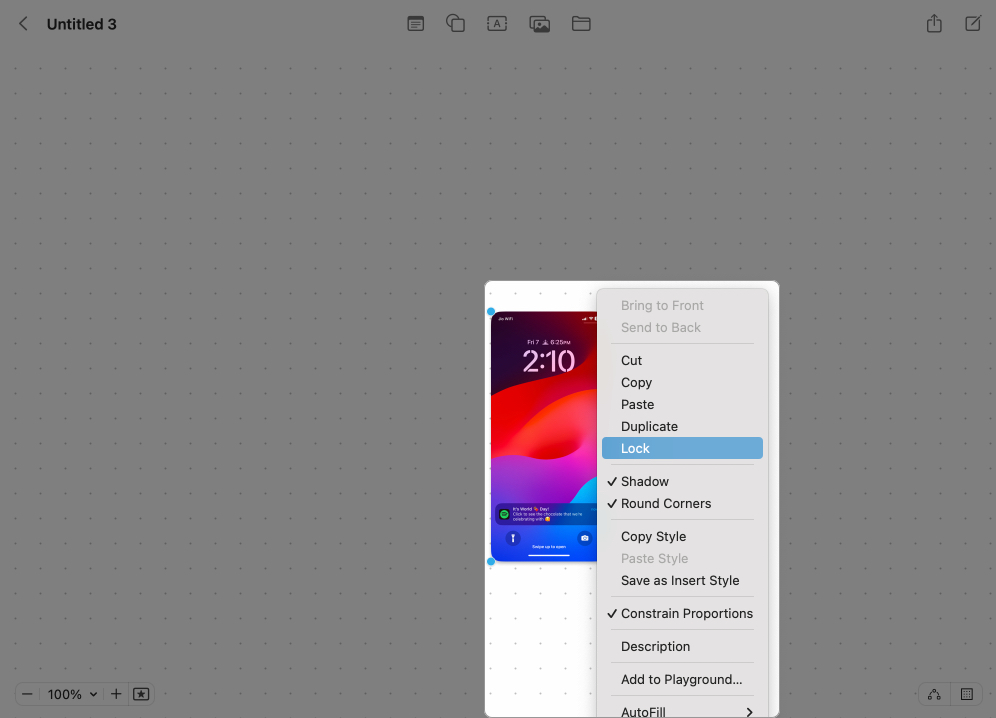
Tip:
To keep your board clean and organized, you can lock items in their intended places. For iPhone and iPad, select the item, tap the three-dot icon, and hit Lock. On Mac, right-click on the item and select Lock.
Add sketches or photos from iPhone/iPad to Mac using Handoff
Freeform lets you draw freehand. However, as mentioned above, this feature isn’t available on Mac, except if Handoff is enabled across your devices. Besides adding sketches, you can’t take photos or scan documents to include in your board on Mac. With Handoff, your Mac integrates with your iPhone or iPad to do these functions.
Before starting, ensure Bluetooth and WiFi are enabled on your Mac, iPhone, or iPad.
- Click the File icon.
- Select Take Photo, Scan Documents, or Add Sketch. Doing so immediately opens the function on your linked iPhone.
How to collaborate in Freeform
Freeform lets you collaborate with up to 99 users. However, you need to enable iCloud for that. Go to Settings (System Settings for Mac), select your name, tap/click iCloud, and select Show All. Scroll down and ensure that Freeform is turned on.
Now that iCloud is turned on for Freeform, you can share your boards with others using any of the following methods.
- Click/tap the Share button.
- Select AirDrop, Mail, Messages, or Invite with Link.
You can modify their access to your board. From the Share Sheet menu, select Only invited people can edit. It will open a menu.

Under Who can access, choose between Only invited people and Anyone with the link. Also, select Can make changes under Permissions. Select View only if you don’t want them to modify your board. Tick Allow others to invite if you want to allow collaborators to share the board with others.
Once they accept the invite or open the link, they can access your board. Additionally, whenever someone is working on your board, you will see a cursor of different colors and changes in real-time. So, it allows for seamless teamwork.
iCloud also facilitates syncing Freeform boards across your devices. So, you can start working from any of your devices.
Tip:
Instead of collaboration, you can export your boards as a PDF to share a static copy with others or save it to Books. For iPhone or iPad, tap the three-dot icon at the top of your board and select Export as PDF.
Advanced Freeform tips and features
Once you’re comfortable using the basics of Freeform, there are a few advanced features that can make your boards even more helpful and fun to use.
- Scaling your board: At first glance, you may think of this as an “unlimited canvas,” as there are no board borders. But its scaling ranges from 10% to 400%. You may use the scaling tool on the bottom left of your board on Freeform on Mac or iPad. Or pinch to zoom in and out with two fingers to modify your board size. The zoom level on the board is 100% by default.
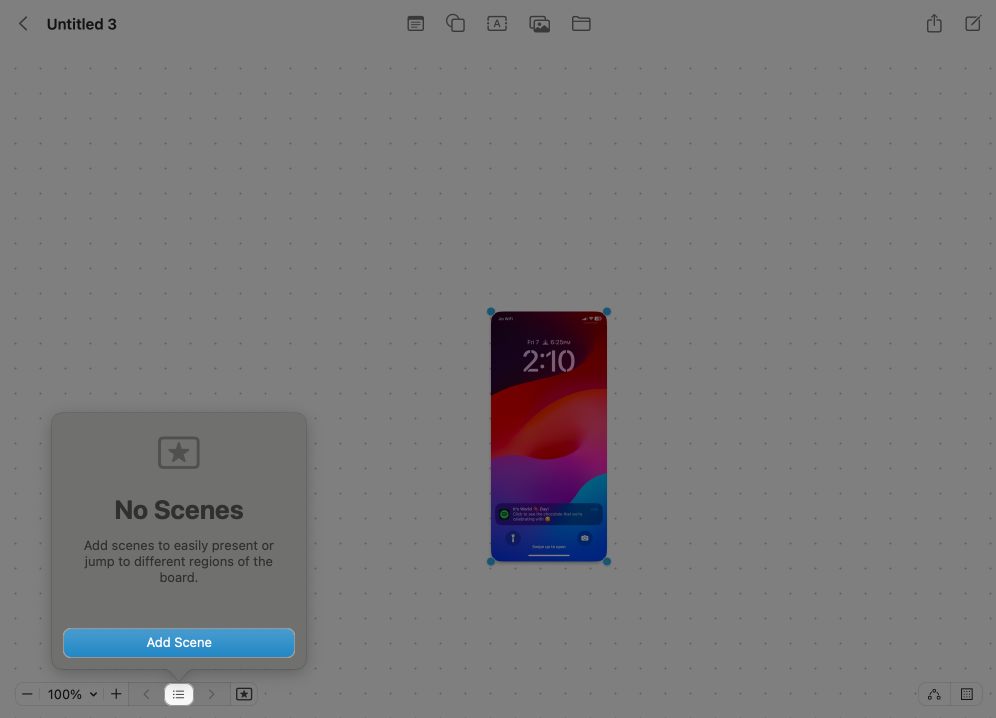
- Adding Scenes: If your board is getting big, with lots of different areas and ideas, Scenes can help you stay organized. Scenes are like slides that let you save a view of a specific part of your board so you can jump back to it anytime. Click the presenter icon, select the list icon and hit Add Scene. For iPhone and iPad, tap the three-dot icon and select Add Scene.
- Show connectors: You can add a connector between shapes or notes to show they are related, and the best part is that the line stays connected even if you move things around! Click the connector icon at the bottom right corner. For iPhone, tap the grid icon and select Show Connectors. Now, select the Shapes icon and choose the curved line. Finally, connect its blue dots to the items.
- Layers: Arrange elements in front or behind others to create a structured layout. Right-click the item and select between Bring to Front or Send to Back. For iPhone, select the item, tap the three-dot icon, and choose Front or Back.
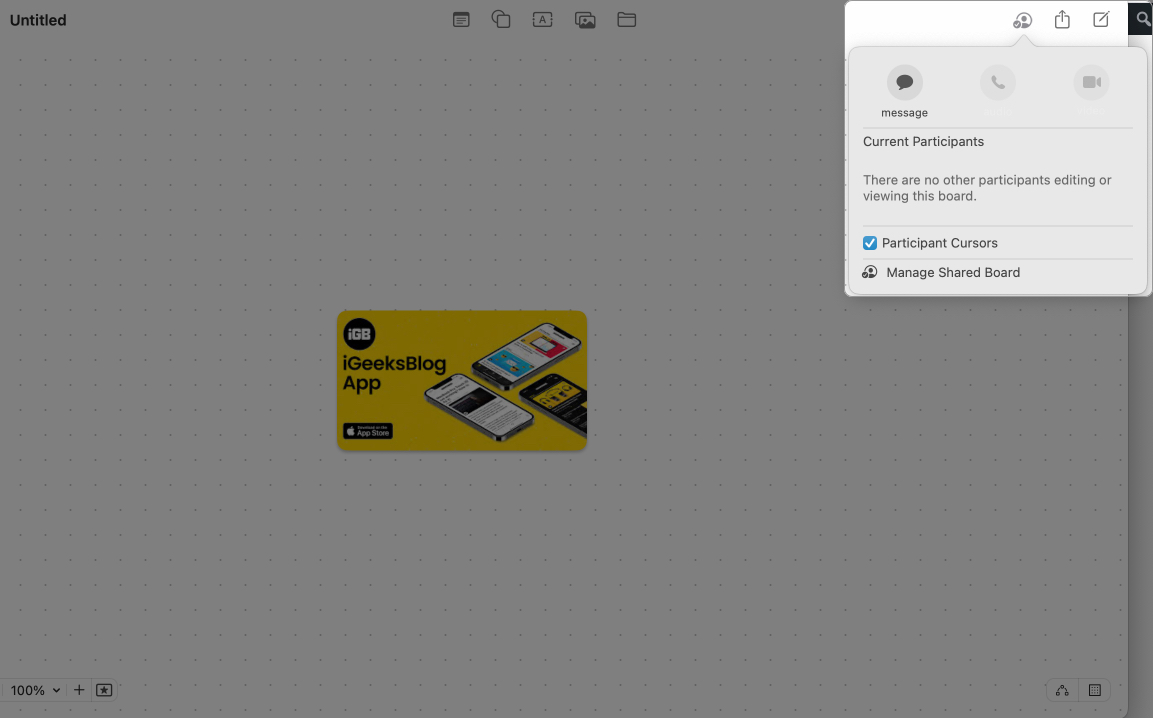
- FaceTime: Initiate a FaceTime call directly from Freeform to discuss the board with collaborators in real time. Open a shared board and select the Collaborator icon at the top. Here, you will see the board management options.
Signing off
Apple Freeform is a powerful and easy-to-use app that helps you plan a project, take notes, sketch, or work with a team. I hope this guide helped you learn how to create boards, add content, explore advanced features, and make the most of Freeform. Give it a try, and let me know which feature you liked the most!
Read more:


