iMessage effects make messaging on a Mac far more fun and expressive. You can now add emphasis, personality, and emotion to any conversation using animated bubbles and full-screen visuals that transform simple texts into more meaningful moments. If you already use iMessage effects on your iPhone, you know how each effect adds context and energy to a message, making day-to-day chats more dynamic.
This post details how to use message effects on your Mac.
Table of Contents
What Are Message Effects in macOS Messages?
Message effects are visual animations that appear when you send or receive an iMessage. Regardless of the Apple device you are using, Apple groups these effects into two types. Bubble effects animate only the message bubble. Screen effects take over the entire conversation window to create a more dramatic moment.
Effects You Can Use
As mentioned, there are two types of message effects you can use in an iMessage conversation:
Bubble Effects
Bubble effects change the style of the text bubble itself. You can use:
- Loud: Makes the text burst onto the screen.
- Slam: Hits the conversation pane with impact.
- Gentle: Presents the text softly.
- Invisible Ink: Blurs the message until the recipient hovers over it with the cursor.
Screen Effects
As the name suggests, Screen effects cover the entire Messages window and create the same animated experience that users already know from iPhone. They are perfect for greetings, celebrations, and dramatic replies. These include:
- Echo
- Spotlight
- Balloons
- Confetti
- Love
- Lasers
- Fireworks
- Celebration
How to Use iMessage Effects on Mac
Sending a message with effects on a Mac is as easy as doing so on the iPhone, but the process is a bit different. Here’s how you can do it:
- Open the Messages app on your Mac.
- Head to an existing conversation or create a new one.
- Type your message in the message field and click the + button next to it.

- Select Message Effects.

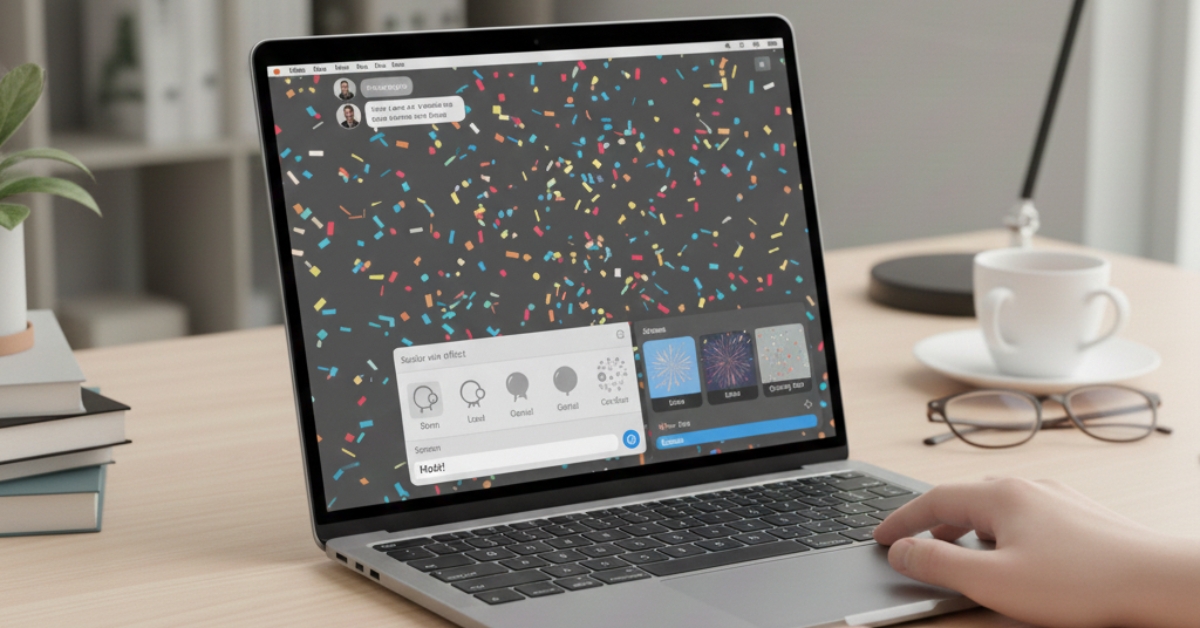
- Now, choose the Bubble or Screen effect you want to use. macOS previews each effect before you send it, so you always know what the recipient will see.

- Finally, click the Send button.


Automatically trigger Message Effects on Mac
Most message effects in iMessage activate automatically in the chat window for both the sender and the recipient. No additional action is required.
Certain keywords and phrases, such as Happy Birthday, Congrats, Pew Pew, Congratulations, and Happy New Year, automatically trigger effects aligned with the message’s sentiment.
For instance, typing Happy New Year in an iMessage thread and clicking Send prompts the Messages app to display the Fireworks effect automatically.
How to Replay a Received Message Effect
If a friend sends you an iMessage with an effect, here’s how you can replay it:
- Click the small Reply button underneath the message.
- Simply hover the cursor over the message with the Invisible Ink effect to reveal it.
Message Effects Not Working on Your Mac? Troubleshooting Tips
Message effects depend on Apple’s full iMessage feature set. If you do not see them or cannot send them, check the following.
1. You Might Have Reduce Motion Enabled
When you enable Reduce Motion on your Mac, macOS minimizes on-screen animations, turning off the message effects in the process. Here’s how you can check and turn off Reduce Motion on your Mac:
- Go to Settings → Accessibility → Motion.
- Toggle off Reduce Motion.
2. Check if You’re in an iMessage Thread
Since message effects are an iMessage-specific feature, they do not work in SMS conversations. Make sure the contact has an Apple device and that your messages appear in blue.
3. Poor Network Conditions
Unlike SMS, iMessages are sent through the internet. If your internet connection is unstable, effects may fail to send. Switching networks usually resolves this.
Tips to Use Message Effects Effectively
Since Message effects add context to your communication and make your messages more engaging, these simple practices can help add clarity, impact, and personality to your iMessage conversations on Mac.
- Use Invisible Ink for sensitive content.
- Use Confetti or Fireworks for celebrations.
- Use Gentle for subtle or soft messages.
- Use Echo for surprising or playful replies.
Mac Messaging Made Dynamic…
Message effects bring the expressive side of iMessage to your Mac. You can send animated bubbles and full-screen celebrations straight from your Mac, which makes your conversations feel more lively across devices. All you need is iMessage and on-screen animations enabled, and the feature works seamlessly and adds personality to your everyday chats.
Have a question about message effects on Mac? Drop it in the comments.


