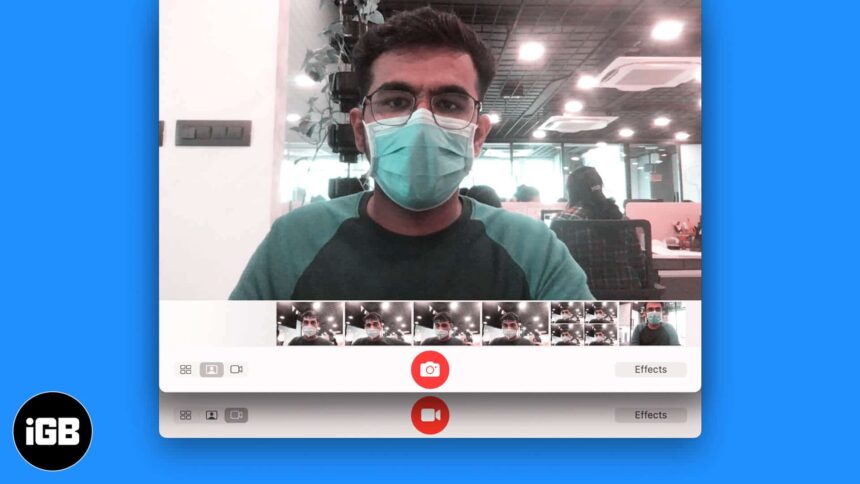
Just in case you didn’t know, Mac comes with an in-built application, Photo Booth. The app lets you take a photo and record video using your iSight camera or an external video recorder. The app features numerous photo effects and a social sharing button, resembling the features of a trending social networking site. If you haven’t ever used your Mac’s camera to capture moments, then you can try it using this app. Know more about it in our detailed post on how to take a picture or record a video on Mac.
- How to Take a Picture on Your Mac Using Photo Booth App
- How to Record a Video on Your Mac Using Photo Booth App
- How to Save and Share Selfies and Video
- How to Turn Off the Countdown or Flash for Photos on Mac
- How to Choose a Screen Size in Photo Booth App on Mac
How to Take a Picture on Your Mac Using Photo Booth App
The app lets you take a selfie or shoot a series of four photos at once. If you’re using an external camera, ensure that it’s connected and turned on. Then, go ahead with the below-mentioned steps.
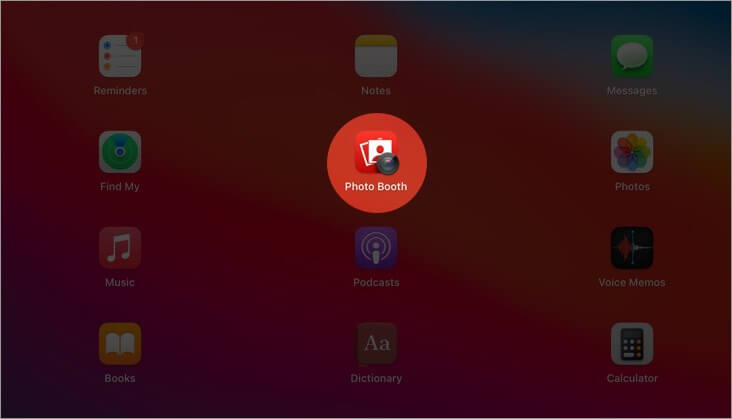
- Open the Photo Booth app on your Mac.

- If you see the View Photo Preview
 or the View Video Preview button, click on it to bring the Take Photo or the Record Video button on the screen.
 - Use the button in the bottom left to capture a group of four photos or a single photo.

- Click on the Take Photo button.
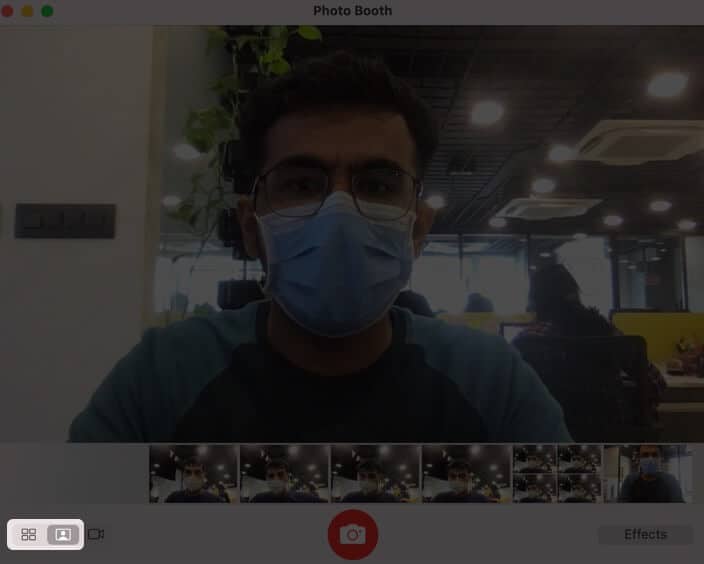
After a photo is taken, you can view it in the preview section above the Effects button. If you want, you can export or delete it accordingly by right-clicking on the trackpad. You can also use special effects to personalize your image while capturing it.
How to Record a Video on your Mac using Photo Booth App
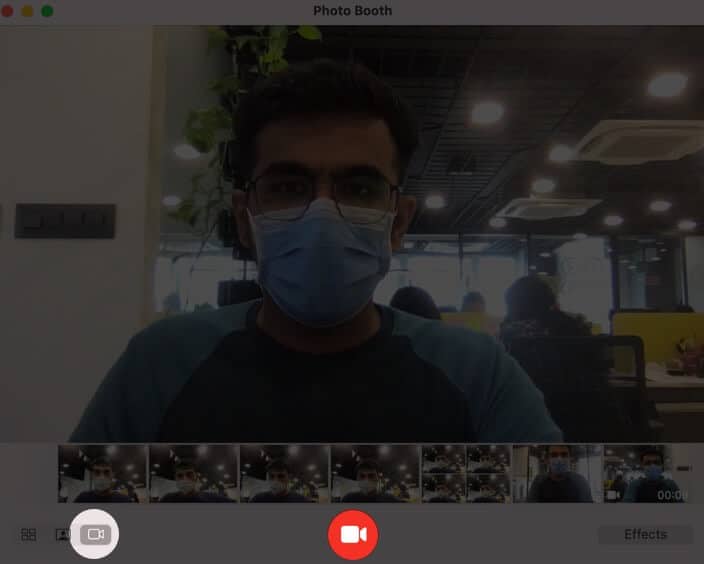
- Open the Photo Booth app
- Click on the View Photo Preview or View Video Preview button to get the Take Photo or Record Video button.
- Select the Video option at the bottom left.
- Click on the Record Video button.
- Hit the Stop button when you’re done recording.
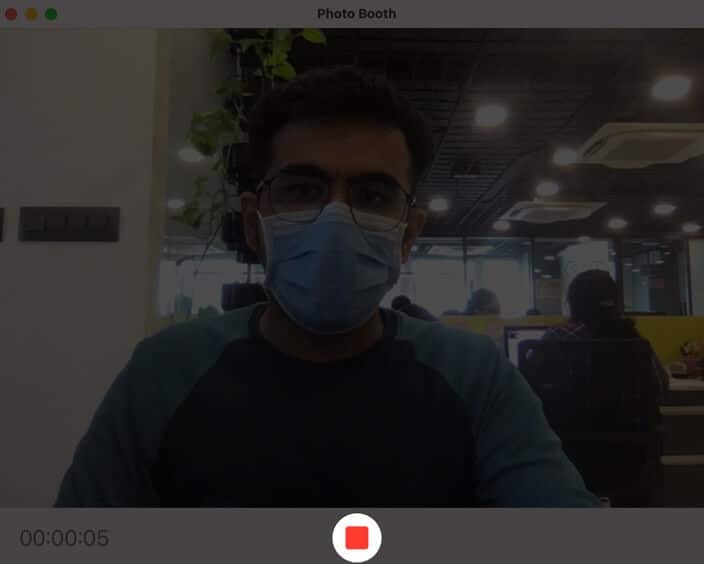
View your captured video in the preview section. You can export it to a location on your Mac or delete it if it’s not up to the marks.
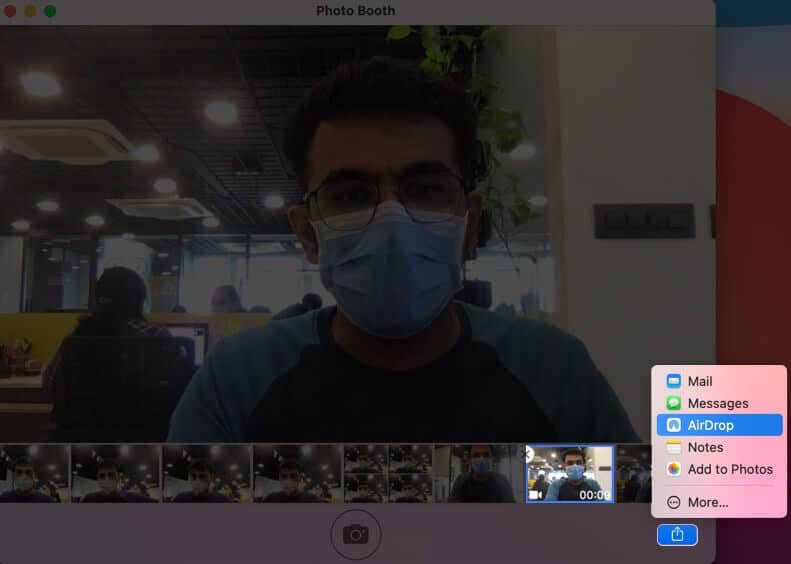
How to Save and Share Selfies and Video from Mac
One of the perks of using Photo Booth is that it instantly allows you to share photos on various platforms. Here’s how you can share your captured moments with your friends and family using the app.
- Choose the Selfie photo or video that you want to share.
- Hit the Share button, then choose the right platform to share.
- Mail: Share your captured moments via the Mail app.
- Messages: Insert your selected photos and videos in a new text message.
- AirDrop: Photo Booth will list devices that are using AirDrop nearby. Click on a device to share your photos or videos.
- Notes: Add photos or videos in a new note.
- Add to Photos: You can save a photo or video to the Photos app library.
- Click on More to explore other options.
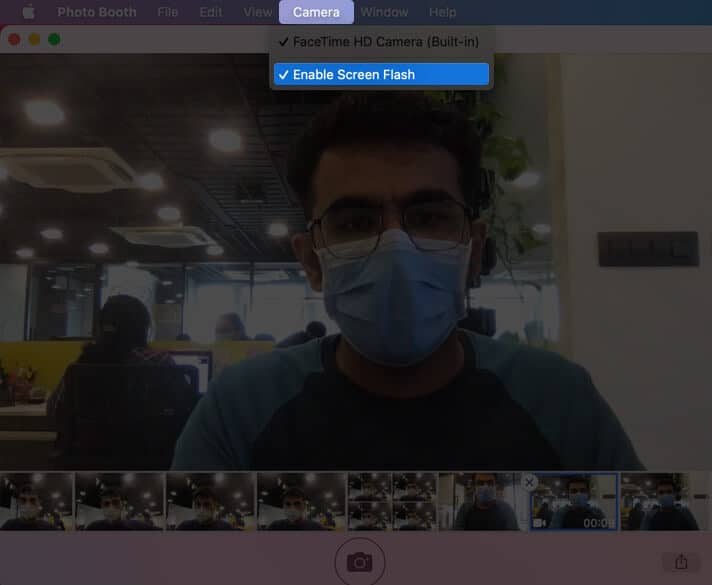
How to Turn Off the Countdown or Flash for Photos on Mac
Right before a photo is taken, a three-second countdown appears. Your screen also flashes at the moment photo is taken. As these pre-capture settings may be intrusive, you can easily disable them using the steps mentioned below.
- Turn Off the Countdown: Press and hold the Option key while clicking the Take Photo button.
- Disable Flash: Press and hold the Shift key while clicking on the Photo button.
- Configure Flash: Choose Camera → Enable Screen Flash.

- To turn off both Flash and Countdown at once: Press and hold Option and Shift keys while clicking the Photo button.
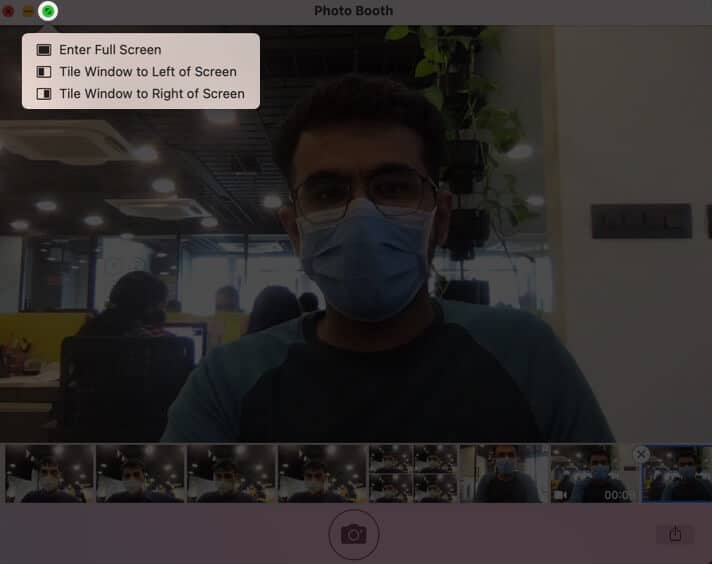
How to Choose a Screen Size in Photo Booth App on Mac
The Photo Booth app lets you take photos and record videos in either full-screen mode or split-view accordingly. If you’re working on another app while recording a video, you can use both apps at once. Here is all you need to do!
- Use Photo Booth in Full Screen: Take the pointer to the green button at the top left corner of the Photo Booth window and click the Full-Screen button. To leave the full screen, click the same button again.
- Use Photo Booth in Split View: Move the pointer to the green button in the top-left corner, then select Tile Window to Left of Screen or Tile Window to Right of Screen from the menu. To leave Split View, click on its window.
Signing off
Photo Booth is a simple yet amazing photography app in macOS. Depending on the quality of your Mac’s camera lens, you can rate this feature and conclude whether it’s worthwhile or not. If it is good, then you might love using it, taking some time out of your schedule to share pictures with your friends. What do you think about it? Give it a try and share your experience in the comment section below.
You may want to read these:
- How to Take a Screenshot on Mac
- Use Markup to Edit Screenshots on Mac
- How to Record Video in PAL format on iPhone
- Best Webcam Covers for Laptops
🗣️ Our site is supported by our readers like you. When you purchase through our links, we earn a small commission. Read Disclaimer.