
When I’m looking for uncompromised quality, I prefer to shoot RAW photos on my iPhone. And, there are several reasons why this image format is undisputedly the first choice for those who adore top-notch pics with all the detail.
A bit more background before getting into action…
Not too long ago RAW was exclusively available only on DSLRs. But with iOS 10, Apple decided to roll it out on iPhone and iPad. As compared to other image formats like JPEG and HEIF (Highly Efficient Image Format), it’s able to snap a lot more data, ensuring you have desired control over several essential things like color and light during post-production. Thus, your edited photos have pro-touch.
Despite the iOS support, the stock Camera app doesn’t yet allow capturing RAW shots. However, many popular third-party camera apps let you break the shackle and shoot it with the needed control. So, let’s get started!
How to Capture RAW Photos on iPhone or iPad
- First things first, ensure that you have a compatible device. iPhones SE, 6s/6s Plus, 7/7 Plus, 8/8 Plus, X, Xs, Xs Max, and XR are compatible with it
- As for iPad, you need to have the latest devices like iPad Pro 9.7-inch, iPad Pro 10.5-inch, iPad Pro 12.9-inch (2nd-gen) and later
To get started, you need to first download your favorite Camera app that allows shooting RAW. The ones that I’ve found appreciable are – RAW+, Halide Camera ($5.99), ProCam 6 ($7.99). In this test, I’m going to try out RAW+.
This camera app is available for free and requires iOS 11 or later. Keep in mind; you will need to go for the pro version ($4.99) if you wish to capture unlimited shots.
Step #1. Launch RAW+ on your device.
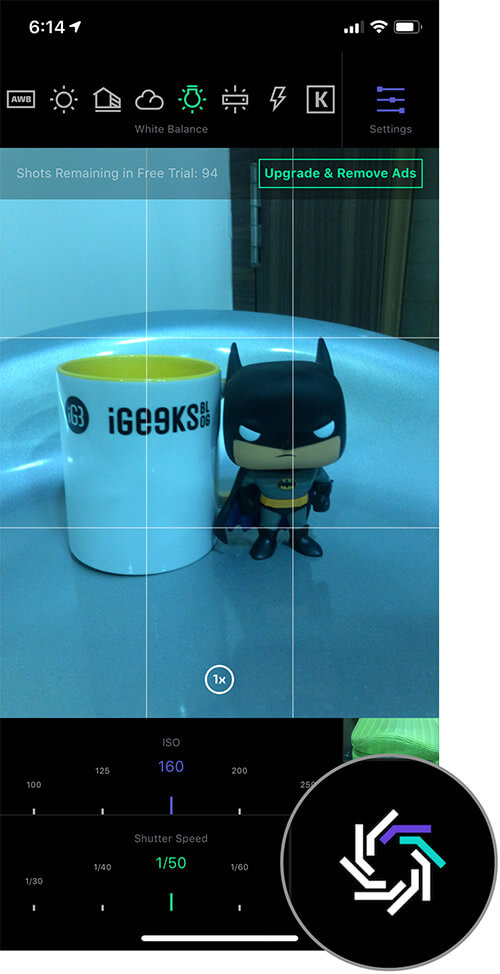
Step #2. Now, adjust important things like ISO and shutter speed as per your need. Then, hit the shutter button to capture the shot. It’s that straightforward.
If you want to have more customization option, tap on the settings icon and then choose from several options like Level, Histogram, Shadow Warning and more. Check out; there is also an option to capture RAW+JPG.
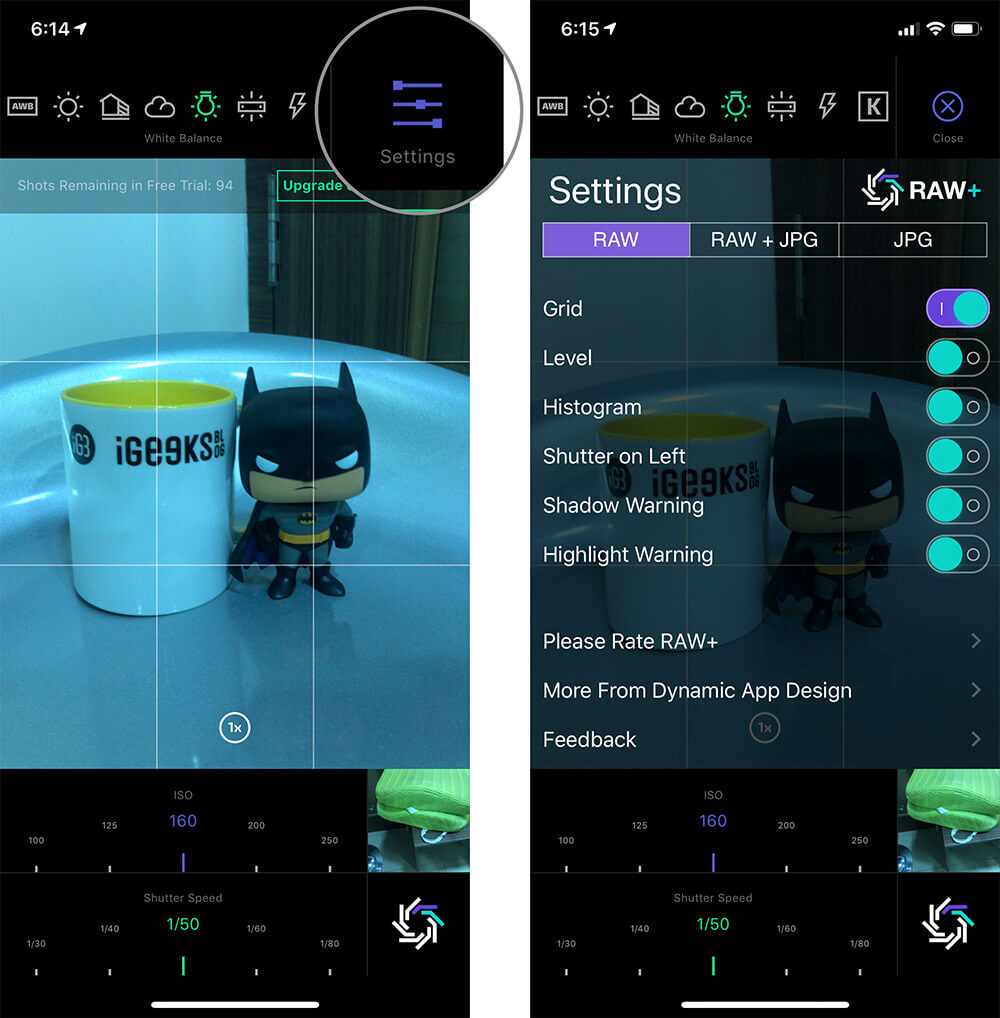
So, play around with everything to snap ideal shots as per your demand.
How to Edit RAW Photos on iOS Device
Thanks to several top-of-the-line photo editors, fine-tuning RAW images is never a big deal. The likes of Adobe Lightroom CC and Snapseed offer you a wide range of tools to design your shots to your best liking.
I’m gonna give a shot to Snapseed as it’s not just power-packed but also offers more flexibility.
Step #1. Download and launch Snapseed (Free/iOS 9 or later) on your iOS device.
Step #2. Now, tap on (+) anywhere on the screen to import a photo. Then, choose a RAW photo from your Camera Roll.

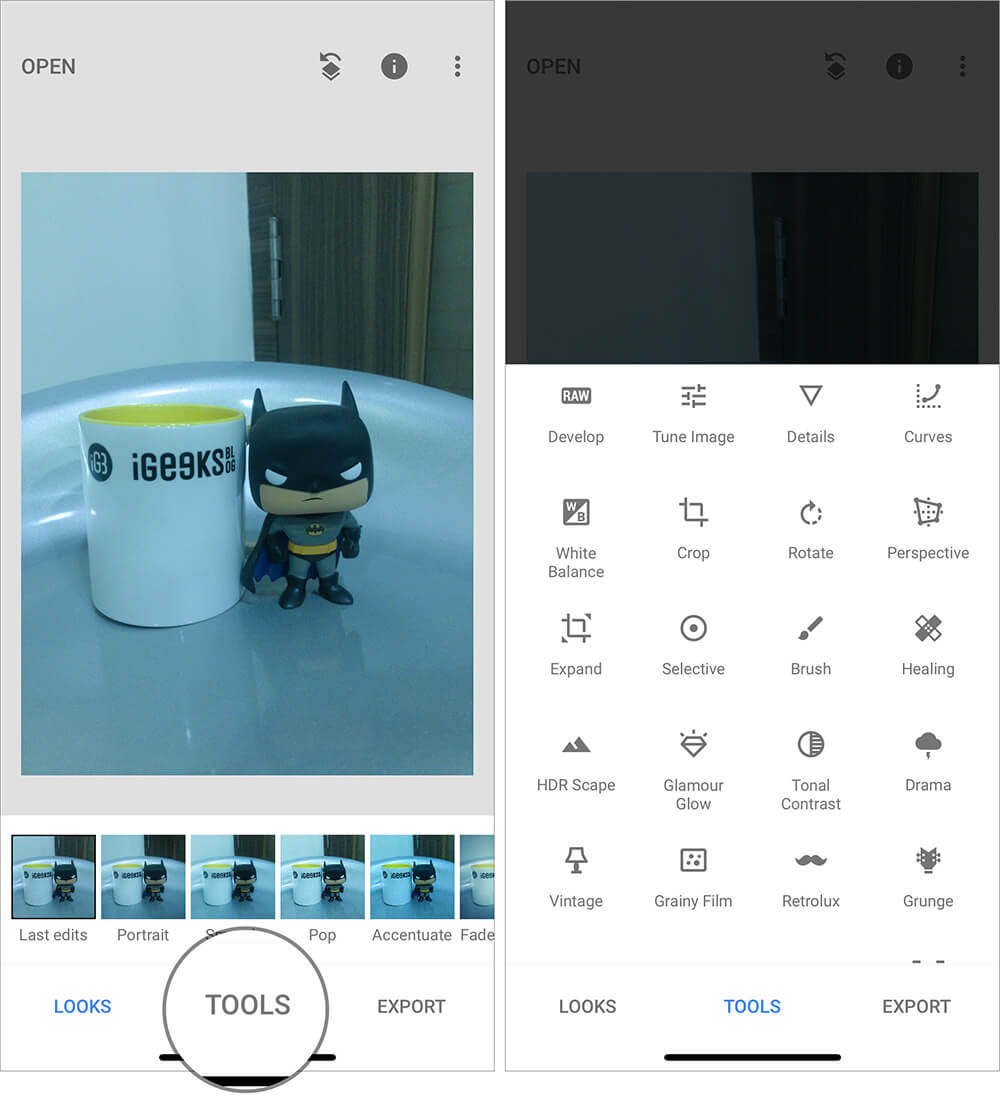
Step #3. After that, make the most of wide range of filters like smooth, pop, accentuate, faded glow and more to design to your pic.
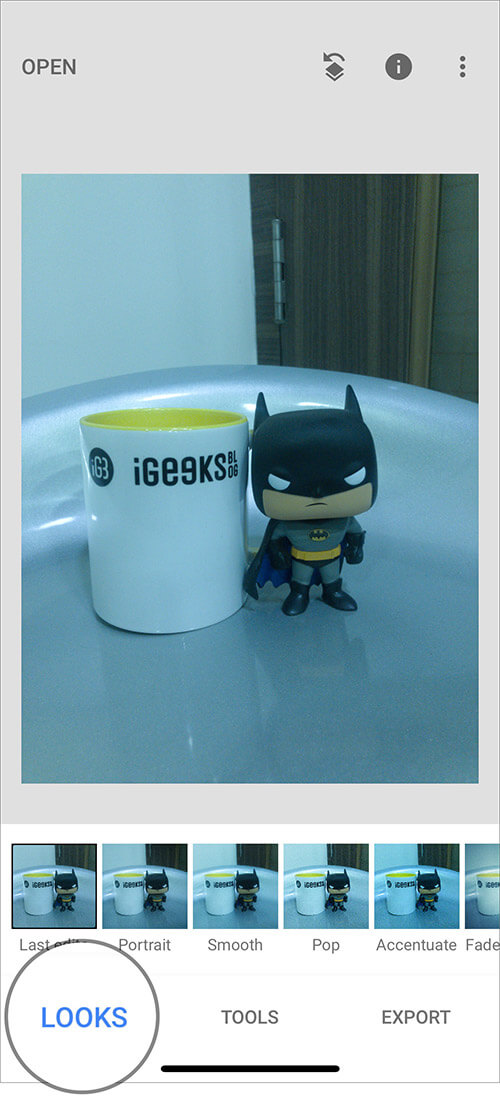
Check out the Tools section wherein you can get tons of handy tools like healing, rotate, glamor glow and more.
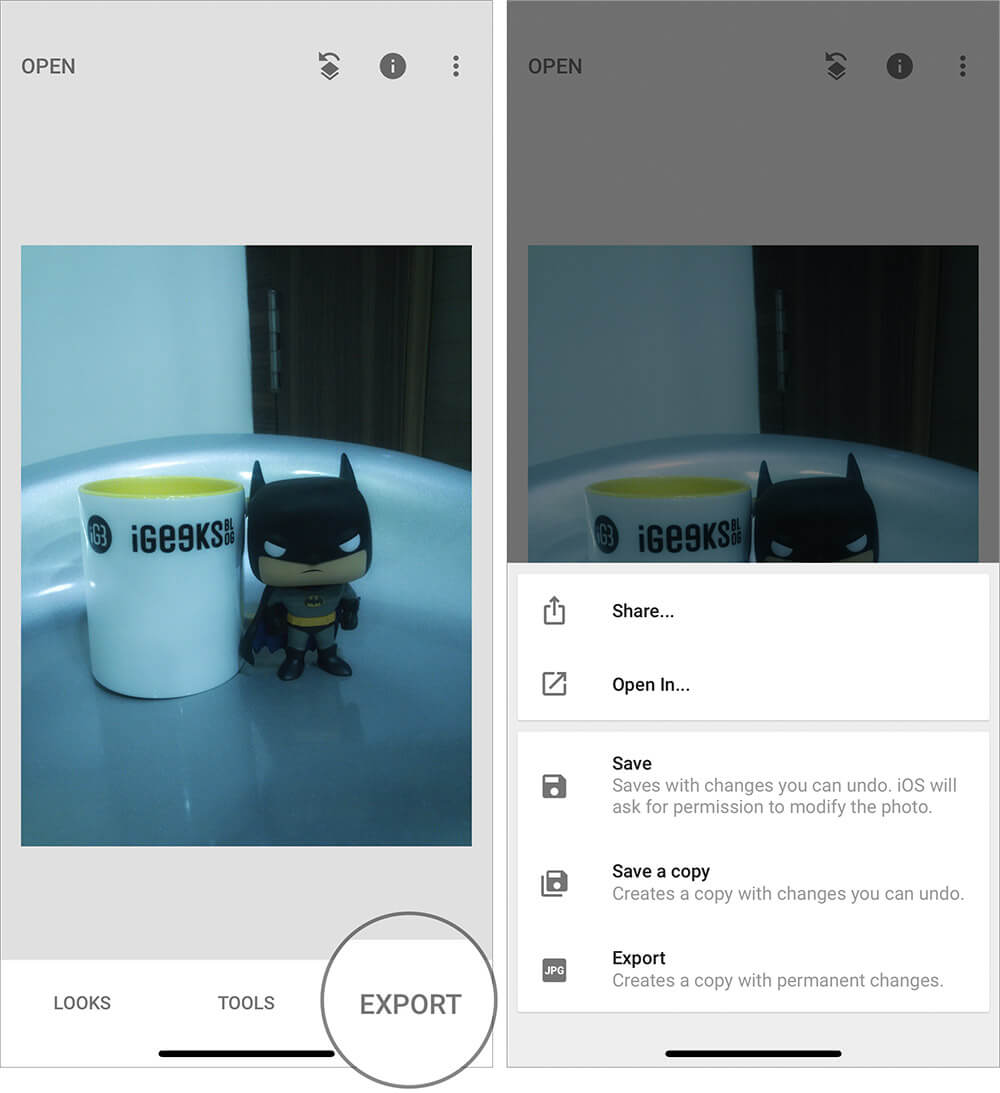
Try out your favorite tools to fine-tune your image. Once you are done, hit the Export option. Then, you can share it, save it with changes that you can undo, save a copy or simply export it with permanent changes. Select any option as per your need.
There you go!
Wrapping Up…
So, that’s how you can snap high-quality pro shots and design them elegantly. Whether you are a pro photographer or dream to become a popular one, do take advantage of this impressive feature on your compatible iOS device.
You’d like to snap a look at the following posts as well:
What’s the one improvement you want to see in iPhone camera app?
🗣️ Our site is supported by our readers like you. When you purchase through our links, we earn a small commission. Read Disclaimer.

