
Want to present your loved ones a sweet gift this holiday season? It would be great to make a photo book in Photos app on Mac.
Photos app for macOS allows you to create awesome photo books using your memorable pics. You can choose photos from a special vacation, parties or events and transform them into a wonderful keepsake. What’s icing on the cake is the availability of a great many tools to let you design your book to your heart’s liking. So, what’s stopping you man?
How To Create A Photo Book In Photos App On Mac
- How To Make Photo Book In Photos App On Mac
- How to Edit Photo Book Page in Photos App on Mac
- How to Change The Book Theme Or Format of the Photo Book Page
- How to Add Pictures to Photo Book Page
- How to Add or Remove Pages From Photo Book Page
- How to Order a Photo Book in Photos App on Mac
How To Make A Photo Book In Photos App On Mac
To create a photo book, you must choose minimum 20 photos. The price of any book depends on the book style and the number of pages. Better still, you have the option to add more photos, change the theme, add/remove pages later to ensure you don’t fail to create a great book.
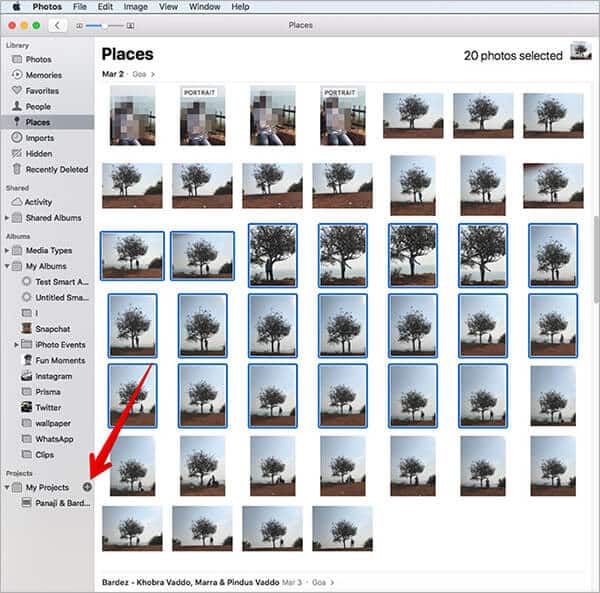
Step #1. Open Photos app on your Mac and then you need to choose at least 20 pictures from your Photo library.
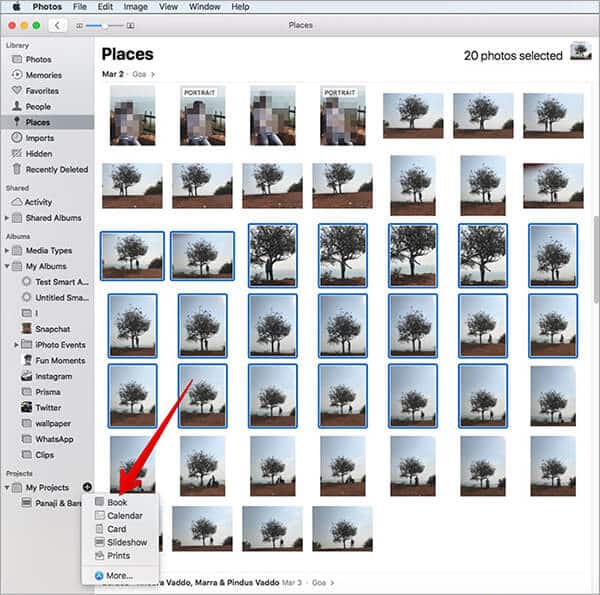
Step #2. Now, you have to click on the Add (+) button in the sidebar next to My Projects.
Step #3. Then, click on Book.
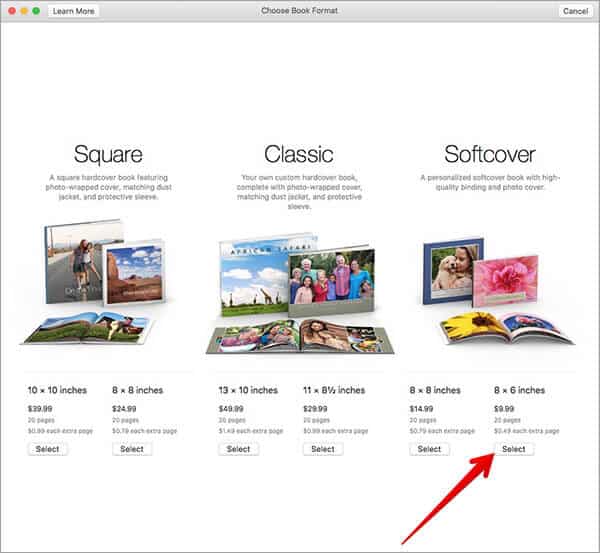
Step #4. Now, you need to choose a book style from the square, classic, or soft cover.
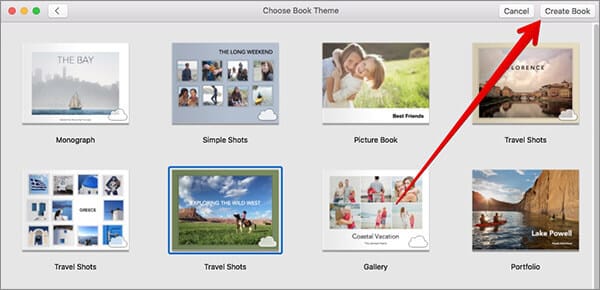
Step #5. Then, select a suitable book theme.

Step #6. Next up, click on Create Book.
The photos will appear on each page. Up next, you can fine-tune pages to your best liking.
How to Edit A Photo Book Page in Photos App on Mac
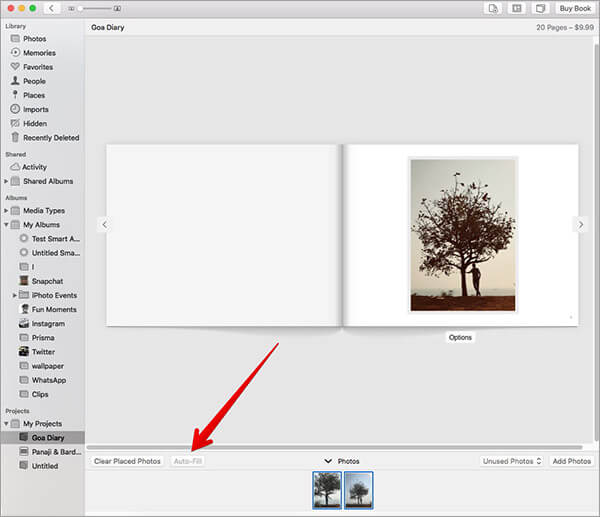
Step #1. As the project is open, simply double-click on a page to choose it and then click on an image. Then drag your cursor to the left or right to reposition it perfectly.
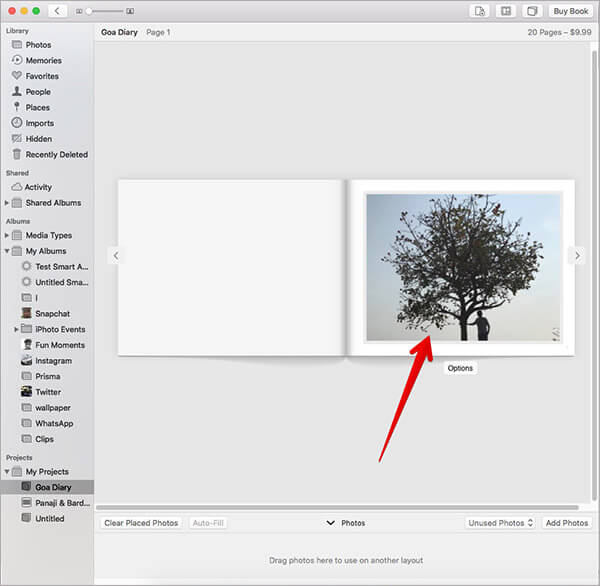
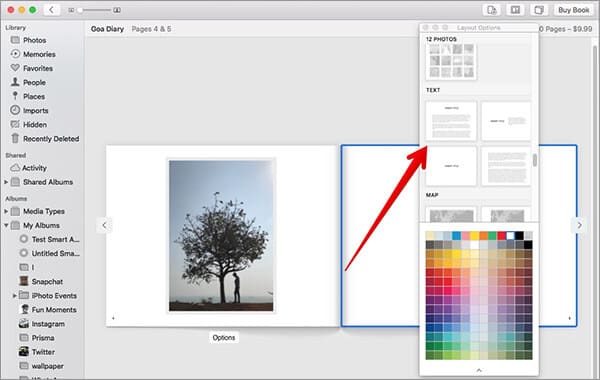
Step #2. Now, click Options to edit the template.
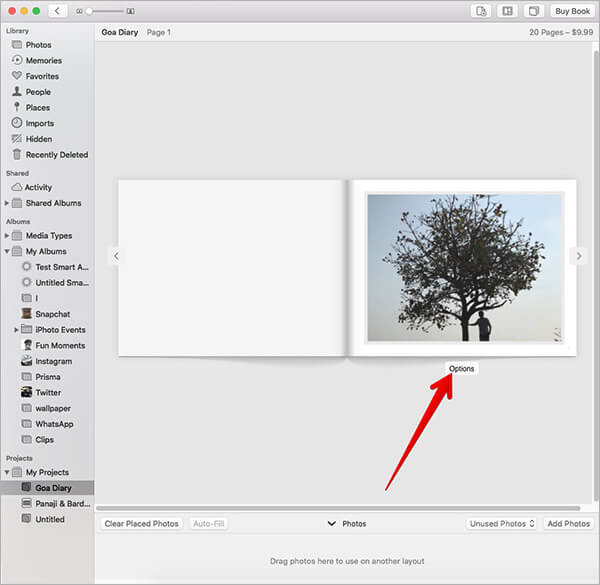
Step #3. Check out the option to change the layout of the page, add more photos to a page, or remove photos from a page. There are several template options; so choose the one that ideally fits your imagination.
If you want to add your own title, click on the text box.
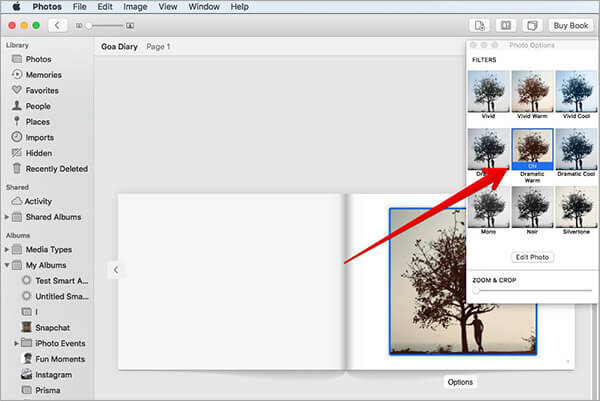
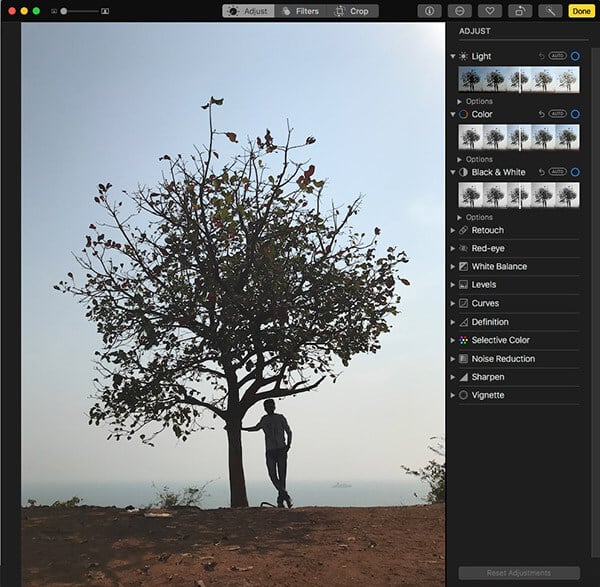
You can double-click a photo to edit it. Then, add filters, zoom, crop, and adjust the image using editing tools.
Change The Book Theme Or Format of the Photo Book Page
Click on the change settings button at the right corner of the Photos window and select Change Theme. It will remove all text and change the order of some photos. There is also an option to change the book format and size. To do so, just click the change settings button and choose Change format and size.
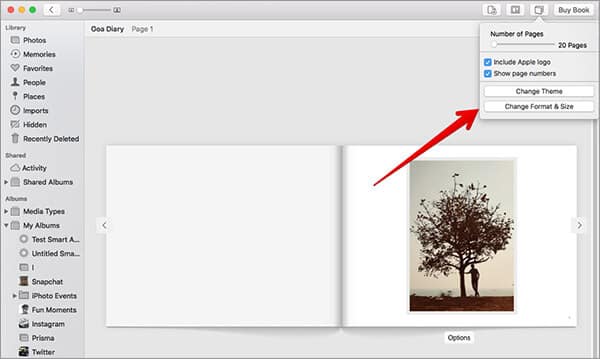
Check out the option to include page numbers and remove the Apple logo. Additionally, you also have the option to increase the number of pages. To do so, simply drag the page slider bar to the right.
Add Pictures to Photo Book Page
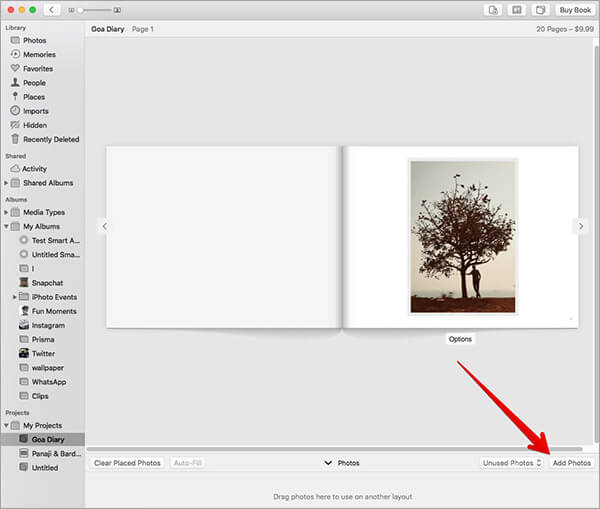
Forgot to include some images in your photo book? No problem. You can add them even now. With your project open, click on add Photo at the bottom right corner of the Photos app window.
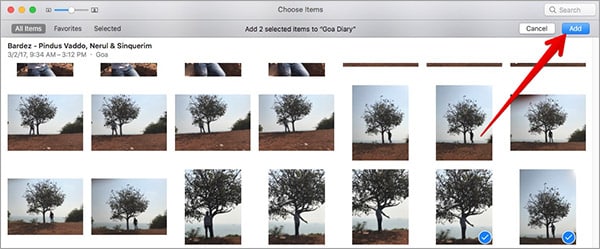
You should see the groups of photos depending on the albums you had selected pictures from. It will help you quickly add pics from the particular album. But if you want to add some other pics, just scroll down and select photos from other albums.
Once you have selected photos, click Add at the upper right corner.
The pics you have just added will appear in a tray at the bottom of your screen.
You can drag a photo to a page to add it to the book. Alternately, simply click the auto-fill button to automatically add new images in the book.
Add or Remove Pages From Photo Book Page
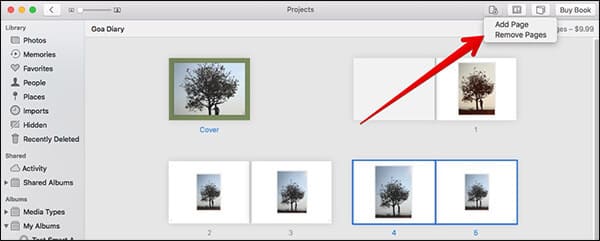
You get the option to add or remove pages while editing. So, if you wish to increase the pages to include some more images or remove some of the unwanted ones, you can get it done without any hassle.
To remove pages, simply select any page and click the add/remove page button at the top right corner of the Photos window and then click remove page.
To add new pages, click the add/remove page button and select add page.
How to Order a Photo Book in Photos App on Mac
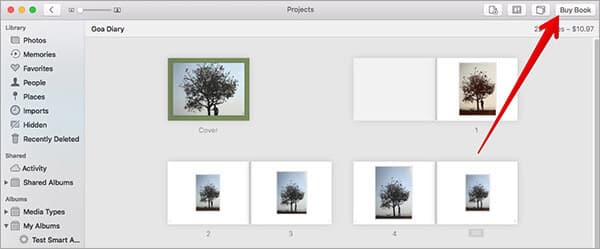
Once you have designed your book just the way you want, you can order it.
Step #1. Click Buy Book and then enter a shipping address.
Just in case you are sending it to the person who is in your contact, search for the name. When his/her address appears, select it.
Step #2. Now, click Place Order and then enter your Apple ID and password.
Now, your project will be uploaded to Apple’s servers. Once it’s done, you will get a notification and an email as confirmation.
That’s pretty much it.
All the Very Best!
You can follow these same steps to create more photo books to enliven the memory behind each photo. Have any feedback to share with us? Feel free to shoot it in the comments below.
You might want to take a peek at these posts as well:
- Make Card in Photos App on Mac
- 8 Ways to find images in Photos app on Mac
- Add Royalty Free Music to iMovie
- Use extensions in the Photos app on iPhone
🗣️ Our site is supported by our readers like you. When you purchase through our links, we earn a small commission. Read Disclaimer.

