
As one of the best video conferencing apps out there, Zoom has zoomed up in popularity over the past couple of months. However, if you’re concerned about the privacy issues with the iOS app, you might want to delete your Zoom account.
Bear in mind that simply deleting the app from your iPhone or Mac doesn’t delete your account and your associated personal information. That’s why we’ve put together this handy tutorial to help you out. Let’s get started.
How to Delete Your Zoom Account
Note that paid Zoom subscribers need to cancel their subscription first. If you are a basic member of Zoom, follow the steps.
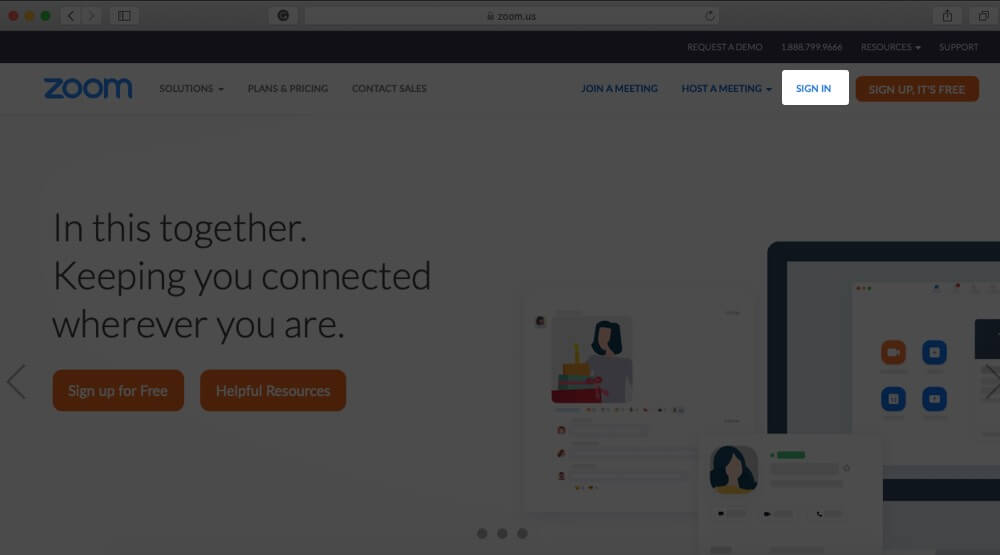
- First off, open the Zoom web portal on your computer or iOS device
- Now, click on the SIGN IN option from the top right corner. Alternatively, you can directly Sign in from here.

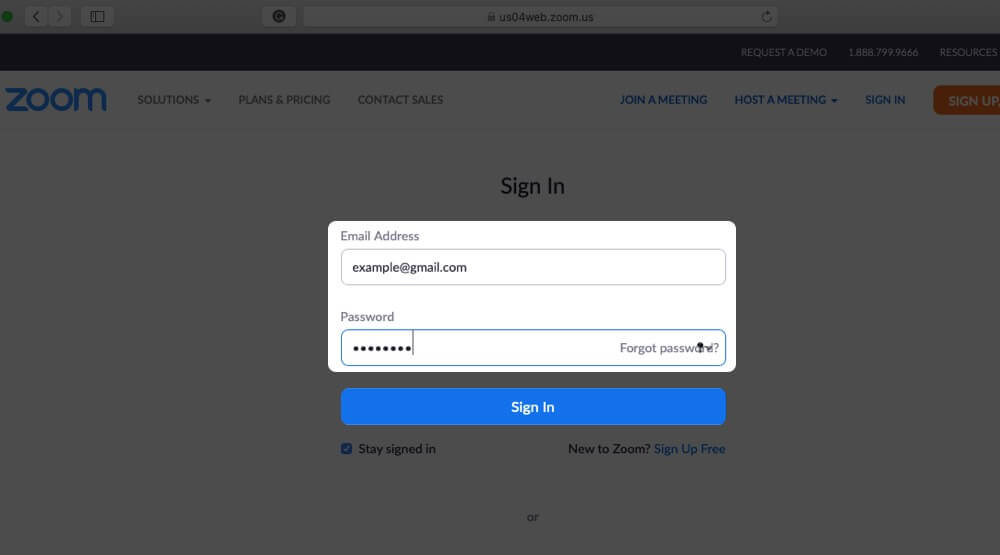
- After entering your credentials and click on sign in.
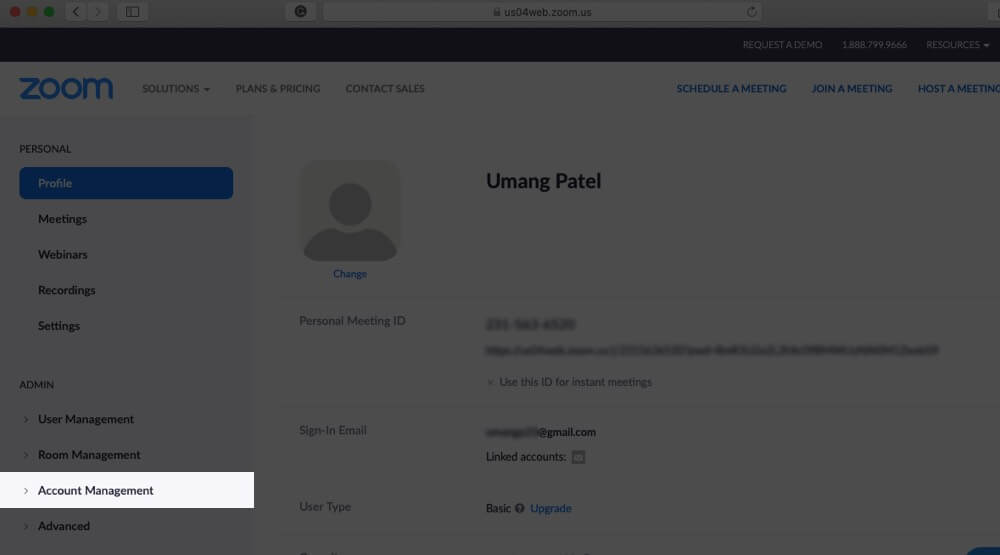
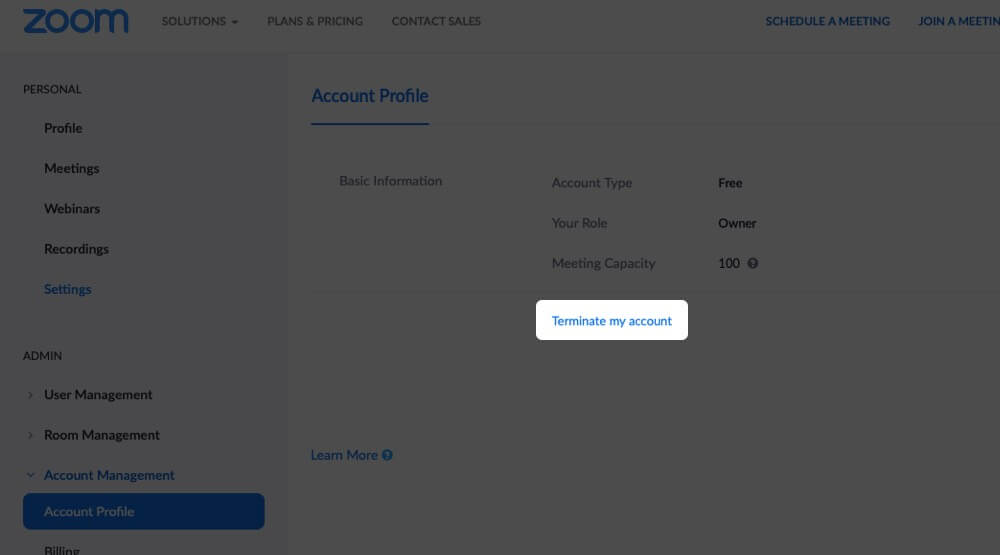
- From the left sidebar under ADMIN section click on Account Management.
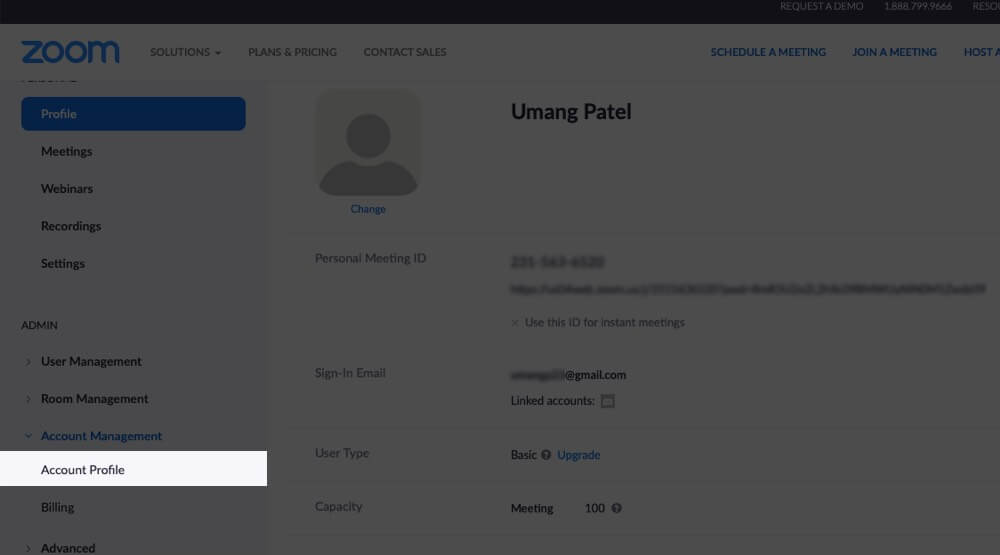
- Now, click on Account Profile.
- Here, click on Terminate My Account.
- You will be prompted to terminate your account. Here, you need to click Yes button.
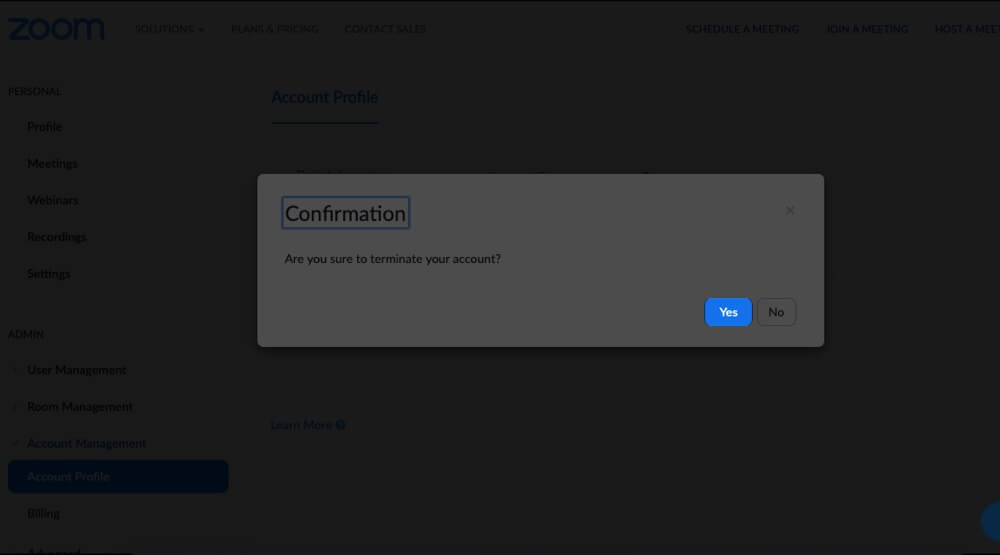
This will permanently delete your Zoom account. Next, you will be taken to the Home page of Zoom. The portal shows a message that your account has been terminated successfully.
How to Cancel Zoom Subscription
As mentioned above, paid subscribers need to cancel their subscription to delete the account. There are two types of paid Zoom accounts: Pro and Add-on Subscription. We will learn to cancel both accounts.
- Open the Zoom website and sign in with your username and password.
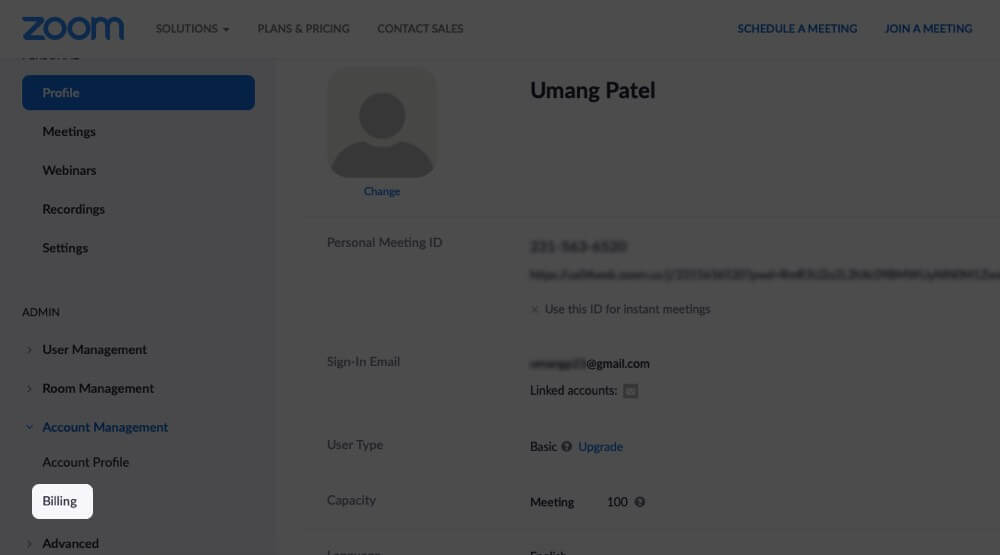
- Next, click on Account Management option.
- Now, click on Billing.
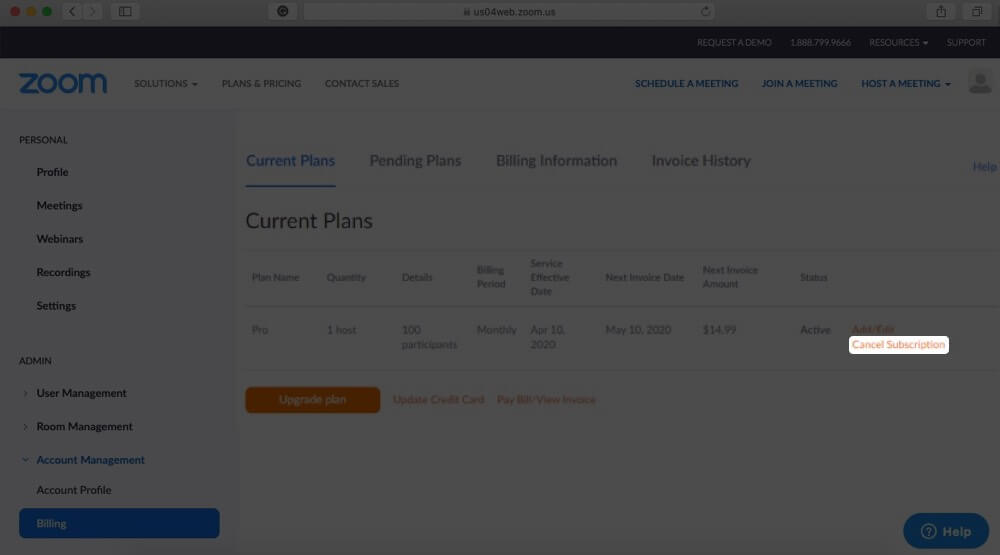
- This will show you Current Plans, Pending Plans, Billing Information, and Invoice History.
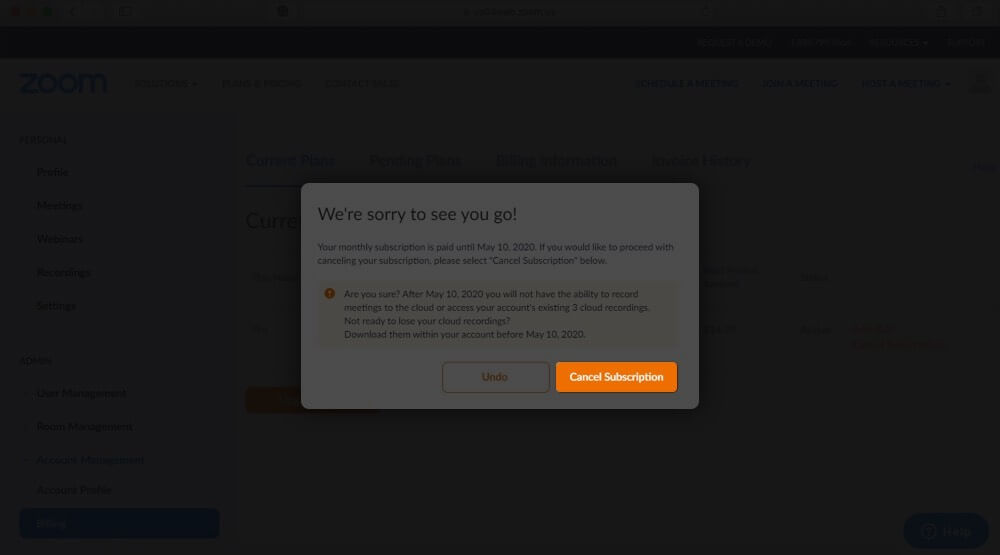
- While on Current Plans tab, click on Cancel Subscription.
- You will be prompted to confirm your action. Click on Cancel Subscription tab once again.
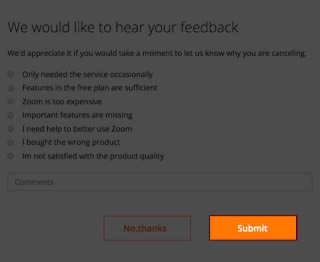
Zoom will ask you to give your feedback about its service; after clicking on one of the radio buttons, click on Submit button.
That’s it! You have canceled your Zoom subscription successfully. Note that Zoom may ask you to contact its Sales department to cancel your subscription.
To cancel your Add-On subscription, follow the first three steps as mentioned above. On Current Plans tab, click Cancel Subscription next to the add-on you like to discontinue auto-renewal of. However, you should remember that your Zoom subscription will be active until your billing period is over.
How to Delete Zoom App on your iPhone and iPad
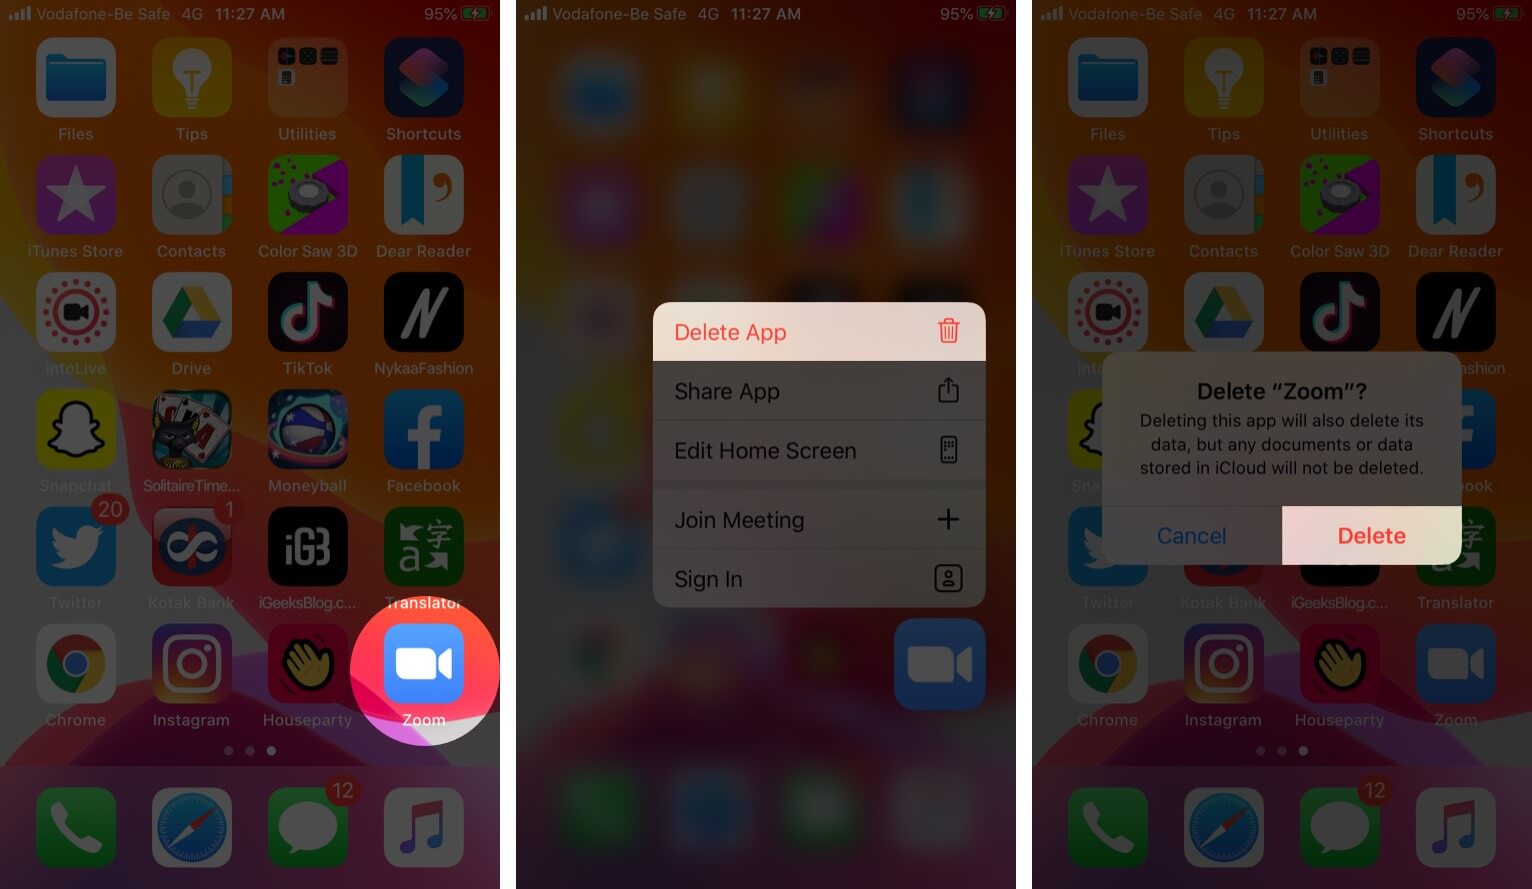
After deleting and canceling your Zoom account, it is time to delete the app on your device. On the home screen of your iOS device, press and hold the Zoom app. When a drop-down list appears with some options, tap on the Delete App option. Finally, confirm your action by tapping on Delete button within a pop-up box.
How to Uninstall Zoom App on your Mac
Zoom is not available on Mac App Store, and therefore, you need to delete the app using Finder.
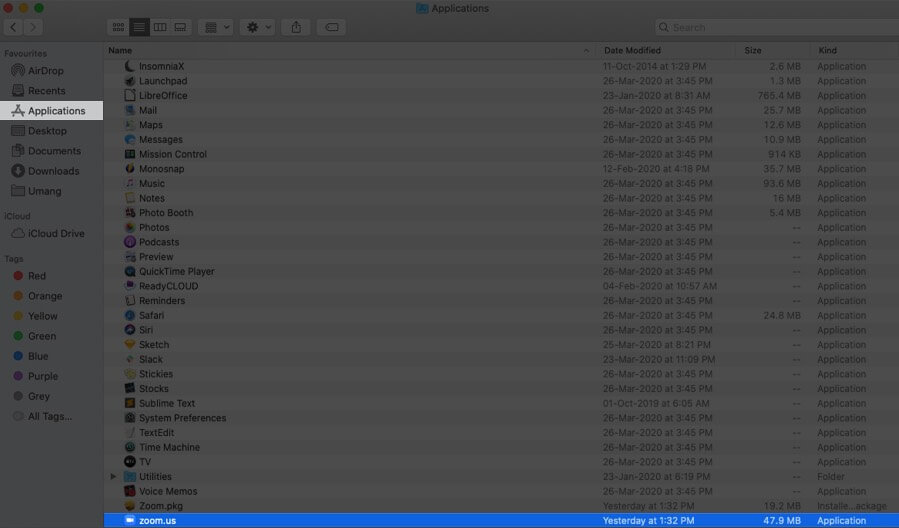
- Click on the Finder icon in the Dock of your Mac.

- Next, click on Applications from the Sidebar and look for Zoom app in the list of apps.

- Right-click on the Zoom app
- From the menu, click on Move to Bin option.

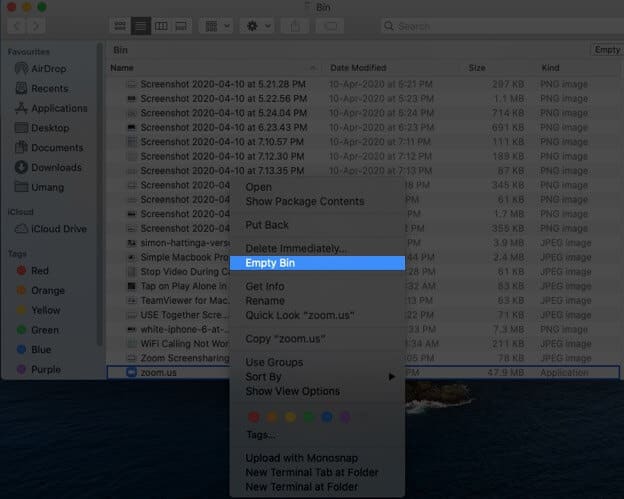
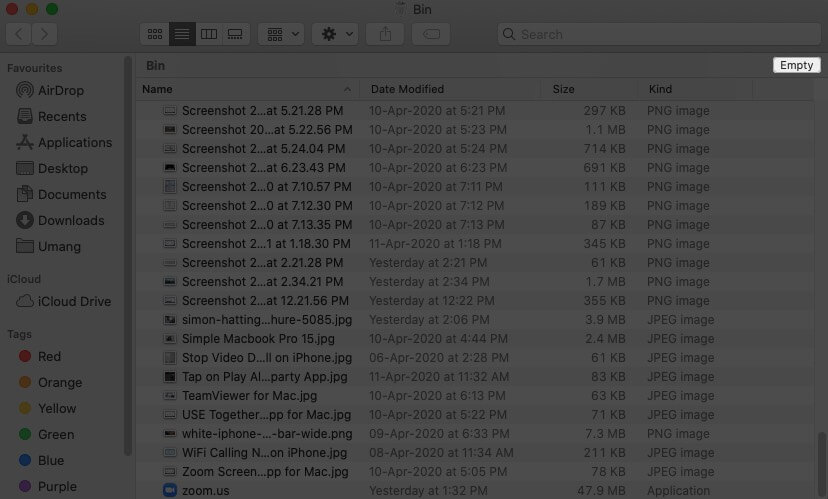
- Now, open Bin from the Dock.

- Finally, click Empty Bin.


You have deleted the Zoom app from your iOS and Mac devices.
That’s all Zoomers!
After terminating your Zoom account, you can use some Zoom alternatives on your iOS device. Moreover, for safety purposes, you can also use some iPhone security apps to protect your apps and data.
You would like to read these posts as well:
- How to Use Houseparty on iPhone and iPad
- How to Delete TikTok Account Permanently from iPhone
- Best Microsoft Office Alternatives for Mac
- How to Use iPhone As a Webcam for Mac and PC
🗣️ Our site is supported by our readers like you. When you purchase through our links, we earn a small commission. Read Disclaimer.