A smartphone like an iPhone obviously lures you to capture many photos of your loved ones. But there are times when you wish to transfer photos from your personal computer or Mac to your iPhone or iPad. So what is the trouble? Well, apparently there is none except that you are not able to delete photos imported to iPhone/iPad from PC or Mac. (I can see your red face now.)
Many iPhone users have ranted about this and written complaints angrily about this. But probably you are paying the price of using an iPhone. Or maybe they wanted you to make the most of iTunes. The fact still remains that you cannot (yes, simply can’t) delete your photos from iPhone if you have imported those beautiful pics from your computer or Mac.
This, of course, occupies much space on your iPhone if you are using a 16GB piece. You must be wondering if this is impossible, then there is no point in writing a how-to on this issue.
Well, there is a way out. You can delete the photos using iTunes, with which you have imported your photos. In fact, there is another solution, a bypass you can say, to delete your photos from iPhone. But first, I have listed below a few steps following which you can delete your photos from your iPhone.
How to Delete Photos Imported to iPhone from PC and Mac
Step #1. Connect your iPhone to your computer with USB cable.
Step #2. Launch iTunes on your computer.
Step #3. Click on iPhone icon.
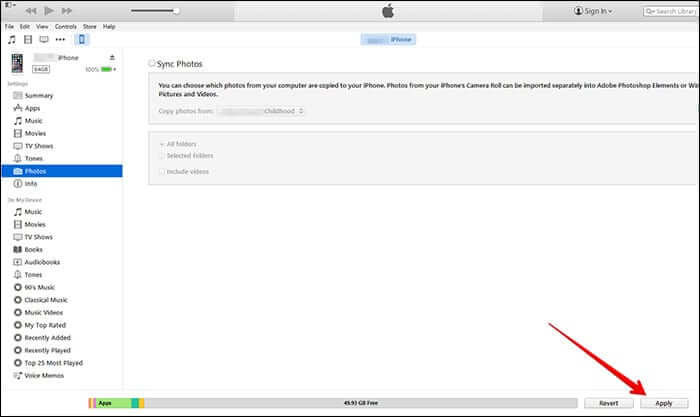
Step #4. Now click on Photos.
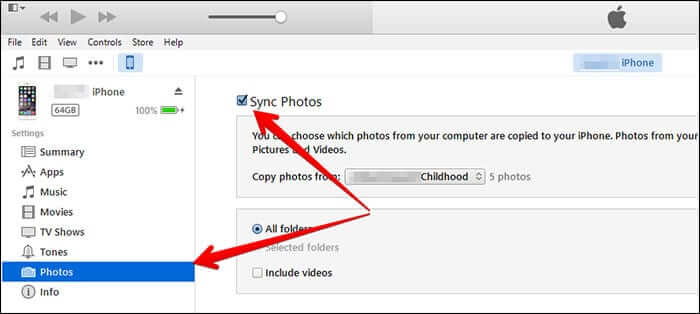
(Sync Photos box will be checked as you have already transferred photos on your iPhone/iPad.)
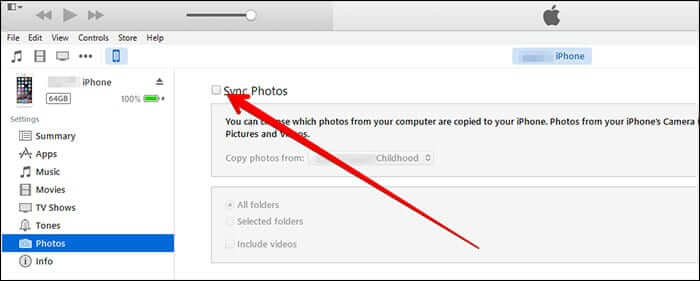
Step #5. Uncheck the Sync Photos box.
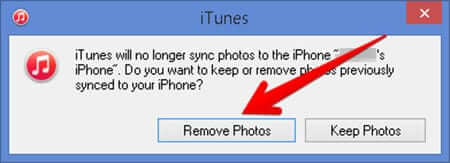
Step #6. A pop-up window will ask you to either Remove Photos or Keep Photos.
Step #7. Click on Remove Photos.
Step #8. Finally click on Apply button at the bottom right corner.
This will erase entire photo folder you have transferred earlier to your iPhone/iPad.
As mentioned above, there is one more way you can completely bypass this method, and that is saving your photos in Dropbox from the web and save it your iPhone using Dropbox app.
Once you download photos to your iPhone, you can delete the same from your Dropbox folder to make space in your account. Photos that downloaded from Dropbox will act like your iPhone photos. You can edit the same and delete it as well without hassle.
You can smartly use this app as it provides you enough space to save your documents, photos, and videos. All you need.
That’s all for now!
🗣️ Our site is supported by our readers like you. When you purchase through our links, we earn a small commission. Read Disclaimer.