
I spent a lot of time thinking about a sweet gift for my best friend. When I was in the midst of thought, the idea of making a custom calendar using Photos app on Mac came to my mind.
And tell you what; my friend really loved that personalized calendar decorated with memorable photos and loving messages. Do you also wish to gift your pal a custom calendar? Let’s jump over to make one!
Quick Link:
- How to Make A Calendar In The Photos app on Mac
- How to Edit A Calendar in Photos on Mac
- How to Add Holidays Or Personal Calendars To A Calendar Month in Photos on Mac
- Add Pictures To A Calendar Month In Photos On Mac
- Order a Calendar in Photos App on Mac
How to Make A Calendar In The Photos app on Mac
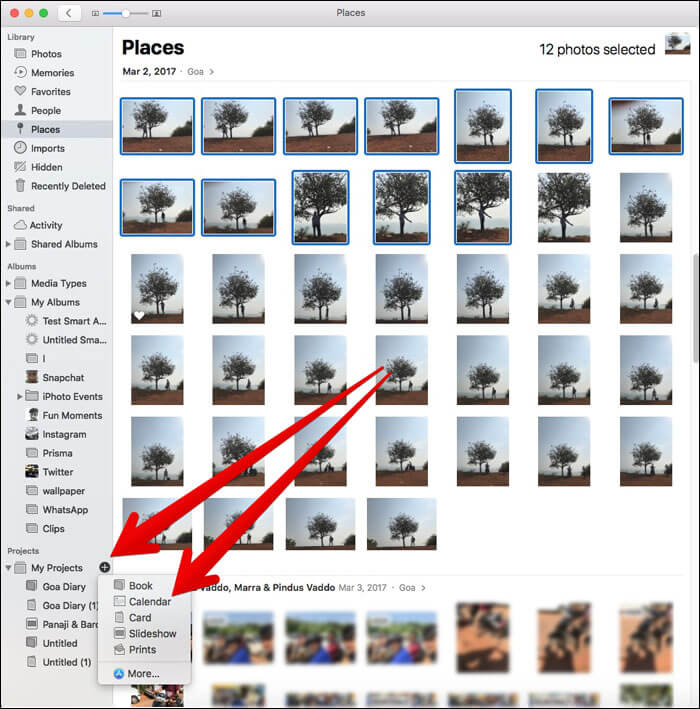
Step #1. Open Photos app on your Mac.
Then, you have to choose at least 12 pictures from your Photo library. If you want to make a calendar of 24 months, select 24 months. A 12-month calendar is priced at $19.99.
Step #2. Now, you need to click on the Add (+) button in the sidebar next to My Projects. Then, select Calendar.
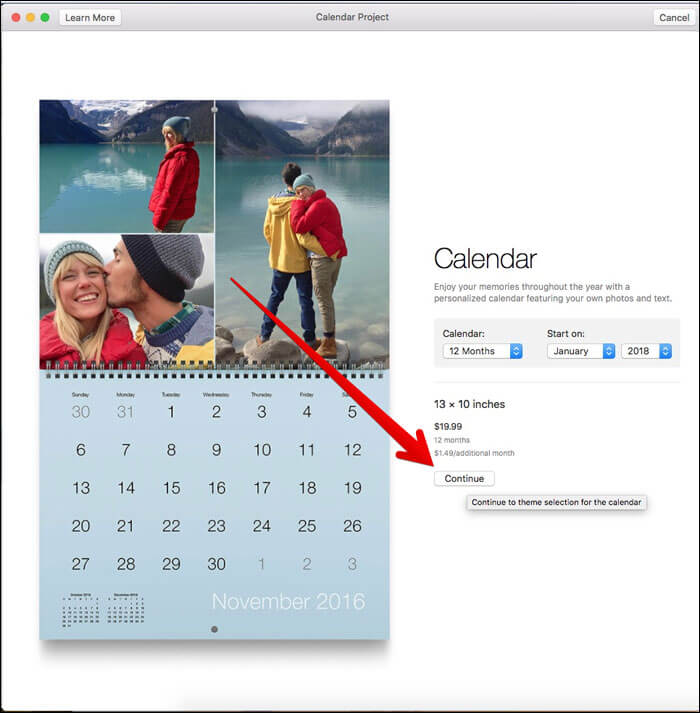
Step #3. Next, click on month length.
Also, select a month and year to start the calendar.

You have the option to include up to 24 months to your calendar.
Step #4. Click Continue.
And then choose a Calendar theme.
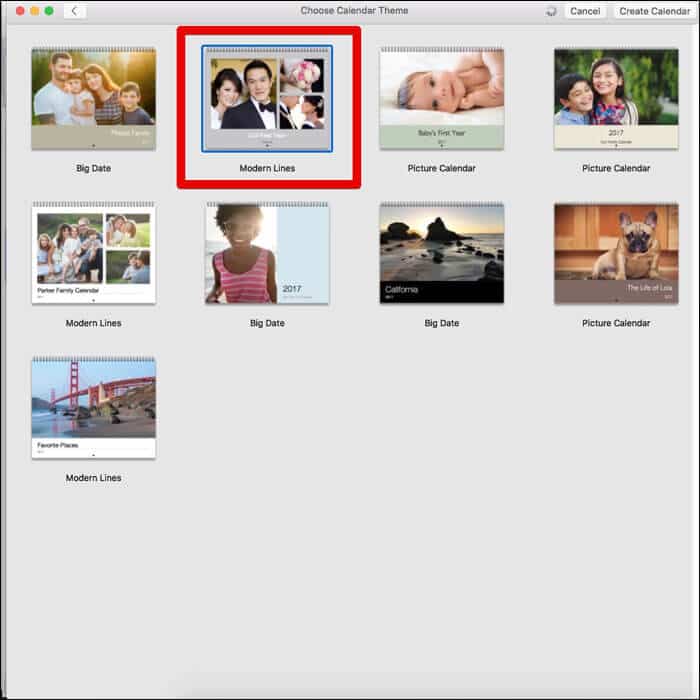
You can choose the theme that’s perfectly timed to your interest.
As you will be able to change the theme later during editing, select any theme you want.
Step #5. Click Create Calendar.
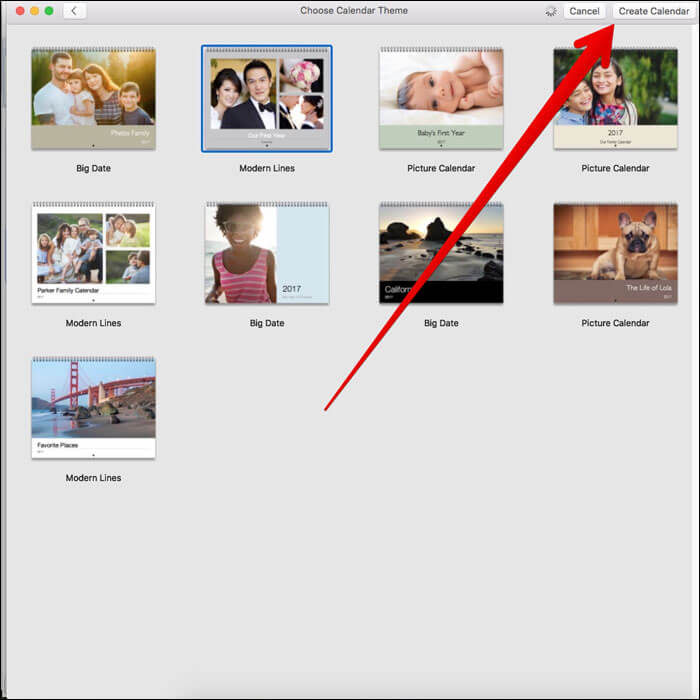
Now, the photos will appear onto each month. To ensure your calendar looks just the way you want, use all the editing tools to design it.
How to Edit A Calendar in Photos on Mac
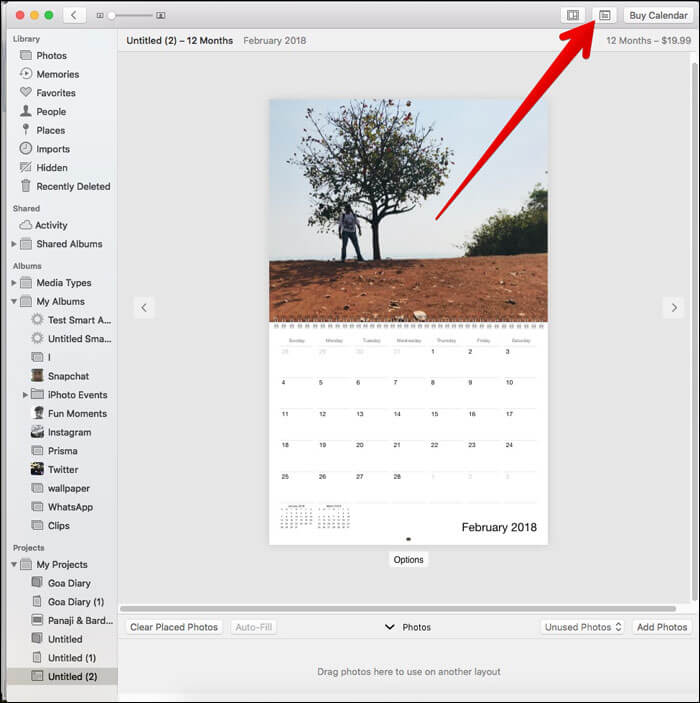
Step #1. With the project open, simply double-click on a month to select it.
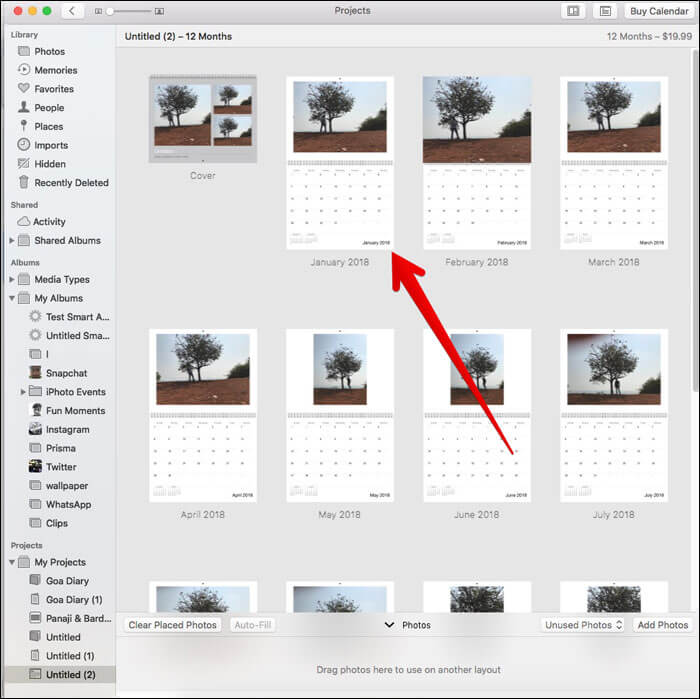
Step #2. Now, you need to click on a picture and drag your cursor to the left or right to reposition it.
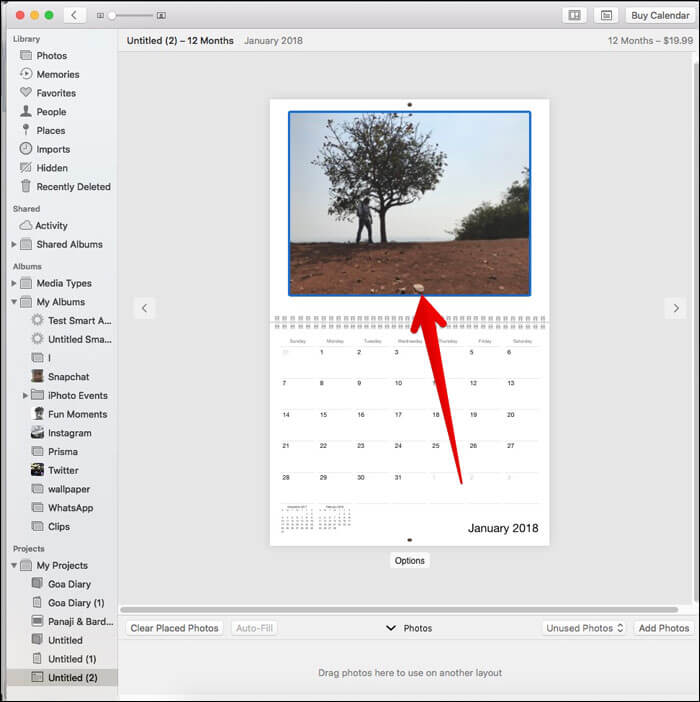
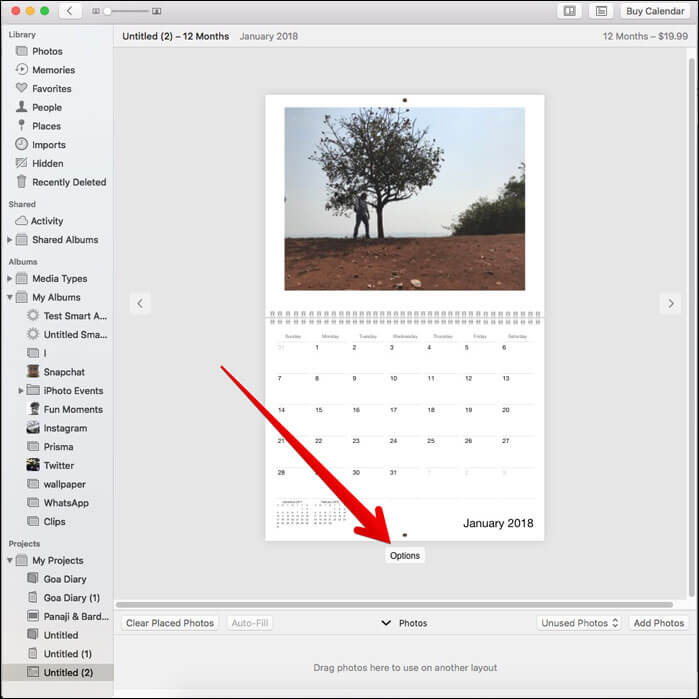
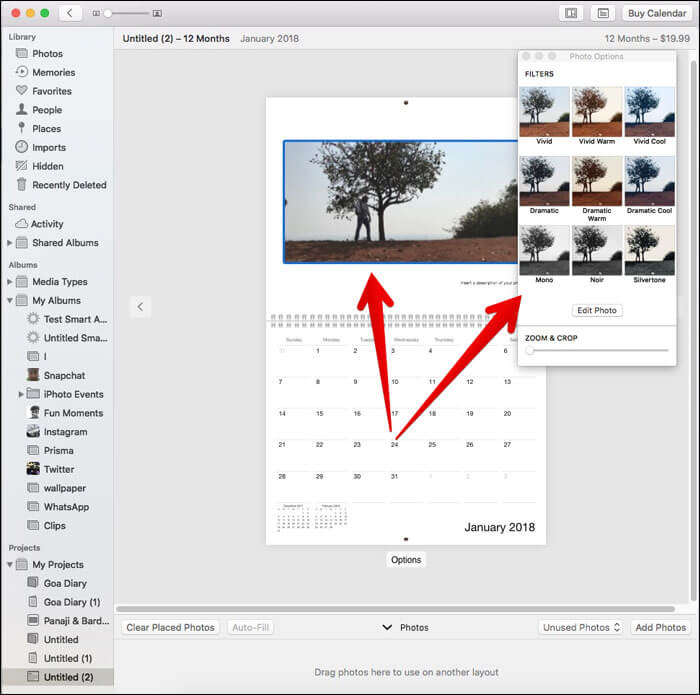
Step #3. Next, click Options, which is right under the month to edit the template.
Step #4. Now, you can choose a preferred template.
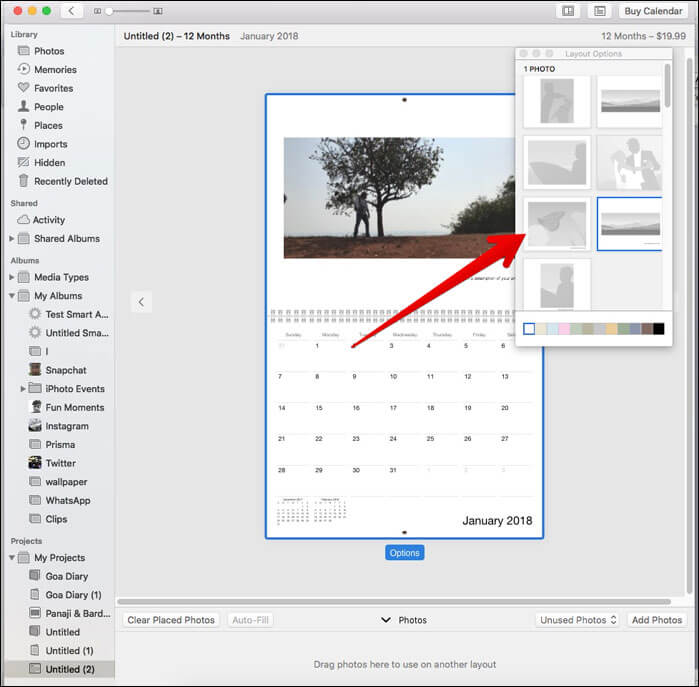
You have the option to change the layout of the month, add more photos, or remove photos from a month.
Based on the theme you have selected, you will have a number of template options.
If you find some templates with words, you will be able to write on them.
Just double-click a photo to edit it. Besides, you will add filters, zoom, and crop. Also, check out the option to adjust the picture using photo editing tools.
You can click on a text box to add a sweet message. The Text Options panel will automatically appear with multiple options like changing the font, size, style, color, and alignment.
How to Add Holidays Or Personal Calendars To A Calendar Month in Photos on Mac
You can also add your holidays and personal characters to your calendar to make it more personalized.
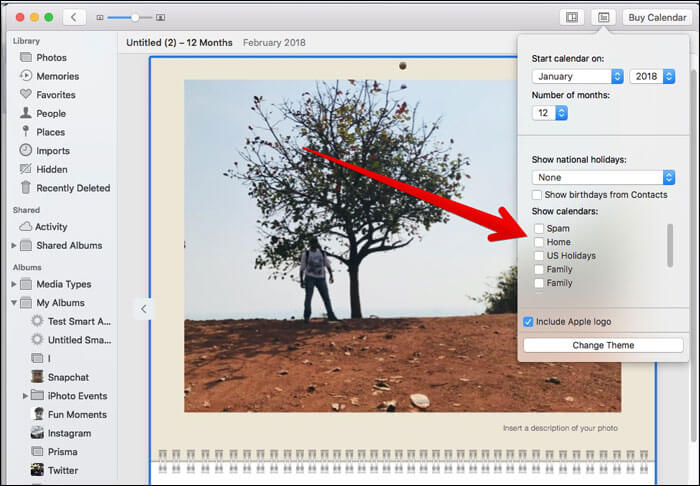
Step #1. Click on Calendar settings button at the top right corner of the Photos app window.
Step #2. Under Show Calendars, you need to choose a calendar.
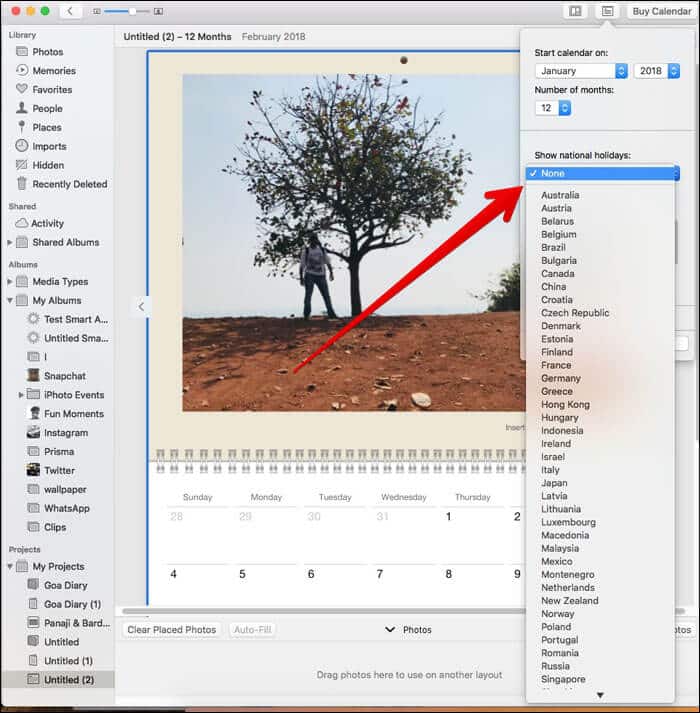
Step #3. If you want to add national holidays, click the drop-down menu under Show national holidays and select a country.
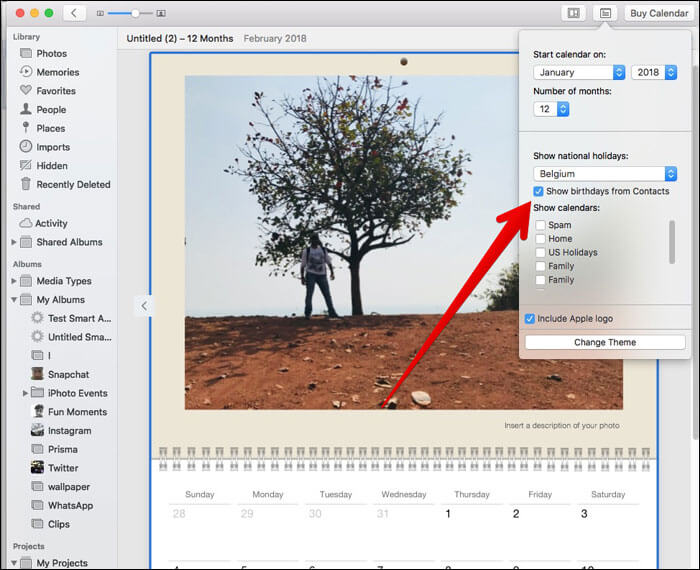
Step #4. Finally, check the box for Show birthdays from Contacts to include birthdays.
Add Pictures To A Calendar Month In Photos On Mac
Forgot to include some photos to your calendar? Needless to worry, mate! You can add them during editing.
Step #1. With the project open, click on add Photo at the bottom right corner of the Photos app window.
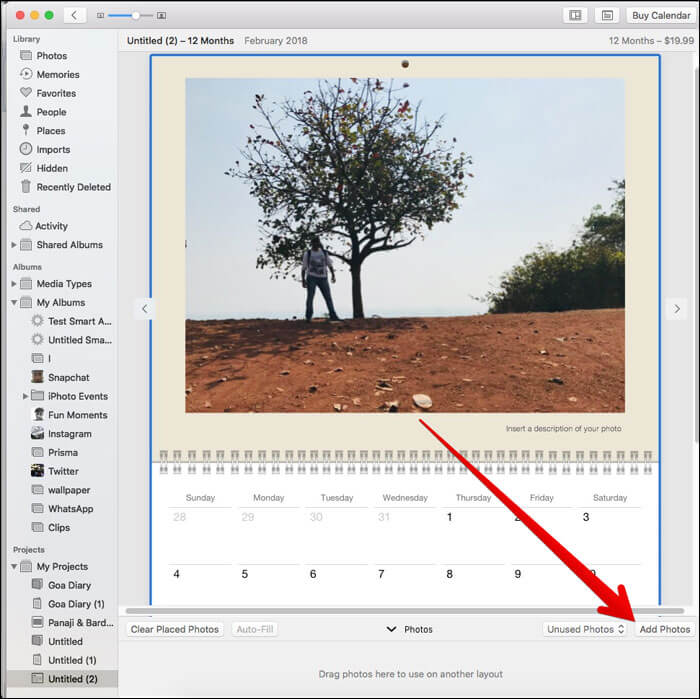
Step #2. Once you have selected pictures, click Add at the top right corner.
The images you have just added will appear in a tray at the bottom of your project screen. You can drag the image to a month to add it to the calendar.
Alternately, you can also click the auto-fill button to add new photos to empty spots on your the calendar a lot quickly.
Order a Calendar in Photos App on Mac
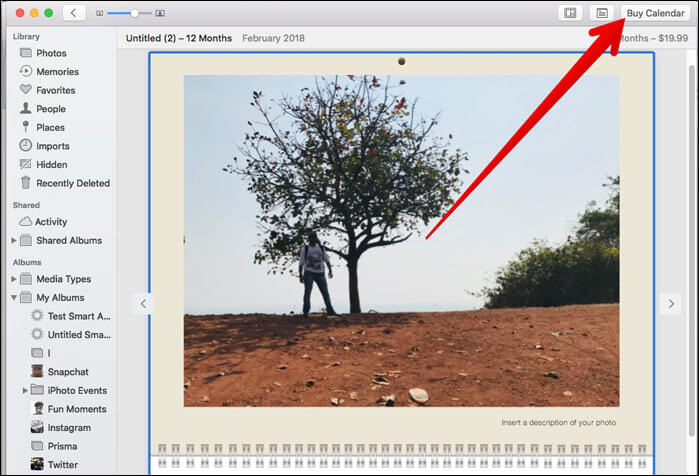
Step #1. Click Buy Calendar and then you have to enter your shipping address.
When sending something to someone in your contacts, just search for a name. The address will automatically show up in the address field.
Double check to ensure everything is correct.
Step #2. Click Place Order.
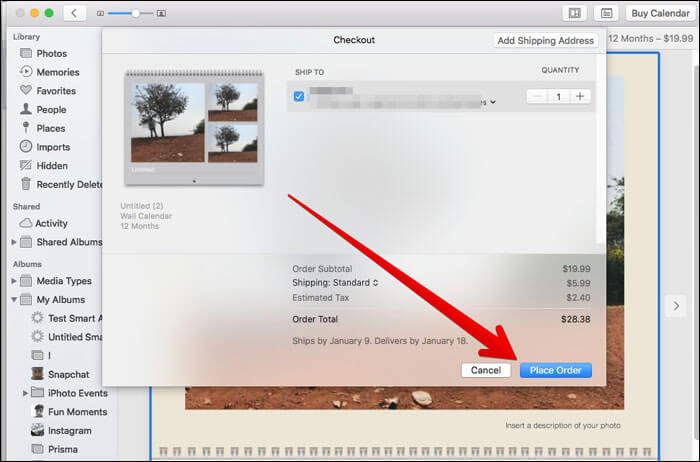
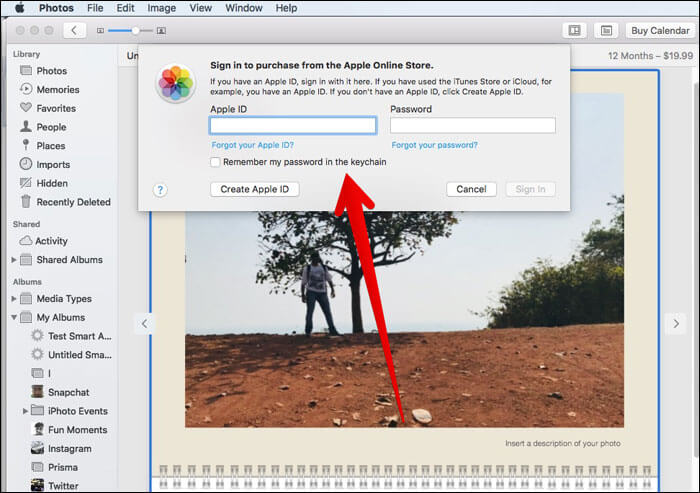
Step #3. Now, you have to enter your Apple ID and password to confirm.
Next, your project will be uploaded to Apple’s servers. After the process is finished, you will get a notification and an email. The package will be delivered to your address in a few days.
That’s pretty much it, folks!
Wrap up:
So, how was your experience of creating a wonderful calendar? It’d be great to know your feedback in the comments below.
Take a peek at these posts as well:
Author
🗣️ Our site is supported by our readers like you. When you purchase through our links, we earn a small commission. Read Disclaimer.