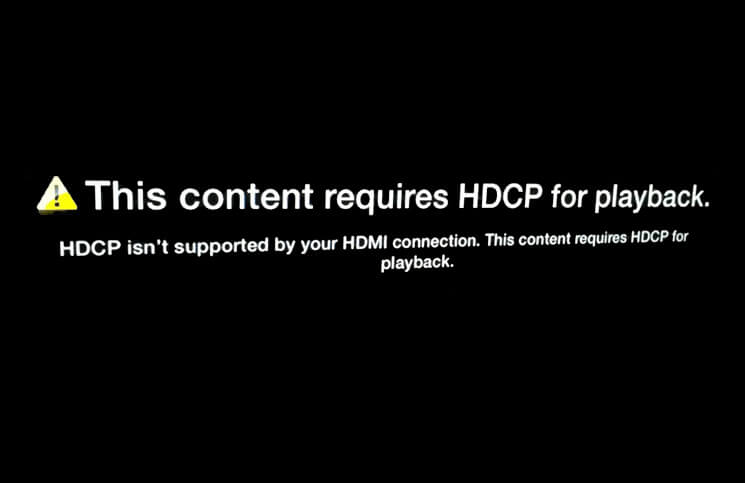
HDCP is built into several devices including streaming video hardware, cable boxes, satellite TV receivers and more. If your old HDTV doesn’t have HDCP built into it, you won’t be able to watch the HDCP compatible contents. Hence, when you plug in HDCP standard devices, you will see HDCP error, ERROR: NON-HDCP OUTPUT or a complete blank screen on your TV.
What if everything is alright and you are still getting HDCP error on your Apple TV? Well, this issue could also be due to faulty HDMI cable or receiver. Even your HDMI switch might be playing the spoil sport. Try out these solutions to get rid of this problem!

How to Fix the HDCP Error on Apple TV
Solution #1: Check HDMI Cable/Turn OFF/On Apple TV and Receiver
- Unplug HDMI cable and then plug it back firmly
- Turn off receiver and Apple TV. Next, unplug Apple TV from power source. Then, wait for some time. Plug it back in to the power source then turn on Apple TV as well as receiver
- Make sure you have selected the HDMI input which matches the HDMI port connected to your Apple TV
- Receiver or HDMI switch might be creating trouble. Hence, try connecting Apple TV directly to your TV
- Even the cable might be at fault. Hence, try out a different cable to see if it works
- Open Settings → Audio and Video → adjust the HDMI settings
Solution #2: Restore your Apple TV to its factory settings
If the above mentioned tricks haven’t fixed the problem, then start from the scratch. I mean, restore your Apple to TV to the factory settings.
Step #1. Head over to Settings → System → Reset.
Step #2. Now, you have to select a reset option:
Reset: It allows you to reset your device fast even without internet connection.
Reset and Update: It resets your Apple TV to factory settings and installs software updates using internet connection.
Choose the better option as per your convenience and reset your TV as usual.
Solution #3: Restore Apple TV Through iTunes
To restore your Apple TV, make sure your computer has the latest version of iTunes installed. You need a USB-C cable for 4th generation Apple TV or a Micro-USB cable for 3rd or earlier Apple TV. Besides, you also need very good internet connection.
Step #1. First off, you need to unplug the HDMI cable and power cord from the Apple TV. Then, launch iTunes on your computer.
Step #2. Next, plug a USB-C cable on the back of the Apple TV 4th generation.
(For 2nd and 3rd generation Apple TV, make sure to use a Micro-USB cable.)
Then, you have to plug the other end of your USB-C into a USB port on your computer.
For Apple TV (3rd or 4th generation, you need to plug in the power cord. For 2nd generation Apple TV, you will have to leave it unplugged.
Step #3. Check out the summary page in iTunes.
Step #4. Click Restore Apple TV. Now, allow it to get restored successfully.
Step #5. Once your Apple TV has finished restoring, you need to unplug the USB-C and power cord. Then you have to reconnect the HDMI cable and power cord to your Apple TV.
What if nothing works?
Assuming you have been able to fix this issue after trying out all these solutions. But if nothing has worked and you are still facing this error on your Apple TV, contact Apple for help.
Have any feedback for us? Do let us know that in the comments below.
You may want to check out these posts:
🗣️ Our site is supported by our readers like you. When you purchase through our links, we earn a small commission. Read Disclaimer.

